
Removing a Moen kitchen faucet handle is a straightforward process that can be tackled with basic tools and a systematic approach. Understanding how to remove Moen kitchen faucet handle not only allows for easy repairs and maintenance but also ensures you can upgrade or replace parts efficiently. Whether you’re dealing with a leaky faucet or simply upgrading your kitchen fixtures, knowing this skill empowers you to maintain your kitchen with ease. In this guide, we’ll walk you through the steps required to remove a Moen kitchen faucet handle, highlighting the importance of proper technique and the tools necessary for the job. Mastering this procedure gives you the confidence to handle common faucet issues independently, saving both time and money in the process.
How Do I Remove A Moen Kitchen Faucet Handle?

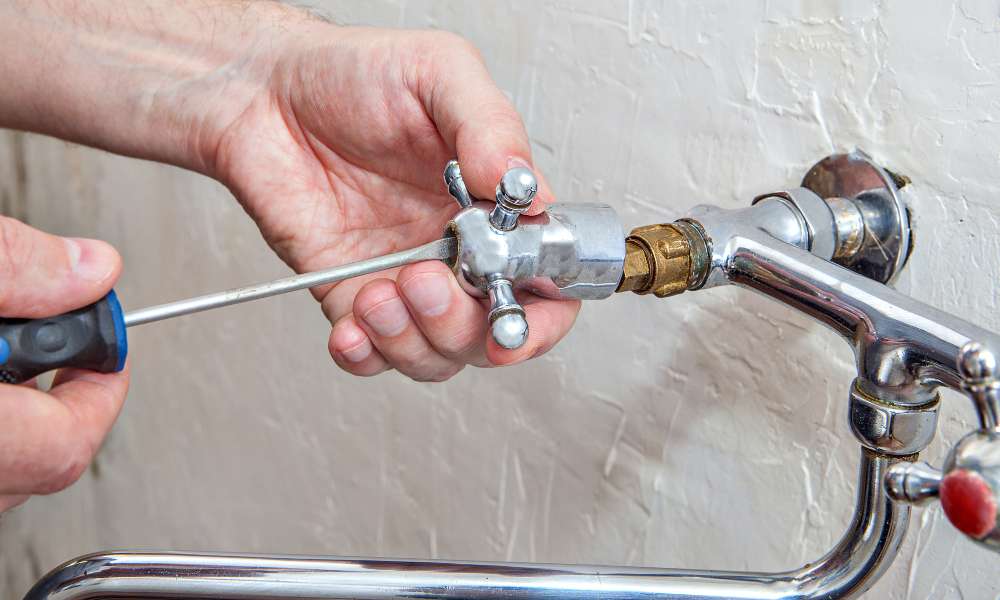
To remove a Moen kitchen faucet handle, you will first need to locate the set screw underneath the handle. This screw is usually located at the base of the handle or on the side. Use an Allen wrench to loosen and remove the set screw. Once the set screw is removed, you should be able to lift off the handle from the faucet.
How Often Should I Replace My Moen Kitchen Faucet Handle?
Regular maintenance and cleaning of your Moen kitchen faucet handle can help extend its lifespan. Make sure to follow the manufacturer’s guidelines for care and maintenance to ensure optimal performance. Additionally, keeping an eye on any changes in the functionality or appearance of the handle can help you determine when it’s time for a replacement.
Loosening The Set Screw
Loosening the set screw is a crucial step in fixing a loose kitchen faucet. This seemingly small component plays a big role in keeping your faucet securely attached to the countertop or sink. By using an Allen wrench to turn the set screw counterclockwise, you can easily adjust its tightness and prevent any wobbling or movement.
Removing The Decorative Cap
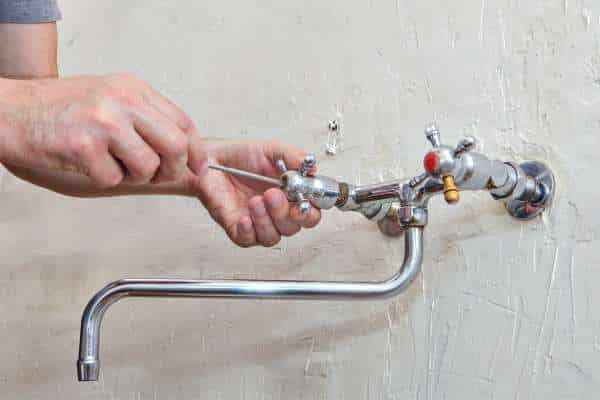
You’ll need to remove the decorative cap that conceals the set screw. This cap can usually be popped off with a flathead screwdriver or pried gently with your fingers. Carefully removing the cap exposes the set screw beneath it, making it accessible for loosening. Ensuring the cap is removed without damaging it ensures that you can reassemble the faucet handle neatly after completing your repairs or maintenance.
Using The Correct Size Allen Wrench
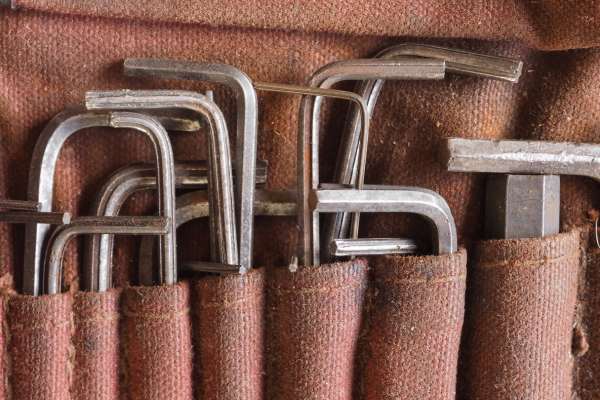
Using the correct size Allen wrench is pivotal in successfully removing the Moen kitchen faucet handle. Moen handles typically require an Allen wrench (hex key) for loosening the set screw effectively. Ensuring the Allen wrench fits snugly into the set screw prevents slippage and minimizes the risk of rounding off the screw’s head. Applying steady pressure while turning the wrench counterclockwise loosens the set screw progressively, eventually freeing the handle from the faucet assembly.
Handle Stuck Due To Corrosion
Consider using a penetrating oil such as WD-40 to further break down any rust or corrosion that may be hindering the removal process. Remember not to force the handle as this could lead to irreversible damage and additional repair costs. By taking these careful steps and treating the situation with care and attention, you can effectively remove a stuck Moen kitchen faucet handle caused by corrosion without causing unnecessary harm.
Matching The Design And Size
Matching the design and size of the replacement handle is crucial for a seamless installation. Moen faucets come in various models and sizes, each requiring specific handle designs to ensure proper fit and functionality. Before purchasing a replacement handle, identify the model number of your Moen faucet and verify compatibility with the new handle. This ensures that the replacement handle not only fits perfectly but also operates smoothly without any compatibility issues. Taking the time to match the design and size guarantees a hassle-free replacement process and extends the longevity of your faucet system.
Lubricating The Handle Components
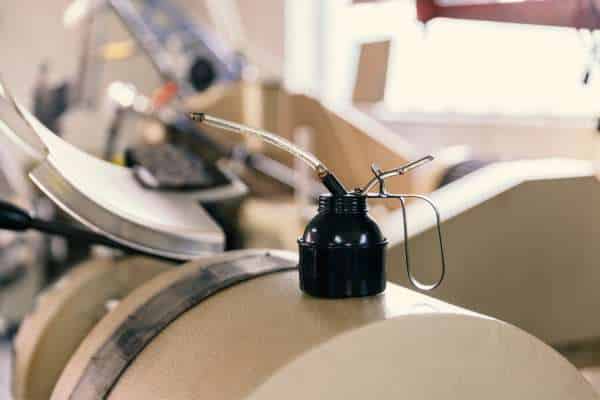
One essential step is lubricating the handle components before attempting removal. Applying lubricant helps loosen any built-up corrosion or mineral deposits that may have accumulated over time, making the removal process smoother and reducing the risk of damaging delicate parts. This simple yet effective preparation ensures that you can disassemble the faucet handle without undue force, preserving the integrity of the faucet for future use.
Checking For Leaks
Before proceeding with the removal, it’s advisable to turn off the water supply to the faucet and inspect for any signs of leakage around the handle and base. Identifying leaks early allows you to address underlying issues promptly, preventing water damage to your kitchen sink and surrounding areas. By incorporating this precautionary step into the removal process, you can maintain the overall functionality and longevity of your Moen kitchen faucet.
Ensuring Adequate Workspace
Creating an adequate workspace is equally vital when removing a Moen kitchen faucet handle. Ensure you have enough space around the faucet to maneuver tools comfortably and access all necessary components. Clearing clutter and providing proper lighting enhance visibility, making it easier to identify and handle small parts during disassembly. A well-organized workspace minimizes the risk of losing essential components and streamlines the removal process, allowing you to complete the task efficiently and with confidence.
Turning On The Water Supply
After successfully removing the handle, clean any accumulated debris or corrosion from both the handle and the faucet base. This step ensures a smooth reattachment process and prevents future issues with sticking or difficulty in operation. Once cleaned, reattach the Moen kitchen faucet handle by aligning it correctly with the valve stem and securing it with the previously removed fasteners. Tighten everything securely, but avoid over-tightening to prevent damage to the handle or faucet.
Reattaching And Testing For Stability

Testing for stability is crucial at this stage; gently operate the faucet handle to ensure it moves freely and without resistance. Any residual stiffness or difficulty in turning the handle may indicate further cleaning or lubrication is needed. By following these steps methodically, you not only remove the Moen kitchen faucet handle effectively but also ensure it operates smoothly and reliably for the future.
The Final Thought
Removing a Moen kitchen faucet handle is a relatively simple process that can be completed with basic tools and minimal effort. By following the step-by-step instructions provided in this article, you can successfully remove the handle and access the internal components of your faucet for maintenance or replacement. Remember to exercise caution and patience throughout the process to avoid damaging any parts. With proper care and attention to detail, you can easily tackle this task and keep your kitchen faucet functioning smoothly. Take the time to address any issues promptly to ensure the longevity and efficiency of your Moen kitchen faucet.