Replacing a kitchen sink faucet is a straightforward task that can significantly enhance the functionality and aesthetic appeal of your kitchen space. Knowing how to replace sink faucet kitchen can save you time and money, as well as provide you with the opportunity to customize your sink area to suit your preferences. Whether you’re upgrading to a more modern design, fixing a leaky faucet, or simply seeking a change, understanding the process is important. With the right tools and a basic understanding of plumbing, replacing a kitchen sink faucet can be accomplished by most homeowners without the need for professional help. This guide will walk you through the necessary steps to successfully replace your kitchen sink faucet, ensuring you achieve a refreshed and efficient kitchen space.
Can I Reuse The Old Water Supply Lines?
To ensure the safety and efficiency of your plumbing system, it is best to install new water supply lines when renovating or replacing plumbing fixtures. This will help prevent potential problems and ensure that your water supply remains clean and reliable. Investing in new pipes may require upfront costs, but it can save you from costly repairs and maintenance in the long run.
Is It Difficult To Replace A Sink Faucet On My Own?

Replacing a sink faucet on your own can vary in difficulty depending on your level of experience with plumbing tasks. In general, it is a manageable DIY project for those with basic plumbing skills and the right tools. The process typically involves turning off the water supply, removing the old faucet, installing the new one, and ensuring everything is properly sealed and connected.
Disconnecting Water Lines
Disconnecting water lines is a crucial and often overlooked step in the process of replacing a kitchen faucet head. Before attempting to disconnect the water lines, be sure to turn off the water supply to avoid any potential leaks or water damage. Use an adjustable wrench to carefully loosen and remove the nuts connecting the water lines to the faucet head. It’s important to have a bucket or towel handy to catch any excess water that may spill out during this process.
Locating The Shut-Off Valve
Locating the shut-off valve is crucial for replacing your kitchen sink faucet effectively. This valve is usually situated beneath the sink, either on the wall or the cabinet wall. It’s identifiable by its knob or lever and is pivotal in halting the water flow to the faucet. Turning off this valve prevents water from spraying out while you work, maintaining a clean workspace and avoiding potential damage.
Draining Excess Water From The Faucet

Draining excess water from the faucet is the subsequent step in how to replace the sink faucet kitchen. After shutting off the water supply and locating the shut-off valve, open the faucet to drain any remaining water in the lines. This action alleviates pressure within the system and reduces the chance of spills when removing the old faucet.
Compatibility With Existing Plumbing
Ensure compatibility with existing plumbing fixtures. Measure the existing faucet and sink configuration to ensure the new faucet you’ve chosen will fit seamlessly. Check the number of mounting holes in the sink and the spacing between them to match with the new faucet’s requirements. Most new faucets come with adapters and flexible connectors to accommodate various configurations, but verifying compatibility beforehand will save time and frustration during installation.
Using Teflon Tape
One crucial step in ensuring a leak-free installation is using Teflon tape on the threaded connections. Teflon tape helps create a tight seal between the faucet components and the water supply lines, preventing leaks over time. Before starting the replacement process, wrap Teflon tape around the threads of the faucet’s connections to the water supply lines. This simple yet effective technique enhances the durability and reliability of your new faucet setup, minimizing the risk of future maintenance issues.
Verifying Proper Functionality
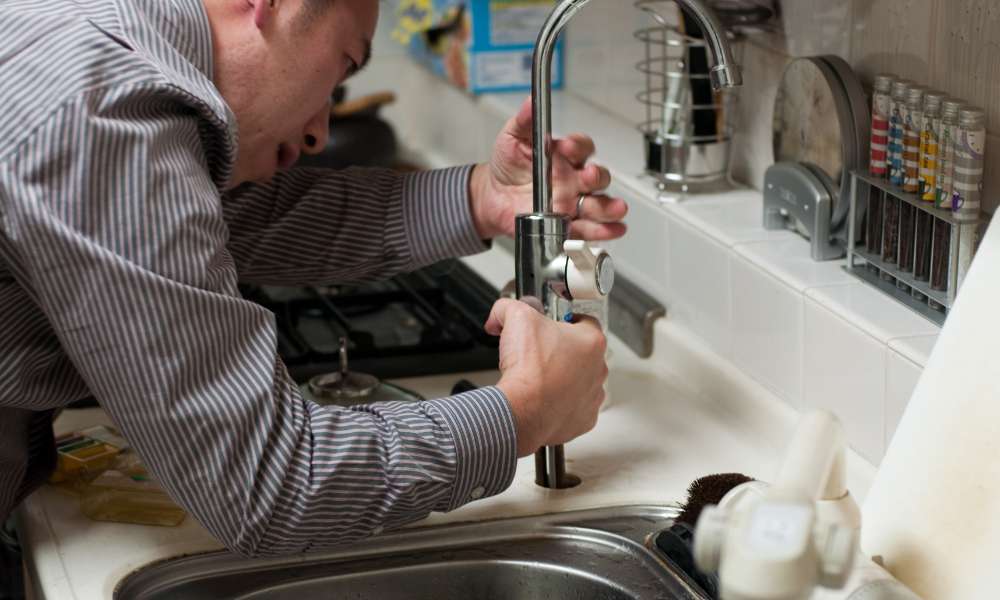
Once the old faucet is removed, clean the area thoroughly to prepare for the new installation. Apply a layer of Teflon tape to the threads of the faucet connections to ensure a tight and leak-free seal. Position the new faucet in place and secure it by tightening the nuts or bolts underneath the sink. Use a basin wrench for hard-to-reach areas and verify proper functionality by turning on the water supply and checking for leaks. Adjust the faucet handles and spout as necessary to ensure they operate smoothly and align correctly with your sink.
Dealing With Stubborn Nuts Or Bolts
Dealing with stubborn nuts or bolts can be a frustrating challenge, especially when trying to replace a sink faucet in the kitchen. One effective strategy is to use penetrating oil and let it sit for some time to help loosen the tight grip. Another option is heating the nut or bolt with a torch to expand the metal and make it easier to remove. It’s important to have patience and not force the removal, as this could lead to damaging other parts of the faucet.
Handling Misaligned Fixtures
Handling misaligned fixtures is another important aspect of replacing a kitchen sink faucet. Sometimes, despite careful installation, the faucet and handles may not align perfectly with the sink or countertop openings. To address this, ensure the faucet is centered and aligned correctly before tightening all the connections. Use a level to check for straightness and adjust the positioning as needed. Proper alignment not only improves the visual appeal of your kitchen but also ensures the faucet functions smoothly without any operational hindrances.
Addressing Potential Challenges

Addressing potential challenges when replacing a sink faucet in the kitchen requires careful planning and attention to detail. One common issue that may arise is dealing with old plumbing connections that are difficult to remove. In such cases, using a lubricant or seeking professional help can make the process smoother and prevent any damage to the existing pipes.
The Final Thought
Replacing a kitchen sink faucet is a manageable DIY project that can enhance the functionality and aesthetics of your kitchen. By following the steps outlined in this guide and being mindful of safety precautions, you can successfully install a new faucet with ease. Remember to turn off the water supply before starting and take your time to ensure everything is properly connected. With the right tools and attention to detail, you can enjoy a fresh new look in your kitchen in no time.

