
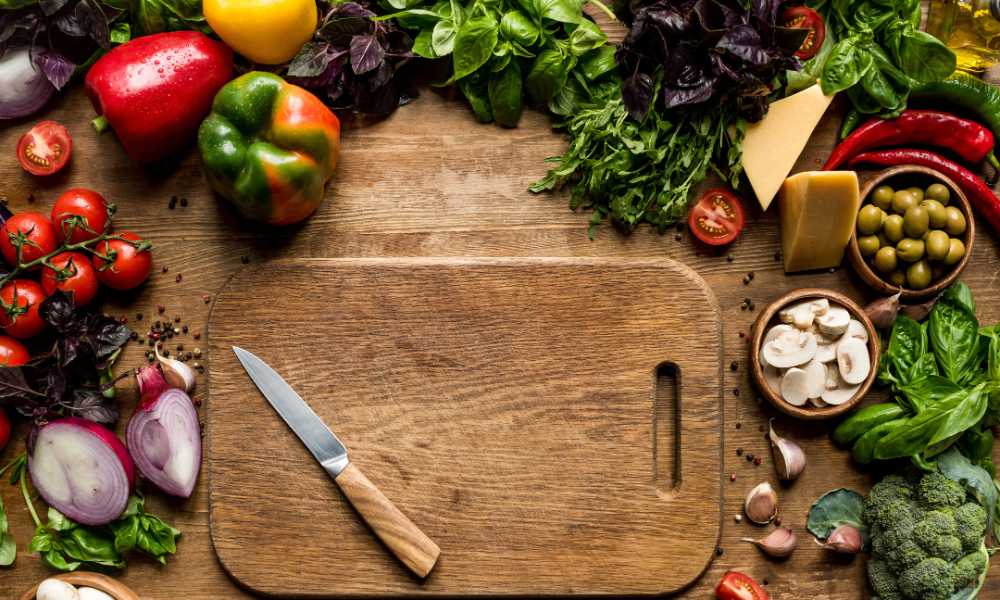
Sealing a cutting board is an essential step to ensure its longevity and functionality. Whether you’re a culinary enthusiast or a casual cook, understanding how to effectively seal your cutting board can significantly impact its durability and hygiene. This guide will walk you through the necessary steps to protect your wooden or bamboo cutting board from moisture, bacteria, and wear. We’ll explore different types of sealants, application techniques, and maintenance tips to keep your cutting board in pristine condition. By the end of this article, you’ll be equipped with the knowledge to enhance your cutting board’s performance and preserve its natural beauty.
Understanding Why Sealing Your Cutting Board is Essential
Sealing a reducing board extends its life, making it more resistant to ordinary put on. The oils or waxes used in the sealing technique penetrate deep into the wooden, stopping it from cracking or warping under stress. When unsealed, a cutting board is tremendously porous, absorbing water and harboring bacteria. Over time, this leads to a compromised, unhygienic surface. Sealing it creates a shielding barrier, stopping the absorption of beverages and the boom of harmful microorganisms. For individuals who revel in cooking, making sure your board is sealed method you’ll be the use of a hygienic, durable surface each time you prepare a meal.
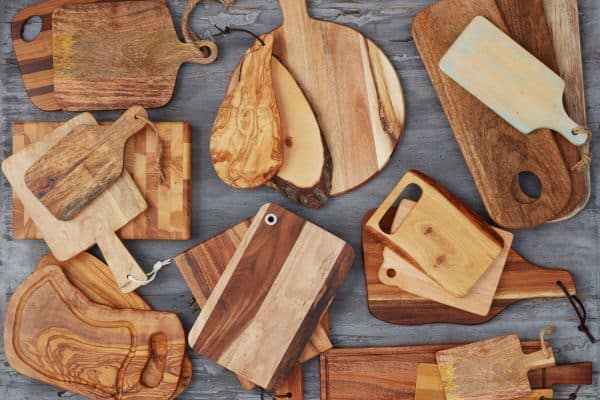
Types of Cutting Boards and Why They Need Sealing
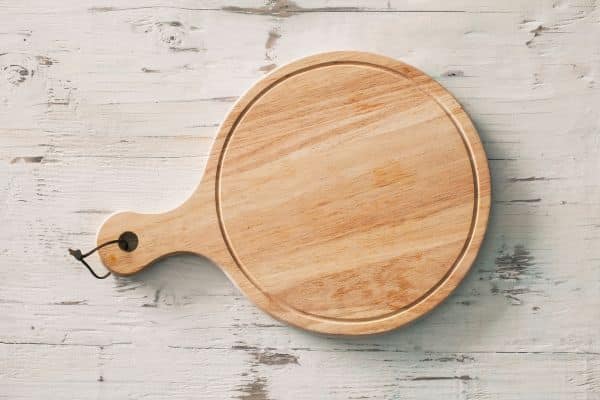
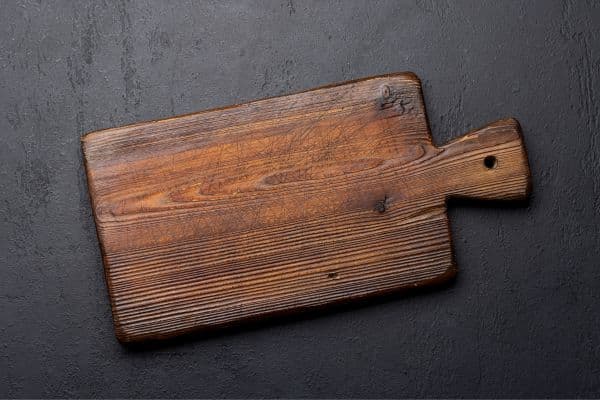
Wooden cutting boards, particularly those made from hardwood like maple or walnut, are popular for their longevity and aesthetic appeal. However, wood is a natural material that needs special care. Wooden boards, especially end grain ones, require sealing because their structure is more prone to absorbing moisture, which can lead to warping. Edge grain cutting boards, though slightly more resistant, still benefit greatly from regular sealing.
In contrast, plastic and bamboo cutting boards don’t require sealing. Plastic is non-porous and bamboo, though technically a grass, is naturally water-resistant and durable. These materials are easier to maintain in terms of sanitation, but lack the warmth and beauty of a well-maintained wooden board.
Knowing the Right Time
Sealing isn’t a one-time affair. Over time, the wood loses its seal as oils evaporate or wear away with use. Signs that your cutting board needs sealing include dryness, cracks, or a rough surface. If water begins to soak into the wood rather than bead on the surface, it’s time for another round of sealing. As a general rule of thumb, you should seal your cutting board every few weeks, depending on how frequently you use it. Frequent use requires more frequent sealing to maintain its integrity and hygiene.
Choosing the Right Sealant for Your Cutting Board
Mineral oil is the most widely recommended option for sealing cutting boards. It’s food-safe, doesn’t go rancid over time, and provides a strong protective layer. Its neutral nature makes it perfect for all types of wood. Another popular option is beeswax, which can be used on its own or mixed with mineral oil for added durability. Some opt for coconut oil, though it’s essential to use refined coconut oil to avoid rancidity. While natural oils are preferable, it’s important to avoid using oils like olive or vegetable oil, as these can spoil and leave an unpleasant odor on your boards.
Prepping Your Cutting Board for Sealing

Before sealing, it’s critical to prepare your cutting board properly. Start by thoroughly cleaning it with warm water and mild soap, removing any food particles or stains. Then, ensure the board is completely dry before proceeding. Moisture can prevent the oil from penetrating the wood properly. If the surface is rough or shows signs of wear, lightly sand it with fine-grit sandpaper to smooth it out. Working on a dry, dust-free surface ensures a clean and even finish once the oil is applied.
Step-by-Step Guide to Sealing a Cutting Board
Begin by applying a generous amount of mineral oil to the surface of the board. Use a clean cloth to rub the oil into the wood, moving in circular motions to ensure even coverage. Let the oil sit for at least 20 minutes to allow the wood to absorb it fully. For deeper conditioning, you can leave the boards overnight. Afterward, wipe off any excess oil and buff the surface to create a smooth, glossy finish. Repeat this process until the wood no longer readily absorbs the oil.
Sealing with Beeswax: An All-Natural Approach
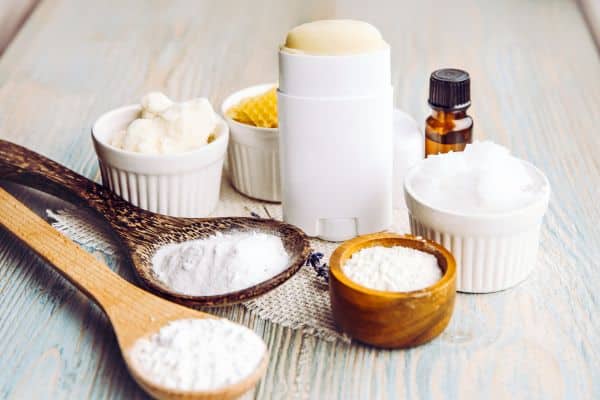
For an additional layer of protection, many human beings pick to seal their cutting boards with a mixture of beeswax and mineral oil. Beeswax offers a long lasting, water-proof barrier that extends the life of the cutting boards. To use, soften the beeswax and mix it with mineral oil, then follow it in the equal manner. The wax penetrates deeply into the wooden, creating a seal that’s not handiest defensive however additionally evidently antibacterial. This technique is good for people who choose a herbal, green method.
Maintaining Your Sealed Cutting Board
Even after sealing, your slicing board calls for regular care to preserve its condition. To hold the seal intact, keep away from soaking your board in water or the usage of harsh detergents. Instead, clean it with a mild scrub and slight cleaning soap after each use. Reapply oil each few weeks to keep the board’s shielding layer, in particular if it’s used often. By incorporating those easy maintenance behavior, your cutting boards will live easy, resistant, and hygienic.
Common Mistakes to Avoid When Sealing a Cutting Board

One common mistake human beings make is overapplying oil. Too much oil can go away a sticky residue that draws dust and dirt. It’s higher to apply skinny, even layers instead of dousing the boards abruptly. Another mistake is skipping the sanding process. Sealing a hard, unclean floor can lure dust and micro organism, which defeats the motive. Finally, using the incorrect oils, together with cooking oils that destroy over the years, can spoil the board and depart ugly odors.
How to Store a Sealed Cutting Board Properly
Storage plays a sizeable position in retaining a sealed reducing board. It’s important to keep the board in an upright role, allowing air to flow into around it. This prevents moisture buildup, which can warp the wood. If flat garage is preferred, ensure that the board is completely dry earlier than putting it away. Ventilation is prime to preventing mold and warping, so in no way keep a wet boards in a closed cupboards.
Signs It’s Time to Reseal Your Cutting Board
Over time, the seal for your slicing board will put on down. When the surface begins to experience difficult, otherwise you observe it absorbing water or food odors, it’s a clear sign that it’s time to reseal. Additionally, if the timber starts to look dry or develops cracks, those are indicators that the board desires some other spherical of oil or wax. Regular assessments will make certain you capture those symptoms early, retaining the sturdiness of your boards.
How to Seal a Cutting Board
Cutting boards are an crucial device in any kitchen, soaking up the wear and tear and tear of each day cutting, lowering, and dicing. However, to make certain their sturdiness and preserve their effectiveness, sealing them is essential. Sealing not most effective protects the wood but also complements its durability, stopping it from soaking up moisture, odors, and bacteria. This device is straightforward, but essential, specially for wood reducing forums, which can be a protracted way more prone to damage than their plastic or bamboo counterparts. In this manual, we’re able to discover the step-thru-step manner of sealing a reducing boards, making sure that your kitchen vital remains in pinnacle condition for future years.
Types of Cutting Boards and Why They Need Sealing
Wooden reducing forums, in particular those crafted from hardwood like maple or walnut, are famous for their sturdiness and aesthetic enchantment. However, timber is a natural material that desires unique care. Wooden boards, mainly end grain ones, require sealing due to the fact their shape is more at risk of absorbin
Conclusion
Properly sealing your cutting board is crucial for maintaining its quality and safety in your kitchen. By following the guidelines discussed, you can ensure that your board remains hygienic, durable, and ready to handle any culinary task. Remember, the key to extending the life of your cutting board lies in choosing the right sealant and applying it correctly. Regular maintenance will keep your board looking new and prevent bacteria build-up. Now that you know how to seal a cutting board, you’re well-equipped to provide the best care for your essential kitchen tool, ensuring it remains a reliable partner in your cooking adventures.