
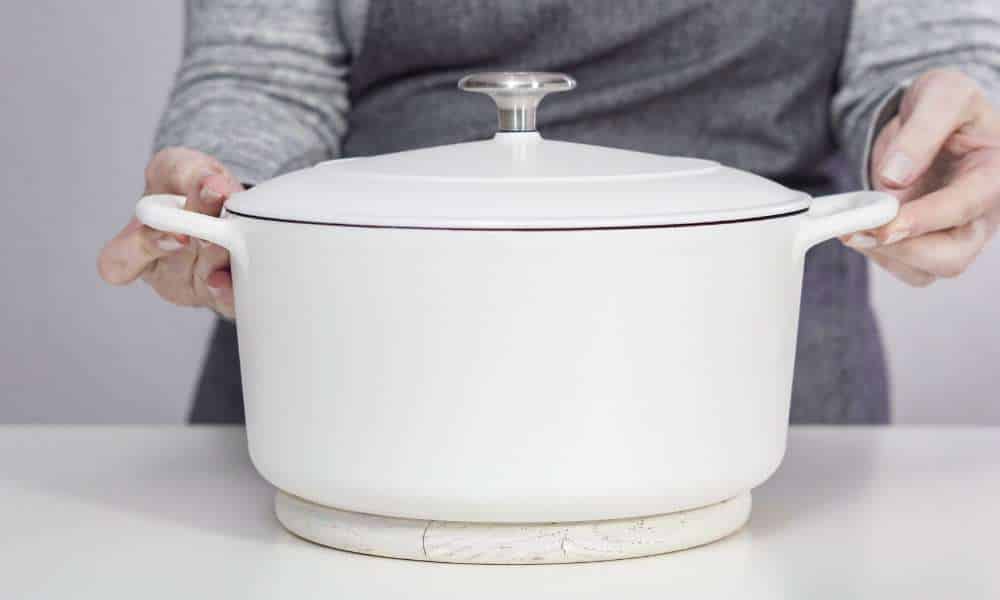
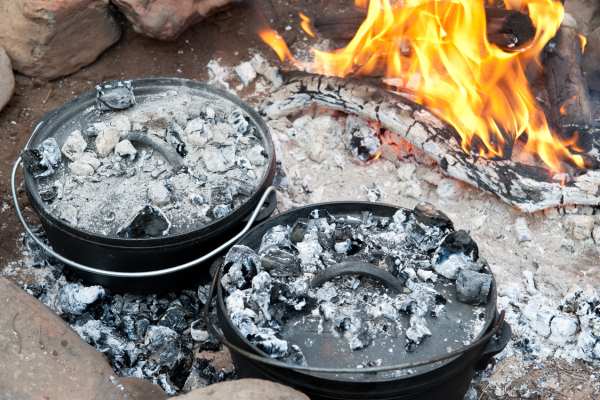
Welcome to the ultimate guide on “How to Season a Cast Iron Dutch Oven.” Seasoning your cast iron cookware is crucial for enhancing its cooking performance and longevity. Whether you’re a novice in the kitchen or a seasoned chef, understanding the right seasoning techniques can transform your Dutch oven into a non-stick, rust-resistant culinary tool. In this article, we will walk you through each step of the seasoning process, from selecting the best oils to the proper baking techniques. Follow our expert advice, and you’ll ensure your cast iron Dutch oven becomes a treasured part of your cooking routine, famed for its flavor-enhancing qualities and robust durability.
Understanding the Importance of Seasoning Cast Iron
Seasoning your cast iron Dutch oven is essential for several reasons. It creates a natural, non-stick surface that makes cooking and cleanup easier, while also protecting the iron from rust and wear. This process involves baking oil into the cast iron at a high temperature, forming a protective layer known as seasoning. Regularly seasoning your cast iron not only improves its cooking performance but also enhances the flavors of your food. Moreover, a well-seasoned Dutch oven can last for generations, making it a worthwhile investment for both casual cooks and professional chefs alike. By maintaining the seasoning, you ensure your cookware remains a reliable kitchen staple.
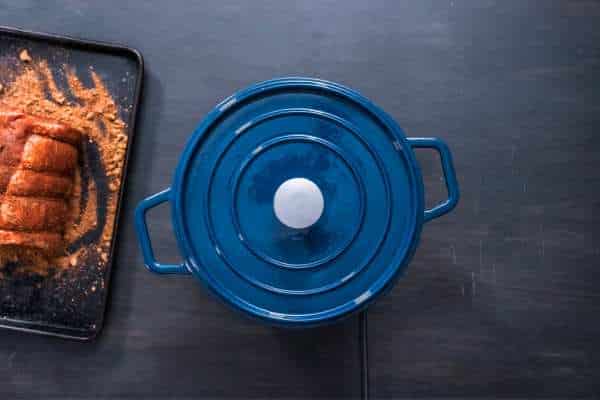
Materials Needed for Seasoning a Cast Iron Dutch Oven
To properly season your cast iron Dutch oven, you’ll need a few essential materials. Start with a high-smoking-point oil such as flaxseed, canola, or vegetable oil, which will create a durable seasoning layer. You’ll also need some paper towels or a clean, lint-free cloth for application, and aluminum foil to line the bottom of your oven and catch any drips. For cleaning the oven prior to seasoning, have mild dish soap and a stiff brush on hand. Ensuring you have these materials ready before you begin will streamline the process and help achieve the best results for your cast iron cookware.
Step-by-Step Guide to Cleaning Before Seasoning
Before seasoning your cast iron Dutch oven, it’s crucial to ensure it’s thoroughly cleaned. Start by wiping out any loose debris with a dry cloth. For tougher residues, wash the oven with warm water and a mild dish soap, using a soft brush or sponge to avoid scratching the surface. Rinse well to remove all soap traces. Dry the Dutch oven completely with a clean towel or by heating it on the stove for a few minutes to evaporate any moisture. This initial cleaning is vital as it prepares the surface for a successful seasoning, ensuring that the oil bonds effectively with the metal for optimal results.
How to Apply Oil for Seasoning
Applying oil for seasoning your cast iron Dutch oven is a key step in ensuring its longevity and performance. Start by selecting a high-smoke point oil, such as flaxseed, canola, or vegetable oil. With a clean, dry cloth or paper towel, coat the entire surface of the oven, both inside and out, with a thin, even layer of oil. Be sure to cover all nooks and crannies but avoid leaving excess oil as it can lead to stickiness. This process not only prevents rust but also helps in creating a natural, non-stick coating that improves with each use, making your Dutch oven ideal for cooking a
Choosing the Right Oil for Seasoning Your Dutch Oven
Selecting the right oil is a pivotal step in seasoning your cast iron Dutch oven. Oils with a high smoke point, such as flaxseed, canola, or grapeseed oil, are ideal because they bond more effectively to the iron, creating a durable non-stick surface. These oils polymerize during the heating process, forming a hardened layer that protects against rust and wear. For best results, choose an oil that not only suits the seasoning process but also complements your cooking style. Regular reapplication using the correct oil will maintain the seasoning and enhance the longevity of your Dutch oven, making it a reliable tool for countless delicious meals.
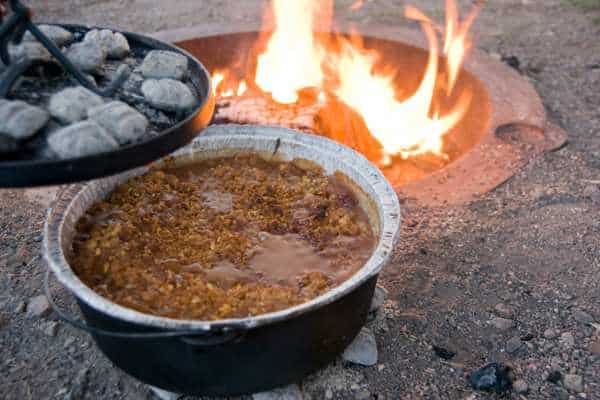
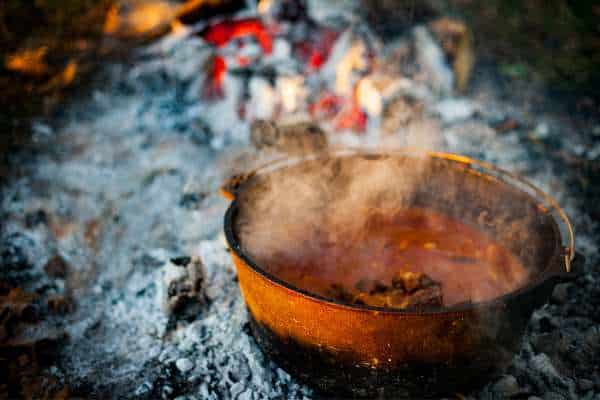
The Seasoning Process: Temperature and Timing
Achieving the perfect seasoning on your cast iron Dutch oven involves precise temperature control and timing. Begin by preheating your oven to 450 degrees Fahrenheit, which helps to open the pores of the iron, allowing the oil to penetrate deeply. Apply a thin layer of high-smoke-point oil to the entire surface of the Dutch oven, including the lid. Place the cookware upside down in the oven to promote even seasoning and prevent pooling of the oil. Bake for one hour, then let it cool in the oven. This process not only seasons the iron but also creates a non-stick, rust-resistant coating that enhances your cooking experiences.
Post-Seasoning Care: What to Do After the Oven Cools
After seasoning your cast iron Dutch oven, proper care is essential to maintain its condition. Once the oven has cooled, use a soft cloth or paper towel to wipe out any excess oil gently. Store your Dutch oven in a dry place with the lid off to promote air circulation and prevent moisture buildup, which can lead to rust. If possible, place a paper towel inside to absorb any residual moisture. This simple routine will help preserve the newly formed protective seasoning layer, ensuring your Dutch oven remains ready for its next use, whether you’re baking bread, simmering stews, or frying up breakfast favorites.
Tips for Maintaining Seasoning After Each Use
How to Season a Dutch Oven is crucial for ensuring its longevity and enhancing its non-stick properties. After each use, clean the oven with hot water and a soft brush; avoid soap as it can strip the seasoning. Dry it thoroughly to prevent rust. Lightly coat the interior with cooking oil before storing to keep the surface conditioned. These simple steps will preserve the seasoning and keep your Dutch oven ready for your next culinary adventure, making it a reliable tool in your kitchen arsenal.
Common Mistakes to Avoid While Seasoning
Maintaining the seasoning on your cast iron Dutch oven is simpler than you might think. After each use, allow the oven to cool, then rinse it with hot water, using a soft brush to remove any food particles. Avoid using soap as it can strip the seasoned coating. Once clean, dry it thoroughly with a towel or on the stove over low heat. To preserve the non-stick surface, lightly coat the interior with cooking oil before storing. This routine care prevents rust and improves the oven’s cooking performance, ensuring it remains a reliable tool for your favorite recipes.
Troubleshooting Seasoning Issues
If you encounter issues while seasoning your cast iron Dutch oven, don’t worry; these can often be easily resolved. Common problems include a sticky residue after oiling, which usually means too much oil was used or it wasn’t heated long enough. To fix this, simply wipe off the excess oil and reheat the oven at a higher temperature for a longer period. If rust appears, remove it with a scrubbing pad and reseason immediately. Ensuring your oven is bone dry before oiling and heating is critical to prevent rust and achieve a perfect seasoning. With these troubleshooting tips, you’ll keep your Dutch oven in prime condition for all your cooking needs.
Conclusion
Castering how to season a cast iron Dutch oven is an essential skill for any home chef looking to enhance the quality and longevity of their cookware. By following the proper seasoning steps, you ensure your Dutch oven remains non-stick, rust-free, and ready to deliver exceptional flavor to every dish. Regular maintenance and re-seasoning after heavy use will keep your cast iron in optimal condition, making every cooking experience enjoyable and successful. Remember, a well-seasoned Dutch oven not only improves with age but also becomes a centerpiece of culinary tradition in your kitchen, cherished for generations.