
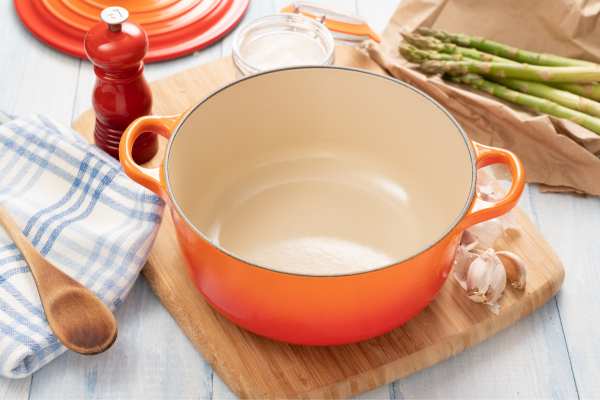
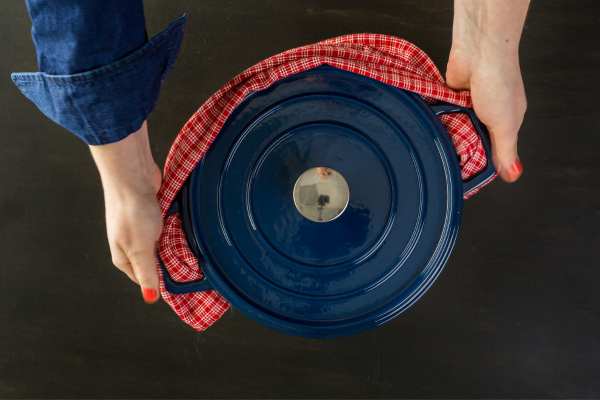
Cleaning your enamel Dutch oven doesn’t have to be a chore. Whether you’re a seasoned chef or a home cook, this guide will show you how to maintain the pristine condition of your cookware. Enamel Dutch ovens are prized for their durability and versatility in the kitchen, but they require specific care to keep them looking and performing their best. From daily cleaning to tackling those stubborn stains, we’ll cover all the essential steps. Keep your beloved pot in top shape and ensure it continues to be a centerpiece in your culinary adventures. Dive into our comprehensive guide on how to clean an enamel Dutch oven effectively and safely.
The Importance of Proper Cleaning and Maintenance
Maintaining your enamel Dutch oven with regular cleaning is crucial for its longevity and performance. Proper care prevents the buildup of food particles and oils that can degrade its enamel coating over time. Moreover, a well-maintained Dutch oven not only enhances your cooking experience but also ensures that flavors remain true and uncontaminated. Investing a little time in upkeep can save you from costly replacements and keep your cookware in peak condition for years. Embrace these maintenance practices to ensure that your Dutch oven continues to serve as a reliable tool in your culinary arsenal.
Daily Cleaning: Step-by-Step Guide
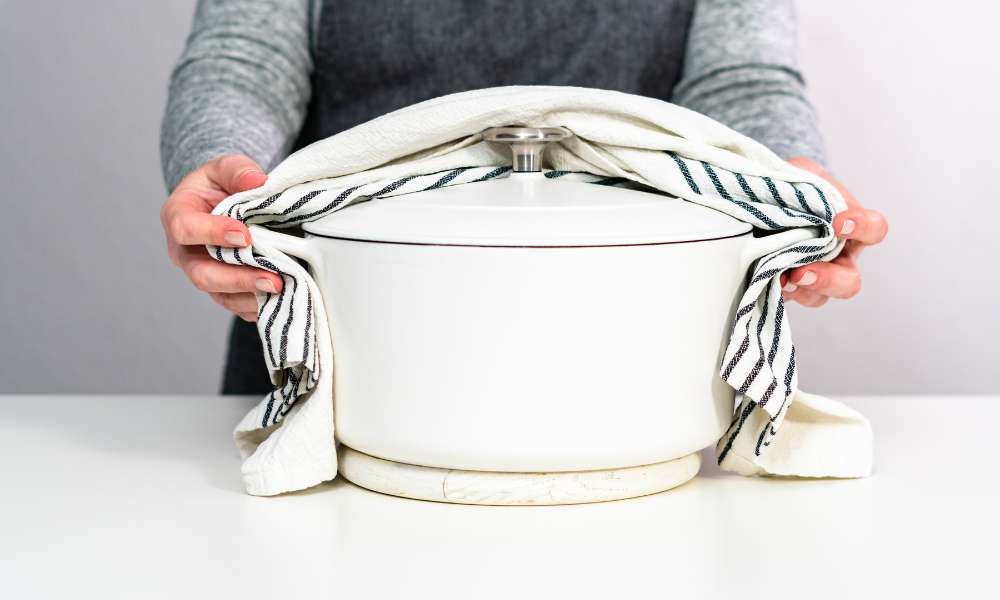
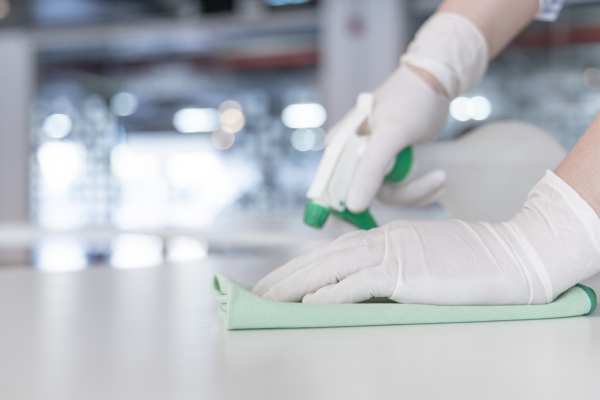
Begin your daily cleaning routine by allowing the enamel Dutch oven to cool completely. Next, fill it with warm water and add a few drops of mild dish soap. Use a soft sponge or cloth to gently scrub the interior, ensuring not to scratch the surface. Rinse thoroughly with clean water to remove any soap residue. If there are any food particles stuck, let the pot soak for 15-20 minutes before scrubbing again. Dry the Dutch oven with a soft towel or let it air dry completely to prevent water spots. This method preserves the enamel coating while keeping your cookware in pristine condition.
Removing Tough Stains and Burnt Bits
For those challenging moments when your enamel Dutch oven accumulates stubborn stains and burnt bits, fear not. Start by soaking the pot in warm, soapy water to loosen the residue. Then, create a paste using baking soda and water, applying it directly to the stains. Allow it to sit for 15-20 minutes before scrubbing gently with a soft sponge; this helps avoid scratching the enamel. For extra stubborn spots, heating the paste while in the pot can enhance its effectiveness, breaking down the residue effortlessly. Rinse thoroughly with clean water and dry to reveal a spotless surface, restoring your Dutch oven’s original shine and preparing it for your next culinary task.
Dealing with Discoloration: Best Practices
Dealing with discoloration on your clean an enamel Dutch oven can seem daunting, but with the right approach, you can restore its original luster. Begin by gently boiling a mixture of water and baking soda inside the pot; this helps lift and dissolve the discolored spots without harsh chemicals. For more stubborn areas, creating a paste of baking soda and water applied directly to the stains before rinsing can be effective. Regular use of mild, non-abrasive cleaners will prevent future discoloration and keep your Dutch oven in pristine condition. Remember, consistent care is key to maintaining the beauty and functionality of your enamel cookware.
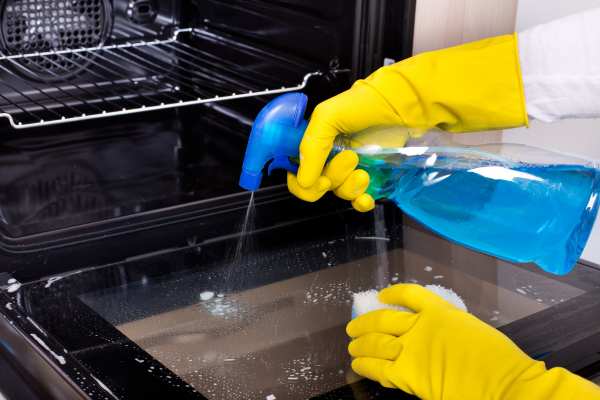
Safe Cleaning Agents for Enamel Surfaces
Choosing the right cleaning agents for your enamel Dutch oven is crucial to preserve its glossy finish and functionality. Mild detergents mixed with warm water are ideal for everyday cleaning, effectively removing grease without causing damage. For more persistent stains, a solution of baking soda and water can be used to gently scrub without scratching the surface. Vinegar can also be a handy option for tackling tough residues, ensuring you rinse thoroughly afterward. Always avoid using harsh chemicals or abrasive scrubbers, as these can erode the enamel coating. By selecting the appropriate cleaners, you can keep your Dutch oven in excellent condition for years to come.
What Not to Use: Products to Avoid
When caring for your enamel Dutch oven, certain cleaning agents should be strictly avoided to prevent damage. Abrasive cleaners like steel wool or scouring pads can scratch the surface, while harsh chemicals such as bleach or ammonia can cause discoloration and weaken the enamel coating. Instead, opt for gentle, non-abrasive sponges and mild detergents. Vinegar or lemon juice should also be used cautiously, as acidic solutions can erode the glossy finish over time. By selecting the right cleaning materials, you can maintain the integrity and appearance of your Dutch oven for years to come.
How to Deep Clean Your Enamel Dutch Oven
Deep cleaning your enamel Dutch oven is essential for removing built-up residue and ensuring it performs well in the kitchen. Start by filling the pot with warm water and adding a few drops of mild dish soap. Allow it to soak for 15 to 20 minutes to loosen any stuck-on food. Next, use a soft sponge or brush to gently scrub the interior and exterior surfaces. For persistent stains, create a paste with baking soda and water, apply it to the affected areas, and let sit before scrubbing. Rinse thoroughly with clean water and dry with a soft cloth to prevent water spots and maintain the enamel’s shine.
Preventing Damage and Stains Before They Start
To safeguard your enamel Dutch oven from damage and stains, preemptive care is essential. Begin by applying a light coating of oil to the surface before each use; this acts as a barrier against food sticking and staining. Avoid cooking at excessively high temperatures, which can lead to burnt-on residue that’s tough to remove. For best results, gradually heat the oven and use wooden or silicone utensils to prevent scratches. By taking these simple steps, you can maintain the aesthetic and functionality of your cookware, making cleanup easier and extending the life of your Dutch oven.
Seasonal Maintenance Tips for Longevity
Seasonal maintenance of your enamel Dutch oven is crucial for extending its lifespan. As the seasons change, take the opportunity to deep clean your pot. Begin by soaking it in warm, soapy water to loosen any residues. Use a soft sponge to gently scrub the surface. In the fall and spring, apply a baking soda paste to address any tough stains or discoloration. Rinsing thoroughly and drying it completely before storage will prevent moisture buildup and rust. Regular check-ups during these seasonal cleanings can help catch any wear early, ensuring your Dutch oven remains a reliable kitchen companion for years to come.
Troubleshooting Common Cleaning Issues
Encountering stubborn stains or a peculiar smell from your enamel Dutch oven can be frustrating. Often, these issues arise from food residues that aren’t fully removed during regular washing. For persistent stains, a mixture of baking soda and warm water can work wonders. Apply this paste to the stained area and let it sit for a few hours before washing as usual. If odors persist, boiling water mixed with a few tablespoons of white vinegar in the Dutch oven can help neutralize them. Always ensure the enamel is cool before cleaning to prevent thermal shock, which can cause cracking or chipping. With these tips, you can solve common cleaning problems and keep your cookware in pristine condition.
Conclusion
Maintaining your enamel Dutch oven with the proper cleaning techniques is essential for its longevity and performance. By following the steps outlined in our guide on how to clean an enamel Dutch oven, you can ensure that your cookware remains a reliable companion in your culinary endeavors. Remember, regular care not only preserves its beautiful finish but also enhances your cooking experiences. Whether you’re simmering a stew or baking bread, a well-maintained Dutch oven is key to achieving delicious results. Embrace these simple yet effective cleaning practices and your Dutch oven will continue to serve up delectable dishes for years to come.