
Discover the art of seamlessly adjusting kitchen cabinet hinges with our comprehensive guide. Properly aligning cabinet hinges not only enhances the aesthetic appeal of your kitchen but also ensures smooth functionality, eliminating annoying squeaks and misalignments. In this article, we’ll delve into the importance of adjusting cookhouse chiffonier hinges, the benefits it brings to your kitchen space, and why mastering this skill empowers you to maintain your kitchen’s efficiency effortlessly. Whether you’re a seasoned DIY enthusiast or a novice homeowner, understanding how to adjust kitchen cabinet hinges is a valuable skill that can save you time, money, and frustration in the long run.
What Tools Do I Need To Adjust My Kitchen Cabinet Hinges?
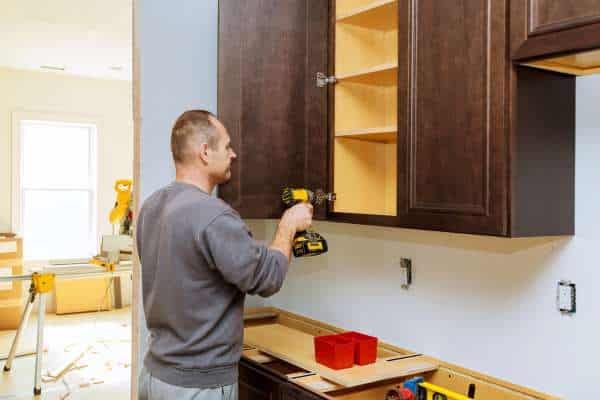
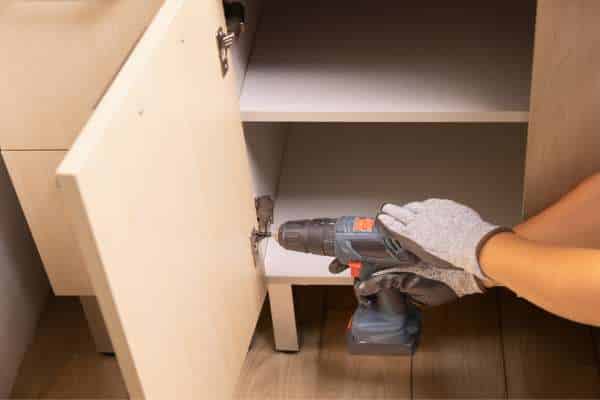
To adjust your kitchen cabinet hinges, you will need a few basic tools to ensure the process goes smoothly. The most essential tool you will need is a screwdriver, preferably one with a Phillips head for adjusting the screws on the swivels. Additionally, having a drill with various bits can be helpful if you need to make new holes or adjust existing ones.
Can I Adjust My Kitchen Cabinet Without Professional Help?
Yes, you can adjust your kitchen cabinet without professional help. Most chiffonier axes come with adjustment screws that allow you to easily change the position of the door in relation to the cabinet frame. To adjust the hinges, you will typically need a screwdriver and possibly a drill for more precise adjustments.
Step-By-Step Guide To Adjusting
1. Inspecting The Hinges
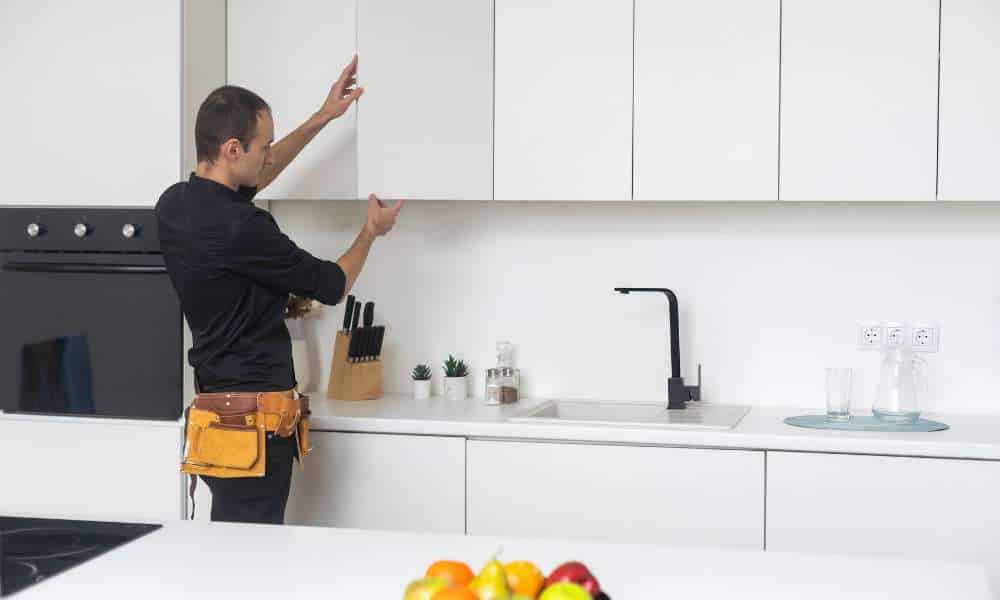
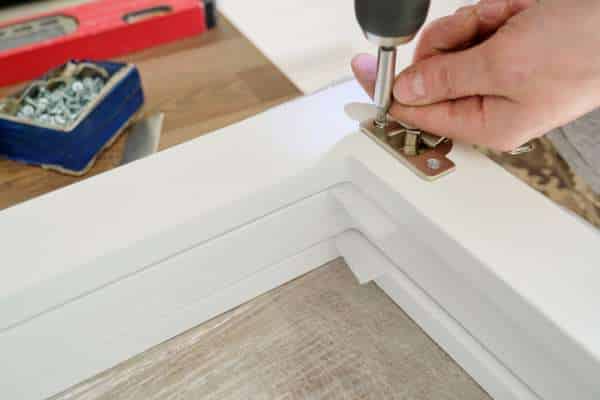
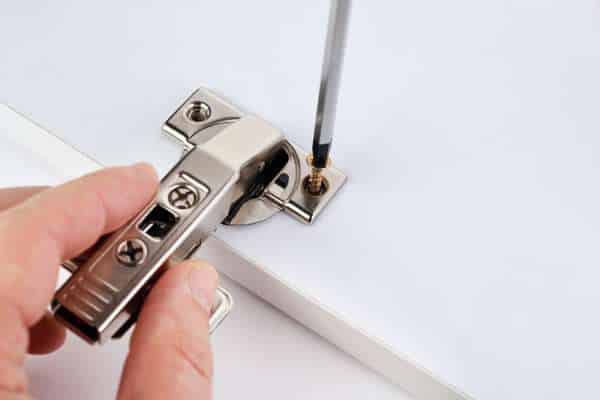
Before diving into the adjustment process, start by thoroughly inspecting the chiffonier hinges. Check for any visible signs of damage, rust, or misalignment. Ensure that the hinges are securely attached to both the cabinet door and the frame. Additionally, examine the surrounding area for any obstructions that may be hindering the hinge movement. This initial inspection will provide valuable insight into the condition of the swivels and help determine the extent of adjustment required.
2. Loosening Screws
With the inspection complete, proceed to loosen the screws that secure the hinges to the cabinet door and frame. Using a screwdriver appropriate for the screw heads, gently turn each screw counterclockwise to loosen them. Be cautious not to overtighten or strip the screws, as this could complicate the adjustment process. By loosening the screws, you create room for maneuverability, allowing you to fine-tune the hinge alignment with ease.
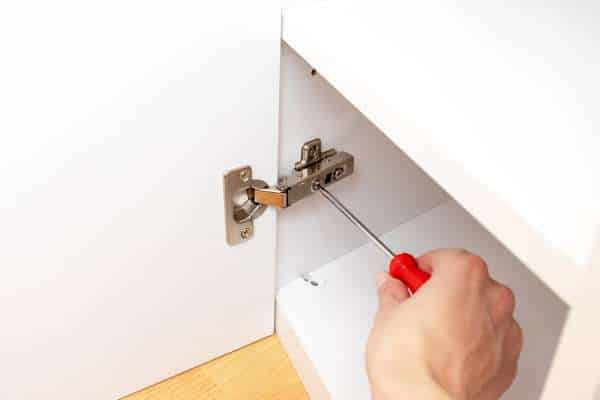
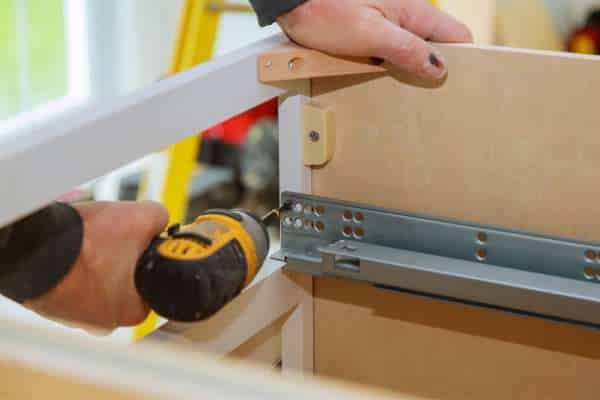
3. Adjusting Alignment
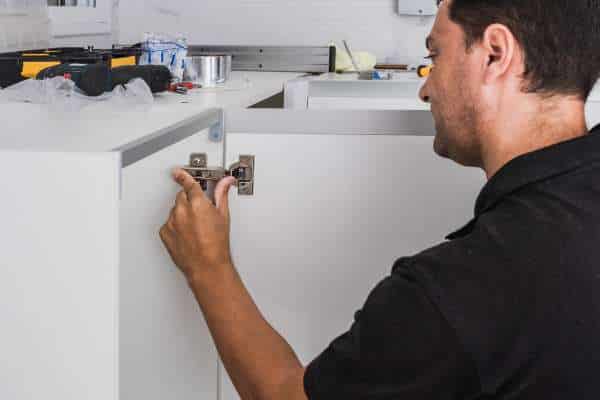
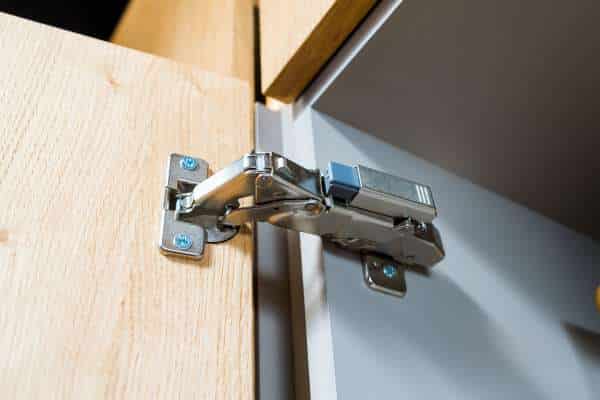
Once the screws are sufficiently loosened, focus on adjusting the alignment of the cabinet hinges. Depending on the type of hinge mechanism—whether it’s a concealed or surface-mounted hinge—you may need to employ different adjustment methods. For concealed swivels, locate the adjustment screws typically located on the hinge arm or base. Use a screwdriver to turn these screws either clockwise or counterclockwise to adjust the vertical and horizontal alignment of the chiffonier door. For surface-mounted swivels, adjust the positioning of the hinge plates to achieve the desired alignment. Take your time to make precise adjustments, ensuring that the cabinet door aligns perfectly with the surrounding cabinets and closes smoothly.
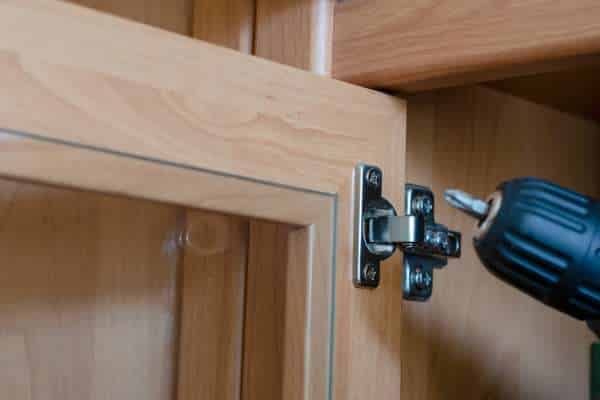
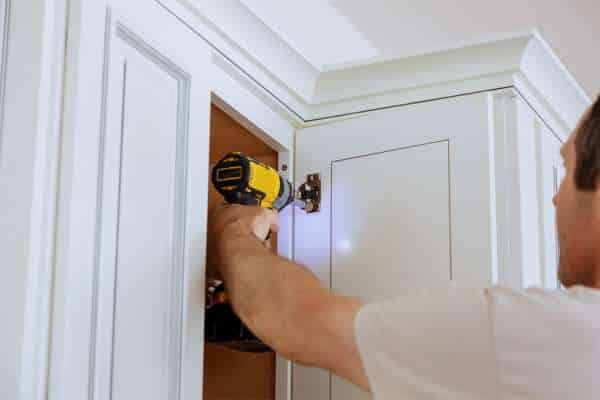
4. Tightening Screws
Once the screws are sufficiently loosened, focus on adjusting the alignment of the cabinet. Depending on the type of hinge mechanism—whether it’s a concealed or surface-mounted hinge—you may need to employ different adjustment methods. For concealed hinges, locate the adjustment screws typically located on the hinge arm or base. Use a screwdriver to turn these screws either clockwise or counterclockwise to adjust the vertical and horizontal alignment of the cabinet door. For surface-mounted hinges, adjust the positioning of the hinge plates to achieve the desired alignment. Take your time to make precise adjustments, ensuring that the chiffonier door aligns perfectly with the surrounding cabinets and closes smoothly.
5. Testing The Door
With the adjustment process complete and the screws securely tightened, it’s essential to test the functionality of the cabinet door. Open and close the door multiple times to ensure smooth movement and proper alignment. Pay attention to any signs of sticking, rubbing, or uneven gaps between the door and the chiffonier frame. If necessary, make minor adjustments to fine-tune the alignment until the door operates seamlessly. Testing the door thoroughly at this stage will help identify any remaining issues and ensure that the adjustment process is successful.
Dealing With Stubborn Screws
Dealing with stubborn screws can be a frustrating experience when making your kitchen cabinet, but with the right techniques, you can overcome this common obstacle. One effective method is to apply penetrating oil or lubricant to the screw before attempting to loosen it. The oil helps to break down any rust or debris that may be causing the screw to stick, making it easier to turn.
Improved Functionality
Improving functionality is a key aspect of maintaining an efficient kitchen space. One of the crucial elements in ensuring smooth functionality is properly adjusting kitchen chiffonier swivels. By mastering this skill, you can enhance the overall performance of your kitchen cabinets, making daily tasks such as opening and closing cabinets effortless. Whether you’re dealing with stiff hinges or misaligned cabinet doors, knowing how to adjust your kitchen chiffonier axis can significantly improve the usability of your kitchen.
Extended Lifespan Of Cabinets
Extending the lifespan of your cabinets is another compelling reason to learn how to adjust cookhouse cabinet hinges. Constant use and improper alignment can put unnecessary strain on swivels, leading to premature wear and tear. However, by regularly adjusting the hinges, you can minimize stress on the cabinet doors and prolong their durability. This not only saves you money on costly repairs or replacements but also ensures that your kitchen cabinets remain functional and aesthetically pleasing for years to come.
Causes Of Door Slamming
One common issue that homeowners encounter with cookhouse chiffonier hinges is door slamming. This can be both annoying and potentially damaging to the chiffoniers. Door slamming often occurs when the hinges are misaligned or when the doors do not close properly. However, by adjusting the swivels correctly, you can eliminate this problem and enjoy quieter and more peaceful kitchen experiences.
Correcting Cabinet Door Overlapping
Correcting cabinet door overlapping is another challenge that can arise due to poorly adjusted hinges. When chiffonier doors overlap or fail to close flush against each other, it not only detracts from the visual appeal of the kitchen but also disrupts the functionality of the cabinets. Fortunately, knowing to adjust cookhouse cabinet hinges allows you to rectify this issue with ease. By making precise adjustments to the hinges, you can ensure that the chiffonier doors align perfectly, creating a seamless and harmonious look in your kitchen.
The Final Thought
Adjusting kitchen cabinet hinges is a simple yet essential task that can greatly improve the functionality and aesthetics of your kitchen. By following the step-by-step guide outlined in this article, you can easily troubleshoot any issues with misaligned or loose swivels to ensure smooth operation of your chiffonier doors. Remember to use the appropriate tools and take your time to make precise adjustments for optimal results. Regular maintenance and adjustment of cabinet hinges will not only prolong the lifespan of your chiffoniers but also enhance the overall look of your kitchen. Take control of your cabinet hardware today and enjoy a more efficient and organized cooking space.