
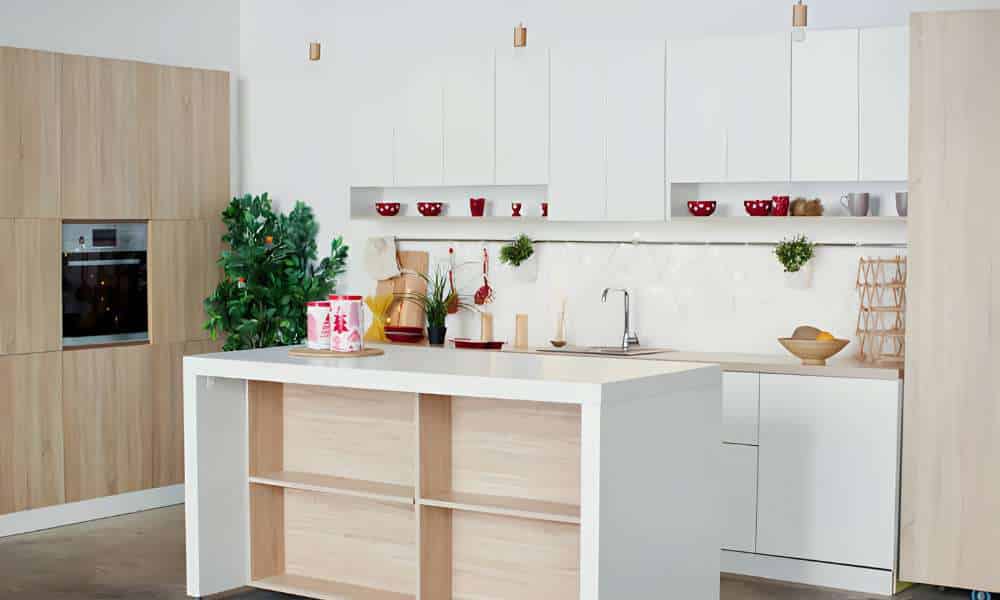
Discover the essential steps to build a kitchen sink base cabinet and elevate your culinary haven. Crafting your own core base cabinet not only adds a personalized touch to your kitchen but also allows you to tailor it to your specific needs and preferences. With this comprehensive guide, you’ll unlock the key elements necessary to construct a sturdy and efficient cabinet, ensuring optimal organization and storage solutions. Embrace the satisfaction of creating a bespoke piece that seamlessly integrates into your kitchen layout, offering both practicality and aesthetic appeal. Dive into the process, and empower yourself to transform your kitchen into a harmonious blend of style and utility.
What Materials Do I Need To Build A Kitchen Sink Base Cabinet?
You may require tools such as a circular saw or table saw for cutting the materials to size, a drill for making holes and attaching hardware, a tape measure for precise measurements, and clamps to hold pieces together during assembly. It is important to carefully plan out the design and dimensions of your cookhouse sink base cabinet before purchasing materials to ensure everything fits properly and functions effectively in your space.
How Long Does It Typically Take To Build A Kitchen Sink Base Cabinet?
The time it takes to build a kitchen sink base cabinet can vary depending on factors such as the complexity of the design, materials used, and the skill level of the person constructing it. In general, a skilled woodworker or cabinet maker can typically build a standard cookhouse sink base chiffonier in 1-2 days. This timeframe includes measuring and cutting the materials, assembling the chiffonier components, and finishing touches such as adding hardware and applying a protective finish.
Constructing The Cabinet Frame

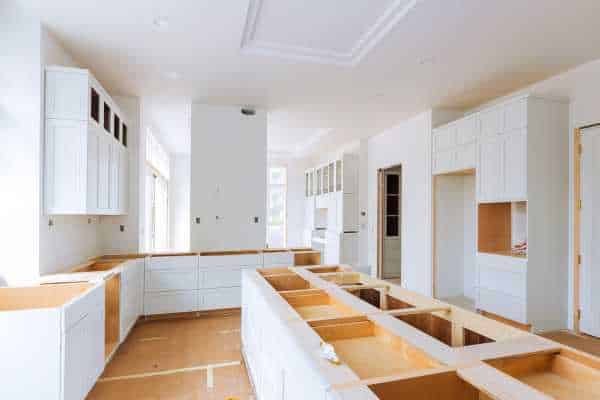
Constructing the cabinet frame is the foundational step in building a cookhouse cabinet. Begin by gathering the necessary materials such as plywood sheets, screws, and a saw. Measure and cut the plywood into pieces according to the dimensions of your desired chiffonier size. Assemble the frame using screws, ensuring it is sturdy and level. Incorporate braces for additional support, especially around areas where the sink will be installed to bear the weight effectively. Pay close attention to the accuracy of measurements to avoid any misalignments, which could affect the overall functionality and aesthetics of the chiffonier. Once the frame is constructed, double-check its stability before proceeding to the next phase.
Painting Or Staining The Cabinet
Before applying paint or stain, sand the surface of the cabinet frame to smooth out any imperfections and create a suitable base for the finish. Choose a paint or stain color that complements the overall design scheme of your kitchen. Apply the paint or stain evenly using a brush or roller, following the grain of the wood for a professional finish. Allow sufficient drying time between coats, and apply multiple coats as needed to achieve the desired depth of color or level of protection. Once the paint or stain has dried completely, seal the chiffonier with a clear topcoat to prolong its lifespan and maintain its aesthetic appeal.
Installing The Sink And Countertop

Installing the sink and countertop is a critical step in completing your cookhouse sink base cabinet. Begin by carefully measuring and marking the position of the sink and countertop on the chiffonier frame. Use a jigsaw or similar tool to cut out the openings for the sink and any additional fixtures such as faucets or soap dispensers. Once the openings are cut, carefully lower the sink into place, ensuring it fits snugly and securely. Secure the sink in place using mounting brackets or adhesive as per the manufacturer’s instructions. Next, install the countertop, ensuring it is level and properly aligned with the rest of the chiffonier. Depending on the material of the countertop, you may need to use adhesive or screws to secure it in place. Finally, seal the edges around the sink and countertop to prevent water damage and ensure a seamless finish.
Keeping The Cabinet Dry
To maintain the longevity of your kitchen sink core cabinet, it is essential to keep it dry and free from moisture buildup. Start by regularly inspecting the cabinet for any signs of leaks or water damage, paying particular attention to areas around the sink and plumbing fixtures. Promptly address any leaks or drips to prevent them from causing extensive damage to the cabinet structure. Additionally, consider installing a waterproofing membrane or sealant around the sink and countertop to create a barrier against moisture intrusion. Ensure proper ventilation in the kitchen to allow moisture to dissipate efficiently, reducing the risk of mold and mildew growth. Incorporate drip trays or mats inside the chiffonier to catch any spills or leaks and prevent them from reaching the cabinet’s interior. By implementing these preventive measures, you can effectively safeguard your kitchen sink core chiffonier against moisture-related issues and prolong its lifespan.
Attach Back Panel For Stability
Attach the back panel for stability when making kitchen cabinet doors, precision is key. Ensuring that the back panel is securely attached not only adds stability but also enhances the overall durability of the cabinet. One effective method is to use screws or nails along with a strong adhesive to firmly secure the back panel in place. This combination of fasteners and adhesive creates a strong bond that prevents any potential shifting or warping over time.
Add Decorative Molding
Incorporating decorative molding into your kitchen sink base chiffonier adds a touch of elegance and sophistication to the overall design. Whether you opt for simple trim or intricate details, molding can elevate the aesthetic appeal of your cabinet while concealing any rough edges or imperfections. Prior to attaching the molding, carefully measure and cut it to size using a saw, ensuring precise angles and dimensions. Once cut, apply wood glue along the edges of the cabinet frame and press the molding into place, securing it with nails or brads. Take your time to ensure proper alignment and spacing, as well-placed molding can transform a basic chiffonier into a stunning focal point of your kitchen.
Using A Saw To Cut The Panels
Precision is key when cutting the panels for your kitchen core cabinet. Utilizing a saw with the appropriate blade ensures clean and accurate cuts, resulting in a professional-looking finished product. Measure the dimensions of each panel carefully before making any cuts to avoid errors. Whether you’re working with plywood, MDF, or another material, adjust the saw settings accordingly to achieve the desired thickness and smoothness. Take your time and exercise caution to prevent any accidents or damage to the panels. With precise cuts, your cabinet will come together seamlessly, creating a polished and cohesive look in your kitchen.
Reinforcing Joints For Sturdiness
Reinforcing joints is essential for ensuring the sturdiness and durability of your kitchen core base chiffonier. Weak or poorly reinforced joints can compromise the structural integrity of the cabinet, leading to instability and potential damage over time. To prevent this, consider using techniques such as dowels, biscuits, or pocket screws to reinforce the joints between panels. These methods help to create strong, secure connections that can withstand the weight of the sink and withstand daily use in the kitchen. By reinforcing your cabinet joints, you can create a long-lasting and reliable storage solution for your kitchen.
Creating Openings For Pipes
Creating openings for pipes is another essential aspect of building a cookhouse core cabinet that cannot be overlooked. Properly positioned and sized openings allow for seamless integration of plumbing fixtures, ensuring efficient functionality of the sink. Whether accommodating drain pipes, water supply lines, or garbage disposal units, precise measurements and careful planning are crucial to avoid any potential obstructions or leaks. By taking the time to carefully cut and fit openings for pipes during the construction process, you eliminate the need for costly and time-consuming adjustments later on.
Staining For A Natural Look

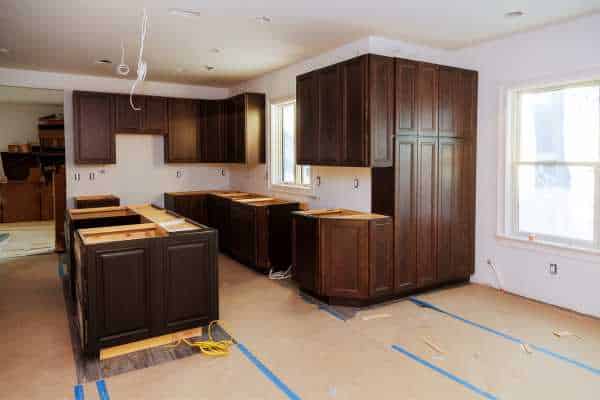
Staining wood for a natural look is a simple yet effective way to enhance the beauty of your cookhouse chiffonier. By choosing the right stain color and application method, you can achieve a warm, inviting finish that complements any style of kitchen decor. Opting for a light or medium-toned stain will bring out the natural grain and texture of the wood, creating a timeless and elegant appearance.
The Final Thought
Building a kitchen sink base cabinet requires careful planning, precise measurements, and attention to detail. By following the steps outlined in this article, you can create a sturdy and functional cabinet that will enhance the efficiency and aesthetic appeal of your kitchen. Remember to use high-quality materials and tools to ensure the longevity of your project. With patience and dedication, you can successfully complete this project and be proud of your craftsmanship. Start building your kitchen sink base chiffonier today and enjoy the satisfaction of a job well done.