
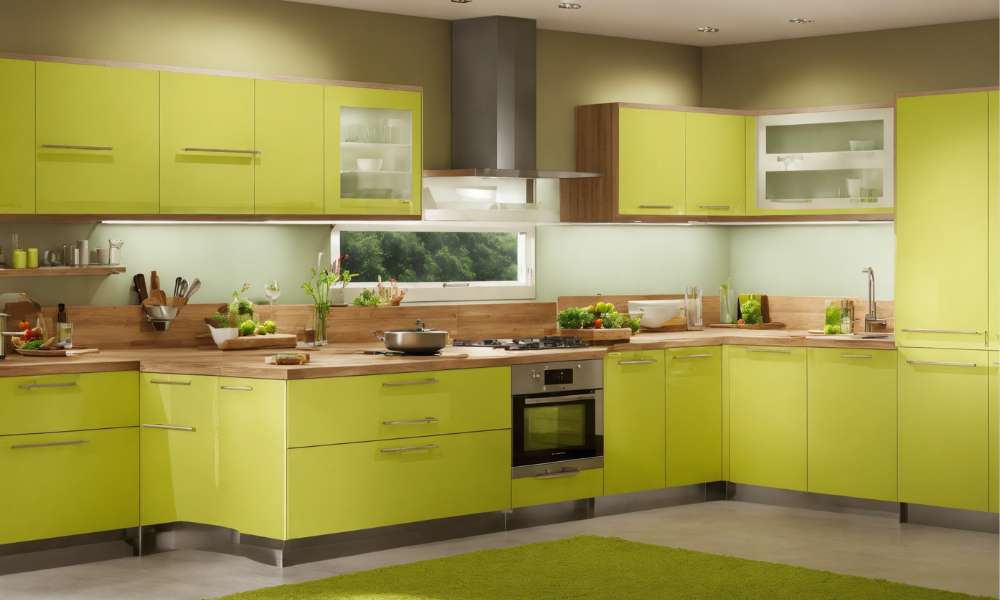
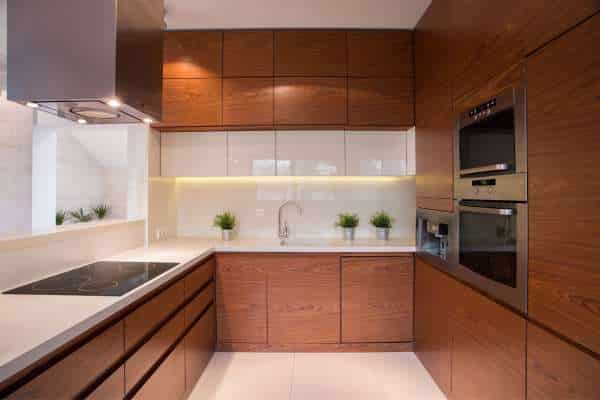
Revitalize your kitchen space with a simple yet impactful transformation – learn how to change kitchen cabinet color effortlessly. Altering the hue of your cabinets not only breathes new life into the heart of your home but also provides a cost-effective way to refresh your kitchen’s aesthetic. With the right tools, techniques, and a dash of creativity, you can achieve stunning results that reflect your personal style and elevate the ambiance of your culinary haven. Discover the importance of this endeavor, the myriad benefits it offers, and why it’s a task well within your reach. Whether you’re aiming for a bold statement or a subtle change, mastering the art of changing kitchen cabinet color opens doors to endless possibilities, allowing you to tailor your space to perfection.
How Long Does It Take To Change Kitchen Cabinet Color?

The time it takes to change the color of kitchen cabinets can vary depending on several factors such as the size of the kitchen, the type of cabinets, and the chosen color. Generally, the process involves thorough cleaning, sanding, priming, painting, and sealing the cabinets. This can take anywhere from a few days to a week or more to complete.
Can I Change The Color Of My Laminate Cabinets?
Yes, you can change the color of your laminate cabinets. One option is to paint them with a high-quality primer and paint specifically designed for laminate surfaces. Make sure to clean and sand the cabinets before applying the paint to ensure a smooth finish. Another option is to use a laminate cabinet refacing kit, which allows you to apply a new laminate surface over the existing one in the color of your choice.
Gathering Supplies
1. Paint Brushes And Rollers
The backbone of any painting project, high-quality paint brushes and rollers are indispensable. Opt for brushes with synthetic bristles for smooth application and rollers with varying nap lengths to accommodate different surfaces. These tools allow for precise coverage and seamless blending, ensuring a professional finish that enhances the appearance of your cabinets.
2. Painter’s Tape
Precision is key when painting cabinets, and painter’s tape is your secret weapon for achieving clean, crisp lines. Use it to protect adjacent surfaces, such as walls and countertops, from accidental paint splatters or smudges. Invest in high-quality painter’s tape that adheres firmly without damaging underlying surfaces, allowing you to focus on perfecting your brush strokes without worrying about cleanup.
3. Drop Cloths
Minimize mess and simplify cleanup by laying down drop cloths to protect your kitchen floor and surrounding areas. Whether you’re working with wood, tile, or carpet, drop cloths provide a barrier against drips and spills, keeping your workspace tidy and free of paint stains. Opt for heavy-duty canvas or plastic drop cloths that are durable and easy to maneuver around furniture and appliances.
Patience Is Key
Embarking on this project requires careful planning and execution to ensure a successful outcome. One of the most crucial factors to keep in mind when changing kitchen cabinet colors is the importance of patience. Rushing through the process can lead to mistakes and diminish the quality of the final result. Therefore, it’s essential to approach each step of the process with patience and attention to detail, allowing ample time for each stage to be completed thoroughly.
Checking Material Compatibility
To remove kitchen cabinet doors effectively, start by detaching any hinges or screws holding them in place. Keep track of all hardware and label each piece to make reassembly easier later on. Additionally, consider using a gentle cleaner or solution suitable for the specific material of your cabinet doors to avoid any potential discoloration or deterioration over time. Taking these steps will not only help maintain your kitchen’s aesthetic appeal but also prolong the lifespan of your cabinet doors.
Evaluating Surface Condition
The condition of your cabinet surfaces plays a significant role in the success of your painting project. Before applying any paint, thoroughly evaluate the surfaces for any imperfections, such as cracks, dents, or grease buildup. These flaws can affect the adhesion of the paint and result in an uneven finish. Take the time to clean and prepare the surfaces properly, sanding down rough spots and filling in any cracks or holes as needed. A smooth, clean surface provides the ideal canvas for a flawless paint job.
Optimal Drying Time
Optimal drying time is a critical aspect of changing kitchen cabinet color that should not be overlooked. After applying each coat of paint, it’s important to allow sufficient time for it to dry completely before proceeding to the next step. Rushing through drying time can result in uneven coverage, streaks, or smudges, ultimately compromising the overall finish of your cabinets. By following the manufacturer’s recommendations for drying time and ensuring that each coat is fully dry before moving on, you can achieve a professional-looking result that will withstand the test of time.
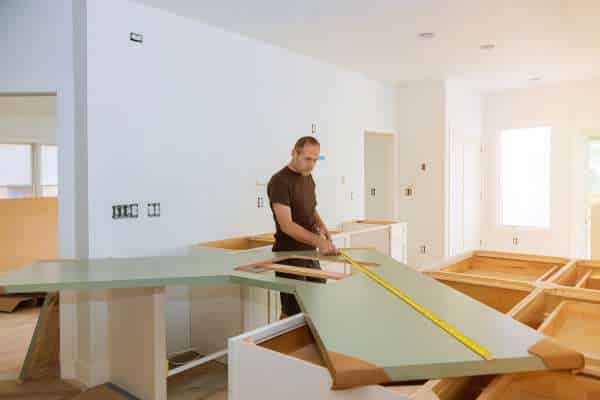
Reassembling The Cabinets
Reassembling the cabinets is the next crucial step in the transformation process. Careful attention to detail is essential during this stage to ensure that everything fits together seamlessly. Begin by carefully aligning the cabinet doors and drawers, making sure that they are level and properly positioned. Then, reattach any hardware, such as hinges, handles, and knobs, ensuring that they are securely fastened. Taking the time to reassemble the cabinets with precision will help to ensure a polished and cohesive final result.
Careful Handling Of Hardware

Careful handling of hardware is another important consideration when changing kitchen cabinet color. Before painting, it’s essential to remove all hardware from the cabinets to ensure that every surface can be painted evenly. Take care to label each piece of hardware and store it in a safe place to prevent loss or damage. Once the cabinets have been painted and are fully dry, reinstalling the hardware requires patience and attention to detail. Ensure that each piece is aligned correctly and securely fastened to ensure smooth operation and a professional finish.
The Final Thought
Changing the color of your kitchen cabinets can completely transform the look and feel of your space. With a few simple steps and some careful planning, you can achieve a fresh new look without breaking the bank. Remember to prepare properly by cleaning and sanding the cabinets before applying paint or stain for optimal results. Experiment with different colors and finishes to find the perfect match for your style and existing decor. Take the opportunity to revitalize your kitchen with a new cabinet color and enjoy a space that feels updated and personalized. Embark on this DIY project today to create a kitchen that truly reflects your personality and taste!