

Changing out a kitchen sink faucet can rejuvenate your kitchen’s functionality and aesthetics effortlessly. Whether you’re upgrading an outdated fixture or replacing a malfunctioning one, knowing how to change out a kitchen sink faucet is a valuable skill. This task not only enhances the appearance of your kitchen but also improves water efficiency and functionality. Understanding the process is crucial for maintaining your kitchen’s hygiene and optimizing daily tasks like dishwashing and food preparation. With the right tools and guidance, you can easily accomplish this project, saving both time and money.
How Long Does It Typically Take To Change A Kitchen Sink Faucet?

The time it takes to change a kitchen sink faucet can vary depending on your level of experience and the complexity of the installation. In general, for someone with basic DIY skills, changing a kitchen sink faucet can take anywhere from 30 minutes to 2 hours. The process typically involves turning off the water supply, removing the old faucet, cleaning the area, and installing the new faucet.
Do I Need To Turn Off The Main Water Supply To Replace A Faucet?
Yes, it is recommended to turn off the main water supply before replacing a faucet to prevent any potential leaks or water damage. By turning off the main water supply, you ensure that no water flows through the pipes while you work on replacing the faucet. This will make the process smoother and reduce the risk of any accidents or complications.
Draining Excess Water
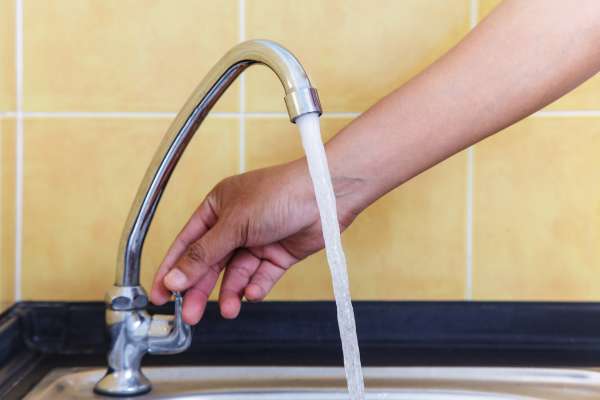
Before starting the replacement process, ensure to turn off the water supply and drain excess water from the existing faucet. This step prevents unnecessary spills and makes the task more manageable. Next, detach the old faucet carefully by loosening the nuts and disconnecting the water supply lines. Use adjustable wrenches or pliers to loosen stubborn connections, ensuring a smooth removal process.
Loosening The Mounting Nuts
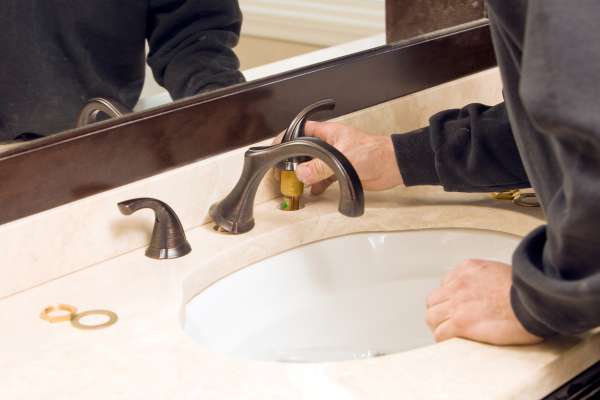
Loosening the mounting nuts is the next critical step in replacing your kitchen sink faucet. Utilize an adjustable wrench to carefully loosen and remove the nuts that secure the faucet to the sink. These nuts are typically located underneath the sink and may require some effort to loosen due to accumulated grime or corrosion. Taking care during this step helps prevent damage to the sink and ensures a secure fit for the new faucet.
Detaching The Faucet
Detaching the old faucet is essential. Use a wrench to loosen and remove the nuts and bolts that secure the faucet to the sink. Depending on the type of faucet, you may also need to disconnect the water supply lines and any additional components such as the sprayer hose. Carefully lift the old faucet out of the sink, ensuring not to damage the surrounding area.
Adjusting Spout
Adjusting the spout on your kitchen faucet can make a significant difference in the functionality and aesthetic appeal of the fixture. When it comes to replacing the cartridge in your faucet, it’s important to first identify the type of faucet you have to ensure you purchase the correct replacement part. Once you have the new cartridge, carefully follow the manufacturer’s instructions for installation to prevent any leaks or malfunctions. Taking the time to adjust and maintain your faucet properly can extend its lifespan and keep it working efficiently for years to come.
Inspecting For Any Damage
Inspecting for any damage is another critical aspect of changing out a kitchen sink faucet. Before removing the old faucet, thoroughly examine it for leaks, corrosion, or worn-out components that may affect its performance. Check the connections and handles for any signs of wear or deterioration. Identifying and addressing potential issues early can prevent future problems and ensure that your new faucet operates smoothly. Additionally, inspecting for damage allows you to plan for any necessary repairs or replacements, ensuring the longevity and efficiency of your kitchen sink faucet.
Positioning The New Faucet
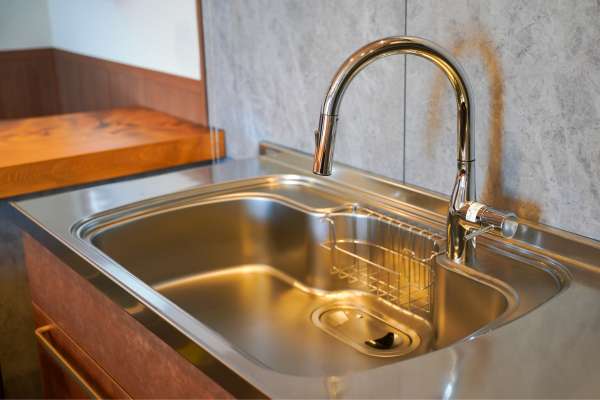
Positioning the new faucet correctly is essential to completing the installation process successfully. Start by aligning the faucet with the pre-drilled holes in your sink or countertop, ensuring a snug fit. Secure the faucet in place using the mounting hardware provided, tightening it evenly to avoid leaks or instability. Pay attention to the orientation of the handles and spout to ensure easy access and smooth operation. Proper positioning not only enhances the aesthetic appeal of your kitchen but also facilitates convenient use for everyday tasks like washing dishes and preparing meals. By following these steps, you can confidently change out your kitchen sink faucet, enjoying improved functionality and a refreshed kitchen environment.
Securing With Mounting Hardware
Securing the new faucet with mounting hardware is another critical step in the replacement process. Start by positioning the faucet into the mounting holes on the sink, aligning it correctly with the handles facing the desired direction. Insert the mounting bolts from underneath the sink and tighten them securely with a wrench or screwdriver. This step ensures the faucet is firmly anchored to the sink, preventing any movement that could lead to leaks or instability over time.
Testing Faucet Operation

Testing the faucet’s operation is essential to ensure everything functions correctly before finishing the installation. Turn on both the hot and cold water supplies and check for any leaks around the base of the faucet and handles. Activate the faucet handles to confirm smooth water flow and proper temperature control. Adjust any fittings if necessary to eliminate leaks or improve water flow, ensuring the faucet operates efficiently and reliably.
Cleaning Up Excess Sealant
Cleaning up excess sealant is the final step in changing out a kitchen sink faucet, ensuring a neat and professional finish. Use a damp cloth or sponge to wipe away any excess plumber’s putty or silicone sealant that may have squeezed out during installation. Pay attention to areas around the base of the faucet and handles to remove any visible residue. A clean seal not only enhances the faucet’s appearance but also prevents potential water damage by maintaining a secure and waterproof seal around the installation site.
The Final Thought
Changing out a kitchen sink faucet is a manageable DIY project that can greatly improve the functionality and aesthetics of your kitchen. By following the step-by-step instructions provided in this article, you can successfully replace your old faucet with a new one in just a few hours. Remember to gather all necessary tools and materials before beginning the process, and take your time to ensure everything is installed correctly. With a new faucet in place, you’ll enjoy the benefits of improved water flow and a fresh look in your kitchen.