
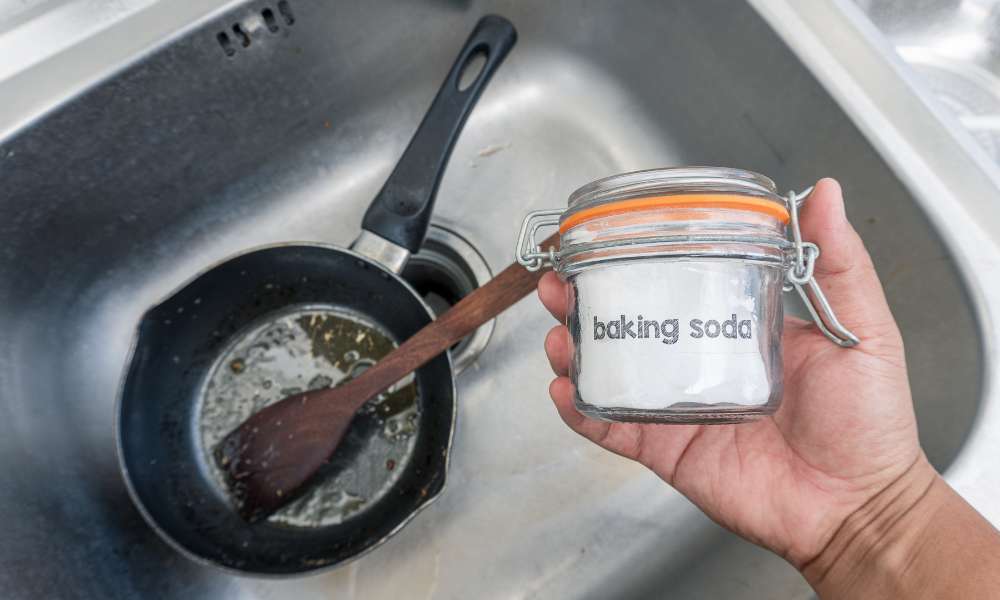
- Cooking is A wonderful And fulfilling activity, Allowing us to create delicious meals And experiment with different flavours. However, It’s not always smooth sailing in the kitchen. Burnt pans are A common mishap that can leave even the most experienced cooks feeling frustrated. While baking soda is often hailed as a miracle solution for cleaning burnt pans, There are alternative methods that can also effectively restore your cookware to its former glory. This post will cover A variety of non-How to Clean a Burnt Pan Without Baking Soda techniques for scorched pans as well as time- and efficiency-saving tips.
Why Not Baking Soda?
Baking soda is a widely recognized And popular household cleaner, Known for its versatility in removing stains, Odors, And grime. However, Some individuals might not have baking soda readily available, While others might be looking for alternative methods due to personal preferences or allergies. Fortunately, There are several other options that can yield excellent results in cleaning burnt pans.
Consideration of Ingredients and Properties
Each alternative cleaning technique offers A special combination of components And qualities that add to their effectiveness. Vinegar, For instance, Capitalizes on its acidic nature to break down tough residues, Making it a formidable opponent against stubborn burnt-on food. Salt And oil, On the other hand, Join forces to create an abrasive yet gentle scrub that can work wonders on your cookware. And then there’s the cream of tartar, Harnessing its mild acidity to dissolve burnt remnants And restore the pan’s shine. For those who may have allergies, Preferences, Or a lack of certain ingredients, These alternatives offer a welcome relief from the conventional baking soda route. By exploring these methods, You gain access to a wider toolkit for maintaining your kitchen essentials.
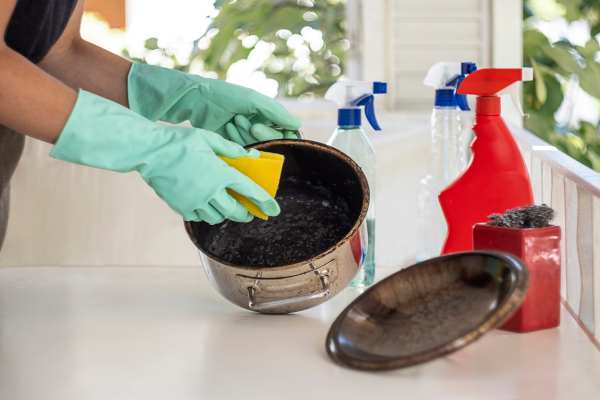
Exploring Alternative Cleaning Methods

The world of cleaning isn’t one-size-fits-all, and the same holds true for burnt pan remedies. From vinegar to salt, oil to cream of tartar, an array of alternatives awaits. These methods provide ingenious ways to tackle burnt-on food without resorting to the traditional baking soda approach.
Method 1: Vinegar and Water
Vinegar is another kitchen staple that has powerful cleaning properties. Its acidic nature helps break down stubborn burnt residues, making it a suitable candidate for cleaning burnt pans. Here’s how to use vinegar to clean your pan:
- Pour Vinegar and Water Mixture: Begin by pouring equal parts of water and vinegar into the burnt pan. Make sure there’s enough liquid to cover the burnt areas.
- Boil the Solution: Place the pan on the stove and bring the vinegar-water mixture to a boil. Allow it to simmer for a few minutes.
- Scrubbing: Turn off the heat and let the pan cool down slightly. Then, use a non-abrasive scrubber or a soft cloth to gently scrub away the burnt residue. The combination of heat and acidity should help loosen the burnt particles.
- Rinse and Dry: Once you’ve removed the burnt residue, rinse the pan thoroughly with water to remove any remaining vinegar smell. Dry the pan with a clean towel.
Method 2: Salt and Oil
Salt, when combined with a small amount of oil, can create an abrasive yet gentle scrub that helps lift burnt-on food particles. Here’s how to use this method:
- Sprinkle Salt: Sprinkle a generous amount of table salt onto the burnt areas of the pan.
- Add Oil: Drizzle a small amount of cooking oil (such as vegetable oil) over the salt. This will create a paste-like mixture.
- Scrubbing: Use a sponge or a soft cloth to gently scrub the burnt areas with the salt-oil mixture. The salt acts as an abrasive, while the oil helps in loosening the burnt residue.
- Rinse and Clean: Rinse the pan with warm water to remove the salt and oil residue. Wipe the pan dry with a clean towel.
Method 3: Cream of Tartar
Cream of tartar, a byproduct of winemaking, is an effective alternative for cleaning burnt pans due to its mild acidic properties. Here’s how to use it:
- Create a Paste: Mix a small amount of cream of tartar with a few drops of water to create a paste.
- Apply the Paste: Spread the paste over the burnt areas of the pan. Let it sit for about 15-20 minutes.
- Scrubbing: Use a soft sponge or cloth to gently scrub the paste-covered areas. The paste’s acidity will aid in loosening the burnt residue.
- Rinse and Dry: Thoroughly rinse the pan with water to remove any leftover paste. Dry the pan using a clean towel.
Tips for Effective Cleaning
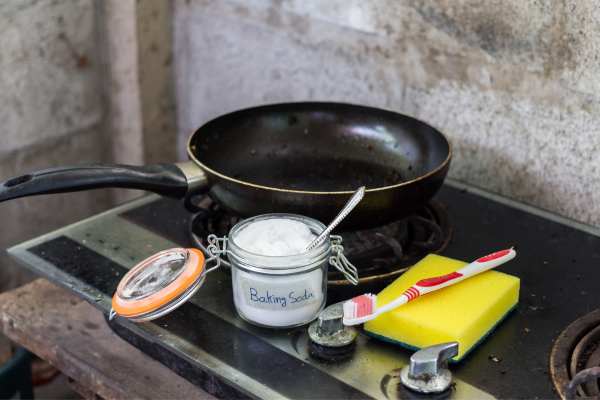
- Act Quickly: The sooner you address the burnt pan, the easier it will be to clean. If possible, start the cleaning process as soon as the pan has cooled down slightly.
- Avoid Abrasive Tools: While it’s tempting to reach for steel wool or abrasive scrubbers, these can damage the pan’s surface. Opt for non-abrasive tools like soft sponges or cloths to prevent scratching.
- Regular Maintenance: To prevent burnt-on food from accumulating, incorporate regular cleaning and maintenance into your cooking routine. Pre-soaking pans in warm, soapy water after each use can help prevent stubborn residues.
- Use Wooden Utensils: When cooking, use wooden or silicone utensils that are less likely to scratch the pan’s surface, making it easier to clean in the long run.
- Choose the Right Pan: Investing in high-quality cookware with non-stick coatings can reduce the chances of food sticking and burning in the first place.
Tips for Effective Cleaning
As you embark on your journey to conquer the remnants of burnt mishaps, it’s crucial to equip yourself not only with alternative cleaning methods but also with a set of valuable tips. These tips will guide you through the process of transforming your battle-scarred pan into a shining kitchen asset, all while ensuring a seamless and efficient cleaning experience.
Act Quickly to Address the Burnt Pan
- Emphasize the importance of starting the cleaning process as soon as the pan cools down.
- Explain how prompt action can prevent the burnt residue from becoming even harder to remove over time.
- Highlight that acting quickly contributes to easier cleaning and better results. Avoid Abrasive Tools and Harsh Scrubbing
- Advise against resorting to steel wool or abrasive scrubbers, as these can damage the pan’s surface.
- Encourage readers to opt for non-abrasive tools like soft sponges or cloths to prevent scratching.
- Stress the importance of preserving the integrity of the pan while cleaning.
Prioritize Regular Maintenance

- Suggest the practice of pre-soaking pans in warm, soapy water immediately after use.
- Explain that regular maintenance can prevent burnt residues from accumulating and becoming stubborn.
- Recommend dedicating a few extra minutes after each use to save time and effort in the long run.
Embrace the Right Utensils
- Highlight the significance of using wooden or silicone utensils when cooking.
- Explain that these utensils are less likely to scratch the pan’s surface, leading to easier cleaning.
- Encourage readers to choose utensils that complement their pan’s material to ensure longevity.
Invest in Quality Cookware
- Emphasize the benefits of high-quality cookware with non-stick coatings.
- Explain that investing in quality pans can significantly reduce the likelihood of food sticking and burning in the first place.
- Highlight how prevention can alleviate the need for intensive cleaning efforts.
Gentle Scrubbing is Key
- Stress the importance of using a gentle scrubbing technique.
- Explain that applying excessive force while scrubbing can lead to unintended scratches or damage.
- Encourage readers to let the chosen cleaning solution and their patience do the work.
Rinse Thoroughly to Remove Residues
- Highlight the need for thorough rinsing after applying any cleaning solution.
- Explain that leaving residue from the cleaning solution can affect the taste and quality of future dishes.
- Encourage rinsing until no traces of the solution or burnt particles remain.
Dry the Pan Properly
- Emphasize the importance of drying the pan thoroughly after cleaning.
- Explain that moisture left on the pan’s surface can lead to rust or corrosion.
- Recommend using a clean, dry towel to ensure the pan’s longevity.
Tailor Methods to Pan Material
- Advise readers to consider their pan’s material when choosing a cleaning method.
- Explain that certain materials might react differently to cleaning agents.
- Encourage matching the cleaning method to the pan’s material for optimal results.
Stay Patient and Persistent
- Remind readers that the cleaning process may take time, especially for more severe burnt residues.
- Encourage persistence and patience, as the end result will be worth the effort.
- Highlight that a patient approach leads to better outcomes and preserves the pan’s quality.
Prevent Future Burnt Residues
- Conclude by encouraging readers to apply the learned tips and methods to prevent future burnt-on residues.
- Emphasize that proactive care can significantly reduce the need for intensive cleaning.
- Reinforce the idea that a well-maintained kitchen is a more enjoyable and efficient cooking space.
Advantages of Alternatives
While baking soda is undeniably effective, these alternative methods hold their own advantages. They offer a chance to explore different cleaning properties and experiment with various combinations. The efficacy of these methods is a testament to the versatility of everyday household items in addressing common kitchen challenges. By considering these alternatives, you’re not only cleaning your cookware but also broadening your culinary toolkit.
Conclusion
Dealing with a burnt pan can be frustrating, but it doesn’t have to be a daunting task. While baking soda is a popular choice for cleaning burnt pans, it’s good to know that alternative methods can yield equally effective results. Vinegar, salt, oil, and cream of tartar are all readily available kitchen ingredients that can help you restore your pan to its former glory. Remember to choose the method that suits your preferences and the materials you have on hand, and don’t forget to follow the tips for effective cleaning to make the process as smooth as possible. With a little effort and the right approach, you’ll have your burned pan looking brand new in no time.