
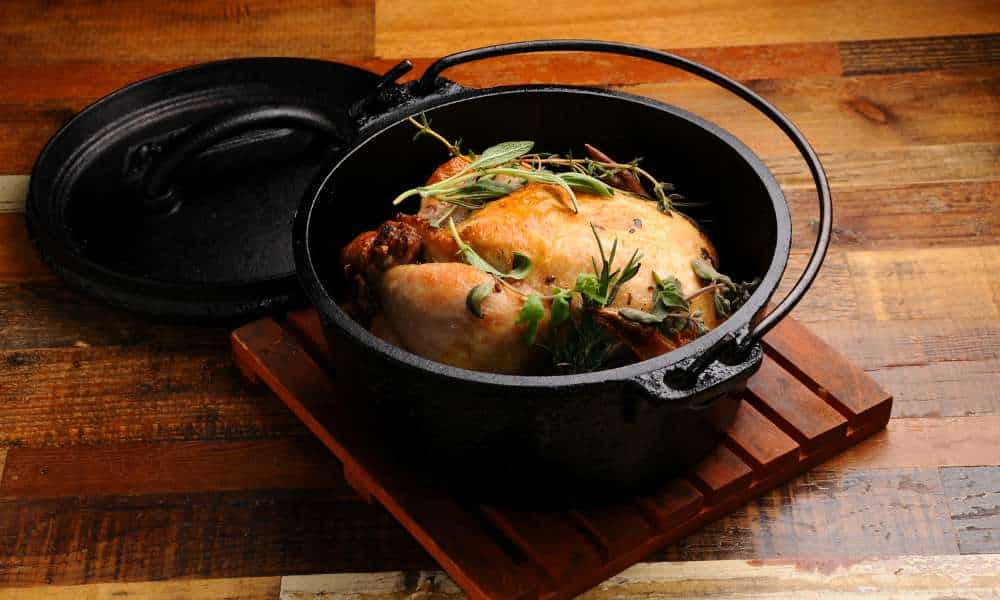
A Dutch oven is a kitchen staple, known for its durability and versatility, but stains can quickly dull its charm. How to clean Dutch oven stains is a common query for maintaining this prized cookware’s pristine condition. From burnt-on residue to rust or discoloration, tackling stubborn stains requires the right approach to preserve its functionality and appearance. This guide provides expert tips and proven methods to restore your Dutch oven’s shine without damaging its surface. Whether you’re dealing with enamel or cast iron, learning proper cleaning techniques ensures your Dutch oven remains a reliable companion in the kitchen. Let’s dive into the best ways to keep it spotless and ready f
Understanding the Types of Stains in a Dutch Oven

Dutch ovens are prone to various stains that can affect their appearance and performance. Common types include burnt-on food residue, which often results from high-heat cooking, and oil stains that develop from frequent use without proper cleaning. Rust is another issue, particularly for cast iron Dutch ovens if they are exposed to moisture or not seasoned correctly. Enamel Dutch ovens can experience discoloration from acidic foods or prolonged use. Identifying the type of stain is crucial for choosing the right cleaning method. Each stain requires a specific approach to ensure the Dutch oven remains in top condition without compromising its surface or seasoning.
Why Proper Cleaning Is Essential for Longevity
Proper cleaning of a Dutch oven is vital for maintaining its durability, functionality, and aesthetic appeal. Residual food particles, grease, or stains can degrade the material over time, leading to rust or damage to the seasoning in cast iron models. For enamel-coated Dutch ovens, neglecting to clean can result in discoloration or permanent stains. Regular and thorough cleaning not only extends the lifespan of your cookware but also ensures that flavors from previous meals don’t linger, keeping your dishes fresh and delicious. Prioritizing proper maintenance preserves the investment in your Dutch oven, making it a reliable and beautiful tool for countless meals ahead.
Tools and Supplies You Need for Cleaning

Cleaning a Dutch oven effectively starts with having the right tools and supplies on hand. Essential items include a soft sponge or nylon brush to avoid scratching the surface, baking soda for gentle scrubbing, and white vinegar to tackle tough stains. For stubborn residue, a wooden scraper is ideal for loosening debris without harming the coating. If you’re dealing with rust, a small amount of steel wool may be necessary, but use it sparingly. Always have a microfiber cloth for thorough drying to prevent moisture buildup. These tools ensure your Dutch oven remains in top condition, ready for years of cooking enjoyment.
How to Remove Burnt Food Residue
Burnt food residue in a Dutch oven can be stubborn but is manageable with the right techniques. Start by filling the oven with warm water and a few drops of dish soap, then let it soak for about 30 minutes to loosen the residue. Use a non-abrasive scrubber to gently clean the surface without damaging the seasoning or enamel. For tougher stains, create a paste with baking soda and water, applying it directly to the affected area. Allow it to sit before scrubbing gently. Avoid using harsh chemicals or steel wool, as they can harm the surface. Proper care ensures your Dutch oven stays in excellent condition for years to come.
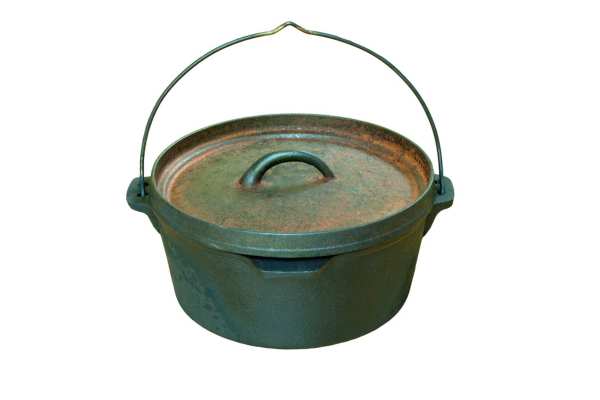
Dealing with Rust Stains Effectively
Rust stains on a Dutch oven can compromise its performance and longevity if not addressed promptly. To deal with rust effectively, start by scrubbing the affected areas with a mixture of coarse salt and warm water using a non-abrasive sponge. For stubborn rust, use a paste of baking soda and water, allowing it to sit for a few minutes before scrubbing. Once the rust is removed, rinse thoroughly and dry completely to prevent further corrosion. Re-season the Dutch oven with a thin layer of oil to restore its protective coating. Regular maintenance helps prevent rust from returning and keeps your Dutch oven in top condition for years of use.
Cleaning Tough Oil and Grease Buildup
Tough oil and grease buildup in a Dutch oven can be challenging to clean, but the right techniques make the task easier. Begin by sprinkling baking soda over the greasy areas, then add a few drops of water to create a paste. Let it sit for a few minutes to loosen the buildup. Use a non-abrasive scrubber to gently work on the grease, ensuring you don’t damage the surface. Rinse thoroughly with warm water and dry completely. For stubborn spots, a mix of vinegar and baking soda can provide extra cleaning power. Regular cleaning after use prevents buildup, keeping your Dutch oven in excellent condition for long-term use.
Using Natural Cleaners for a Chemical-Free Approach
Natural cleaners offer an effective and eco-friendly way to remove stains from your Dutch oven without harsh chemicals. Baking soda is a versatile option; create a paste with water to gently scrub away stubborn stains. White vinegar is another powerful natural cleaner, perfect for tackling grease and discoloration. Simply mix equal parts vinegar and water, let it soak, and rinse thoroughly. For burnt residue, sprinkle salt and scrub with a damp sponge. These natural methods are not only safe for your cookware but also for your health and the environment, making them an excellent choice for maintaining your Dutch oven’s cleanliness and durability.
Step-by-Step Guide to Deep Cleaning Your Dutch Oven
Deep cleaning your Dutch oven ensures it stays in top condition for years of use. Begin by gently removing loose debris with a soft sponge or scraper. For tough stains, create a paste using baking soda and water, then apply it to the affected areas. Let it sit for 15 minutes before scrubbing with a non-abrasive brush. Rinse thoroughly with warm water and dry completely to prevent rust. For enamel-coated Dutch ovens, avoid metal tools to protect the surface. Regular maintenance after deep cleaning will preserve its finish and functionality. These steps make it easy to restore your Dutch oven to its original shine, keeping it ready for your favorite recipes.
Avoiding Common Cleaning Mistakes That Damage Seasoning
Preserving the seasoning on your Dutch oven requires careful attention during cleaning to avoid common mistakes that can cause damage. Avoid using abrasive scrubbers or harsh detergents, as they can strip away the protective layer of seasoning. Instead, opt for gentle tools like soft brushes or sponges. Never soak the Dutch oven for extended periods, as prolonged exposure to water can weaken the seasoning and lead to rust. High heat during drying can also cause cracking, so always dry it gently with a towel. By steering clear of these errors, you can maintain your Dutch oven’s non-stick surface and ensure its longevity for years of reliable use.
Preventing Stains with Proper Maintenance Practices
Preventing clean Dutch oven stains with consistent and proper maintenance practices. Always clean your Dutch oven promptly after use to avoid food residue hardening on the surface. Use a soft sponge and warm water for cleaning, avoiding abrasive tools that can scratch enamel or damage seasoning. Dry it thoroughly to prevent rust, especially with cast iron models. Applying a thin layer of oil before storing helps maintain seasoning and keeps the surface smooth. For enamel Dutch ovens, avoid sudden temperature changes to prevent cracks or discoloration. By incorporating these simple habits, you can keep your Dutch oven stain-free and ready for flawless cooking every time.
Restoring the Shine to Your Enamel Dutch Oven

Restoring the shine to your enamel clean Dutch oven stains requires proper care and attention to detail. Start by gently scrubbing the surface with a non-abrasive sponge and a mixture of baking soda and water to lift stains without scratching. For stubborn discoloration, soak the interior with warm water and a few drops of mild dish soap. Avoid harsh cleaners or metal tools that can damage the enamel finish. After cleaning, rinse thoroughly and dry with a soft cloth to prevent water spots. Regular maintenance and gentle cleaning methods will keep your Dutch oven looking pristine, ensuring it remains a beautiful and functional addition to your kitchen for years to come.
Conclusion
Mastering how to clean Dutch oven stains ensures your favorite cookware stays in top condition for years of use. By applying the right cleaning techniques—such as using natural remedies like baking soda or addressing tough stains with soaking methods—you can effectively remove discoloration without damaging the surface. Regular maintenance not only restores its original charm but also enhances its performance in the kitchen. Whether your Dutch oven is enamel-coated or cast iron, treating it with care preserves its longevity and beauty. Make stain removal a simple, manageable task, and enjoy the lasting reliability of your Dutch oven for all your culinary creations. A clean oven means better cooking and a happier kitchen!