
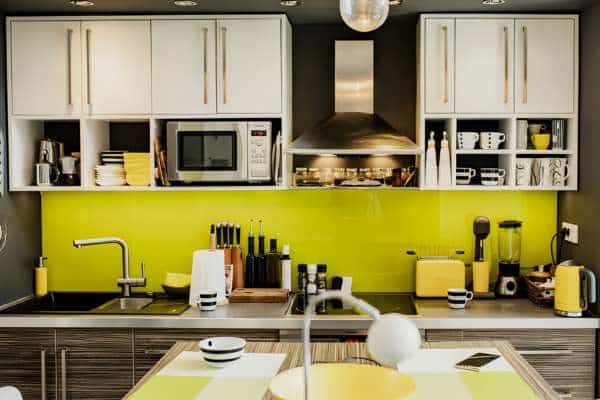
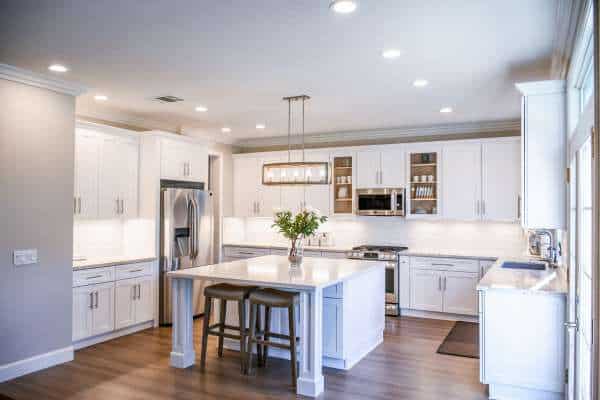
Revamping your kitchen doesn’t have to mean a complete overhaul. Discover the transformative power of covering kitchen cabinets with vinyl paper, an affordable and stylish solution that breathes new life into your space. This guide on how to cover kitchen cabinets with vinyl paper not only simplifies the process but also highlights the benefits, such as cost-effectiveness and versatility in design. Important considerations include selecting the right type of vinyl and ensuring a smooth application for a professional finish. Whether you’re aiming for a modern look or a classic appeal, this method offers a practical way to achieve your desired aesthetic without the need for extensive renovations. Embrace the ease and efficiency of using papery, and unlock the potential of your kitchen’s appearance with this innovative approach.
How Do I Prepare My Cabinets Before Applying The Paper?
Before applying the paper to your cabinets, it’s important to properly prepare the surfaces to ensure a smooth and long-lasting finish. Start by thoroughly cleaning the cabinets with a mild detergent and water to remove any dirt, grease, or residue. Make sure to dry them completely before proceeding.
Can I Cover My Kitchen Cabinets With Vinyl Paper Without Damaging Them?
Yes, you can cover your kitchen cabinets with vinyl paper without damaging them as long as you follow the proper steps. Before applying the vinyl papery, make sure to thoroughly clean and dry the surface of the cabinets to ensure a smooth application. Additionally, consider using a primer or adhesive specifically designed for use with papery to ensure a strong bond.
Proper Measurements For Cutting
Investing time upfront to take accurate measurements for cutting when applying vinyl paper to kitchen cabinets will pay off in a polished and professional-looking result. By following these guidelines and incorporating precision into your process, you can achieve a sleek finish that enhances the aesthetics of your space while also maximizing efficiency in material usage. Remember, it’s all about precision and meticulousness when it comes to achieving impeccable results with vinyl papery on your kitchen cabinets.
Using Heat To Enhance Adhesion
A lesser-known yet highly effective technique in applying paper to kitchen cabinets is the use of heat to enhance adhesion. After aligning and smoothing the papery over the cabinet surface, gently applying heat with a hairdryer can significantly improve the bond between the cabinet. The warmth softens it, making it more pliable and allowing it to conform snugly to the cabinet’s shape and edges. This method is particularly useful for ensuring that the vinyl sticks properly around corners and intricate designs, reducing the risk of peeling or bubbling over time. Not only does this technique aid in achieving a flawless finish, but it also fortifies the durability of the vinyl, ensuring that your kitchen cabinets remain stunning for longer.
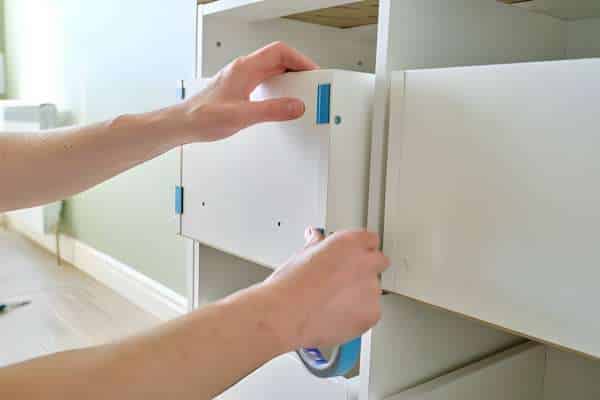
Taking Off Knobs And Handles
A crucial preparatory step in the process of covering kitchen cabinets with vinyl paper involves the removal of all knobs, handles, and other hardware. This action ensures a smooth, unobstructed surface for the application, preventing awkward cuts and misalignments that can detract from the overall aesthetics. Taking off the knobs and handles may seem like a minor task, but it plays a significant role in the precision and quality of the project’s outcome. By removing these elements, you can apply the paper seamlessly across the entirety of the cabinet surface, ensuring a uniform and polished look. Additionally, this step protects your hardware from damage or accidental coverage with it, maintaining the integrity and functionality of your cabinets.
Labeling Hardware For Easy Reinstallation
Labeling hardware for easy reinstallation is a crucial step in any DIY project, especially when it comes to covering cooking area cabinets with papery. By carefully labeling each piece of hardware with corresponding numbers or letters, you can ensure a seamless reinstallation process without any confusion or mistakes. This simple yet effective strategy can save you time and frustration during the reassembly phase, allowing you to complete the project with confidence.
Using Vinyl Creatively
Vinyl paper is not just for decorating walls or floors; it can also be used creatively to cover kitchen cabinets and give them a fresh new look. By using papery, you can easily transform the appearance of your cabinets without the need for expensive renovations. Consider choosing a patterned or textured paper to add visual interest and depth to your kitchen space. Additionally, paper is durable and easy to clean, making it a practical choice for kitchen cabinet coverings.
Materials Needed
To embark on this project, you’ll need the following materials:
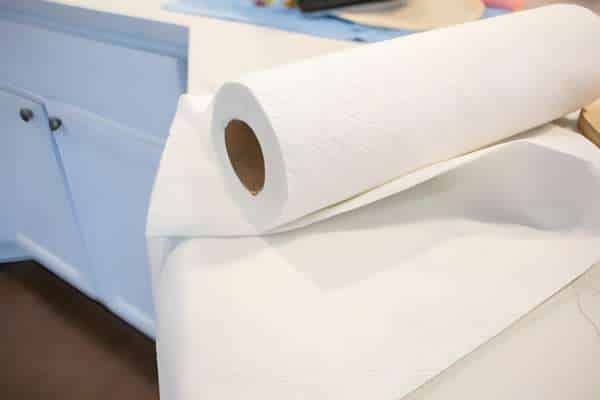
Vinyl Paper of Your Choice: Available in a myriad of designs and finishes, vinyl paper lets you achieve virtually any look, from wood grain to solid colors and intricate patterns. Select a high-quality vinyl to ensure durability and ease of maintenance.
Measuring Tape: A measuring tape is crucial for taking accurate measurements of your cabinet surfaces. This ensures that you cut your papery to the perfect size, minimizing waste and ensuring a seamless fit.
Squeegee: A squeegee or a similar smoothing tool is indispensable for applying the paper. It helps eliminate air bubbles and wrinkles, ensuring a smooth, adherent application that looks professionally done.
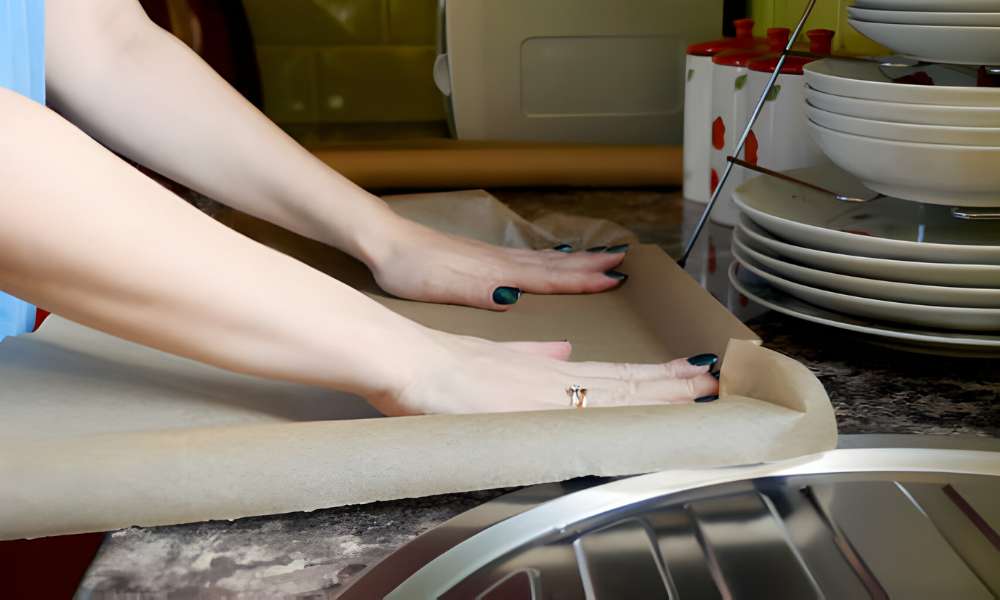
Cutting The Vinyl Paper To Size

Cutting the vinyl paper to size is a crucial step in achieving a professional and seamless finish when covering kitchen cabinets. Precision is key in ensuring that the vinyl adheres smoothly without any air bubbles or wrinkles. One effective technique is to measure twice and cut once, using a sharp utility knife or scissors specifically designed for cutting vinyl. It’s important to work slowly and carefully, following the measurements accurately to avoid any mistakes.
Ensuring Functionality After Covering
After covering your cooking area cabinets with vinyl paper, it is essential to ensure that the functionality of the cabinets is not compromised. One key consideration is to properly seal the edges and corners of the paper to prevent peeling or lifting over time. Additionally, regularly cleaning and maintaining the surfaces will help preserve the adhesive properties of the prolong its lifespan. Ensuring that the cabinet doors can still open and close smoothly after covering them with paper is crucial for their continued usability.
Tightening Screws Securely
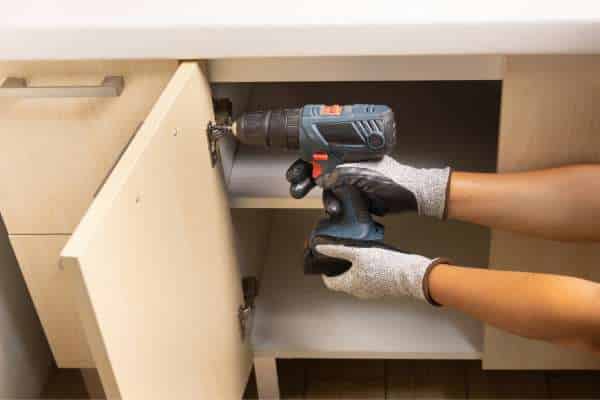
Using screws that are specifically designed for cabinetry work can provide a more secure hold without damaging the surface of your cabinets. Remember that evenly distributing pressure when tightening screws is essential to prevent warping or damage to the cabinet material. By taking your time and being diligent in tightening each screw just enough, you can ensure a professional and durable finish for your paper-covered kitchen cabinets.
Adapting Techniques For Different Abilities
Adapting techniques for different abilities involves considering accessibility factors such as height and reach. For individuals with mobility challenges or wheelchair users, placing materials at a convenient level can ensure they can participate effectively in the project. Finally, providing clear and concise instructions along with tactile markers can help those with cognitive impairments follow along easily and independently complete the task of covering cooking area cabinets with paper.
The Final Thought
Covering kitchen cabinets with vinyl paper is a cost-effective and simple way to refresh the look of your kitchen without the need for a full renovation. By following the step-by-step guide provided, you can achieve professional-looking results that will enhance the aesthetics of your space. Remember to properly clean and prep the cabinets before applying the paper to ensure a smooth and long-lasting finish. With the wide variety of colors and patterns available, you can easily customize your cabinets to match your personal style and decor. Take the time to carefully measure and apply the papery for a flawless transformation that will impress all who enter your kitchen.