
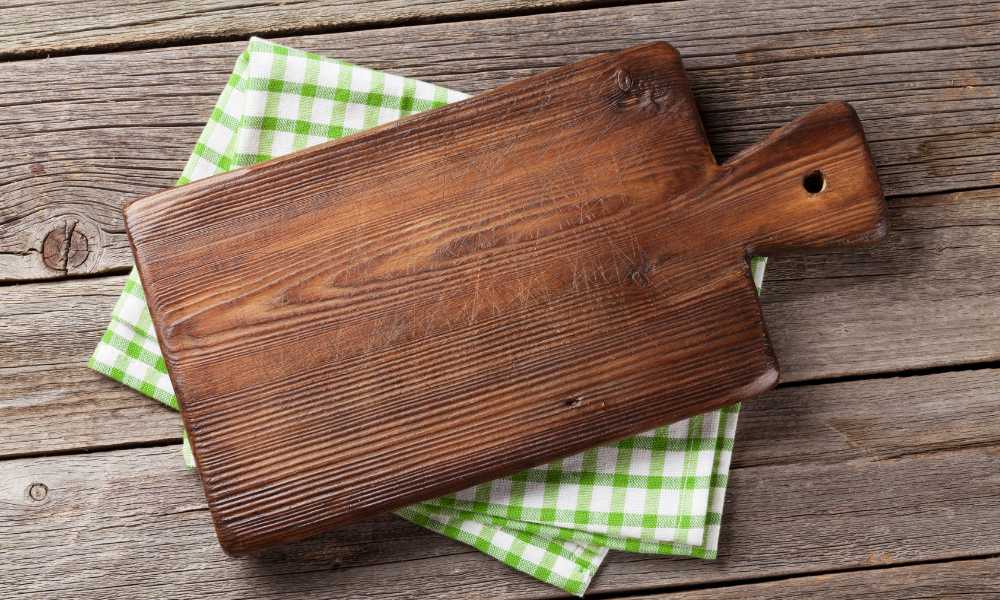
Finishing a wood cutting board is essential for enhancing its durability, appearance, and hygiene. Without a proper finish, wood boards can absorb moisture, harbor bacteria, and develop cracks over time. This guide on how to finish a wood cutting board will walk you through each step to protect and beautify your Slab, from selecting the right oils to applying a durable wax seal. Whether you’re working with maple, walnut, or cherry wood, finishing your board ensures it remains a long-lasting kitchen tool. Follow these expert tips to create a polished, food-safe surface that not only looks great but also stands up to daily use.
Finish a Wood Cutting Board
Finishing a wood cutting board is crucial to keeping it in prime condition. By sealing the wood, you create a protective barrier against moisture, bacteria, and daily wear, preserving the board’s structure and appearance. A properly finished Slab resists stains, odors, and cracking, which not only enhances its durability but also keeps it more sanitary for food preparation. With regular finishing, you extend the board’s lifespan and maintain a smoother, more attractive surface. This simple process protects the wood fibers, ensuring your cutting Slab remains a reliable and safe tool in your kitchen for years to come.
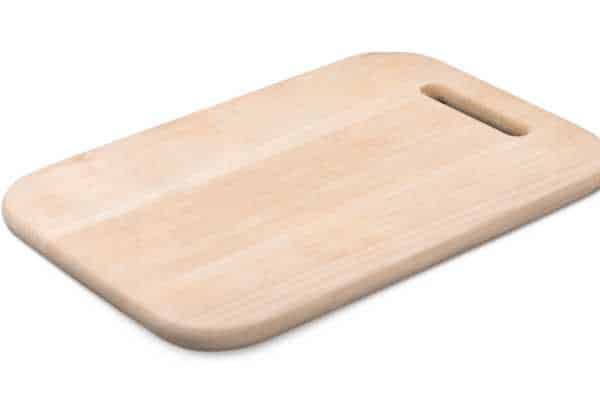
Choosing the Right Type of Wood for Finishing
Choosing the right wood is crucial when finishing a cutting board. Popular options like maple, walnut, and cherry are known for their durability and beauty. Maple is a dense, closed-grain wood, making it resistant to scratches and easy to finish. Walnut, with its rich, dark color, adds elegance, but requires regular maintenance to retain its smooth finish. Cherry wood, with its warm tones, darkens over time, creating a unique patina. Each wood type reacts differently to oils and waxes, so it’s important to choose the right one for your desired finish. Understanding the characteristics of each wood helps you achieve a long-lasting, polished cutting board.
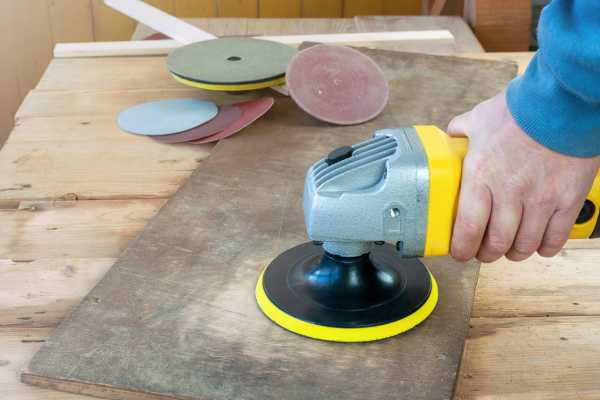
Preparing the Cutting Board for Finishing

Before applying any finish to your wood cutting board, it’s essential to prepare the surface through proper sanding. Start with a coarse grit sandpaper to remove any rough spots or imperfections, then gradually work up to a finer grit for a smooth, even surface. Sand along the grain to avoid scratches, ensuring a professional result. Once sanding is complete, thoroughly wipe away dust and debris with a damp cloth or tack cloth. This step is crucial, as leftover particles can interfere with the finish’s ability to adhere properly. A clean, smooth board surface provides the ideal foundation for an even, long-lasting finish.
Selecting the Best Food-Safe Finishing Oils

Choosing the right food-safe oil is crucial for a durable, protective finish on your wood cutting Slab. Popular options include mineral oil, beeswax, and walnut oil—all safe for food contact and effective at sealing the wood. Mineral oil is odorless, affordable, and penetrates deeply, making it ideal for regular maintenance. Beeswax provides a natural, water-resistant layer, while walnut oil adds a rich, nourishing finish. When selecting an oil, consider the type of wood and how frequently the Slab will be used. For example, harder woods benefit from oils that penetrate deeply, while softer woods may need additional wax for enhanced moisture protection.
Applying the Oil: Step-by-Step Process
To begin finishing your wood cutting board, apply a generous amount of food-safe oil, such as mineral oil or walnut oil, using a clean cloth or brush. Gently spread the oil over the entire surface, working it into the wood in circular motions to ensure even coverage. Use enough oil to saturate the board but avoid pooling on the surface. Once applied, let the oil soak in for a few hours—or even overnight for maximum absorption. This step helps protect the wood against moisture and extends the Slab lifespan. After soaking, wipe off any excess oil, leaving your Slab ready for the next stage of finishing.
Letting the Oil Cure
After applying oil to your wood cutting board, allowing it to cure is crucial for a lasting finish. The curing process lets the oil fully penetrate and harden within the wood fibers, creating a durable barrier against moisture and bacteria. For optimal results, let the board sit undisturbed for at least 12-24 hours after oiling, allowing the wood to absorb the oil completely. This ensures a deep, even finish that protects the Slab during daily use. Avoid rushing this step, as proper curing enhances the board’s resilience and prolongs its lifespan, keeping it in prime condition for all your kitchen needs.
Sealing the Board with Beeswax or Wax Blend
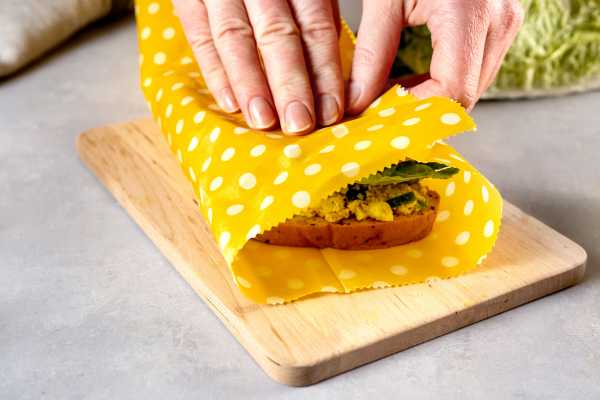
Sealing your wood cutting board with beeswax or a wax blend creates a strong barrier that locks in the oil and provides extra moisture protection. Begin by warming a small amount of wax and spreading it evenly across the Slab surface using a soft cloth. Allow the wax to sit for a few minutes, then gently buff it in circular motions to create a smooth, shiny finish. This step not only enhances the Slab appearance but also gives it a durable layer of protection against water and stains. Reapply wax periodically to keep the Slab looking great and ready for everyday kitchen tasks.
Polishing the Finished Board
Polishing your finished wood cutting board brings out its natural beauty and adds an extra layer of protection. After applying oil and wax, wait until the board is fully dry, then use a soft, lint-free cloth to buff the surface gently. Start with small, circular motions, covering the entire Slab evenly to create a sleek, polished finish. This technique not only enhances the board’s appearance but also helps smooth out any wax residue, ensuring a clean, glossy look. Regular polishing will maintain the Slab shine, making it a stunning, functional piece that’s ready for daily use in your kitchen.
Maintaining the Finish Over Time
To keep your wood cutting board finish intact, regular maintenance is key. Re-oil the board every few weeks to maintain its moisture resistance and prevent cracking. Use a food-safe oil, applying a thin layer and allowing it to fully absorb before wiping off any excess. For daily care, wash the Slab with mild soap and warm water, then dry it immediately to avoid water damage. Avoid submerging the Slab in water, as this can weaken the finish over time. By following these simple steps, your wood cutting Slab will remain protected, polished, and ready for all your culinary creations.
Common Mistakes to Avoid
Avoiding common mistakes is key when learning how to finish a wood cutting board. One of the biggest errors is using non-food-safe oils, which can lead to contamination—stick to safe options like mineral oil or beeswax. Over-sanding is another issue; too much sanding can thin the Slab and reduce its lifespan. Use a gentle sanding approach, starting with medium-grit paper and moving to finer grits. Avoid soaking the Slab in water, as this can cause it to warp. By steering clear of these common mistakes, you’ll achieve a durable, professional-quality finish that keeps your cutting Slab safe and ready for use.
Conclusion
Mastering how to finish a wood cutting board not only enhances its appearance but also extends its lifespan, ensuring it remains a valuable kitchen tool for years. By choosing food-safe oils, applying a protective wax layer, and avoiding common mistakes, you can create a durable, smooth, and hygienic surface. With regular maintenance, such as re-oiling and gentle cleaning, your Slab will resist stains, odors, and cracks, keeping it in prime condition. Finishing your cutting Slabis a simple yet effective way to protect your investment and enjoy the benefits of a beautifully finished, functional piece that complements your cooking routine.