
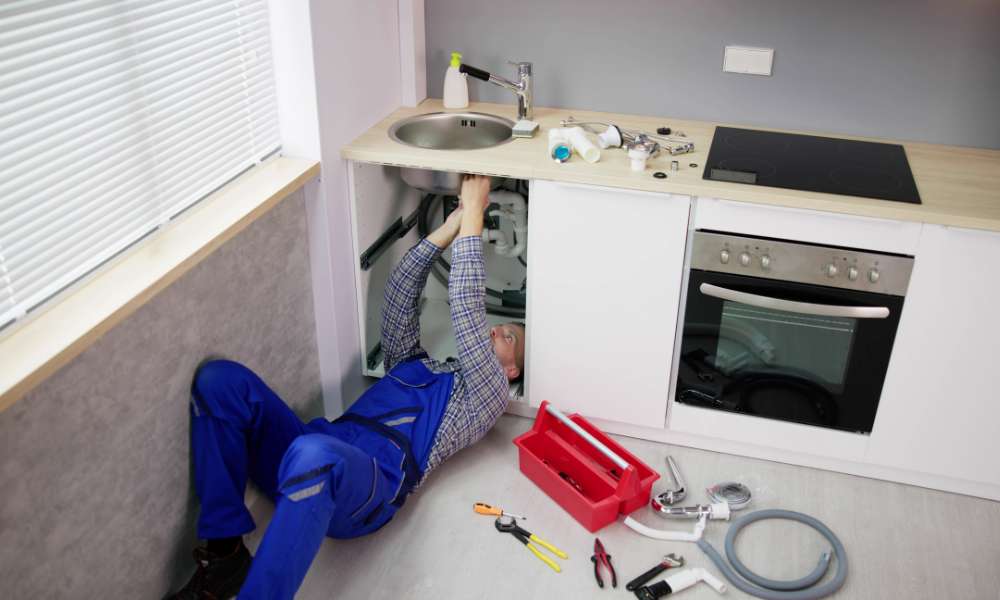
Fixing a kitchen faucet is a straightforward task that can save you time, money, and the inconvenience of hiring a plumber. In this comprehensive guide on how to fix a kitchen faucet, we will walk you through the essential steps to identify and resolve common faucet issues. By learning how to fix kitchen faucet problems yourself, you gain valuable DIY skills, improve the functionality of your kitchen, and enhance your home’s overall value. This practical approach not only empowers you to tackle minor plumbing repairs but also ensures your spigot operates smoothly, preventing water wastage and reducing your utility bills. Let’s dive into the process and equip you with the knowledge to fix your kitchen spigot efficiently.
How Often Should I Check My Kitchen Faucet For Leaks?
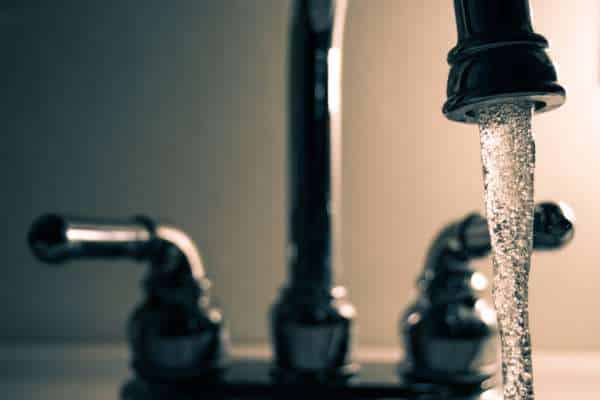
It is recommended to check your kitchen faucet for leaks at least once every few months to ensure that it is functioning properly. A small leak may seem insignificant, but over time it can waste a significant amount of water and lead to higher aqua bills. Additionally, catching and fixing a leak early can prevent further damage to your faucet or plumbing system.
Can I Use Any Faucet Cartridge As A Replacement?
No, it is not recommended to use any faucet cartridge as a replacement without ensuring compatibility with your specific faucet model. Faucet cartridges come in various sizes, shapes, and configurations to fit different types of spigots. Using an incompatible cartridge can lead to leaks, poor aqua flow, or even damage to your spigot.
Turning Off The Water Supply
Before you begin to fix your kitchen faucet, the first crucial step is turning off the water supply. This prevents any accidental water spills and ensures a smoother repair process. Locate the shutoff valves under the sink and turn them clockwise until they are tightly closed. If your faucet doesn’t have individual shutoff valves, you may need to turn off the main water supply to your home. Once the water is off, open the spigot to drain any remaining water in the lines. This step is essential for a hassle-free experience when you fix your kitchen spigot, preventing potential water damage and making the process much cleaner and more efficient.
Replacing The Cartridge
A common cause of a malfunctioning kitchen spigot is a worn-out cartridge. Replacing the cartridge is a straightforward process that can effectively fix your kitchen spigot. Start by removing the handle, usually secured by a screw, and then carefully extract the cartridge using pliers. Take the old cartridge to a hardware store to ensure you get an exact match for the replacement. Insert the new cartridge into the spigot, reassemble the handle, and turn the water supply back on to test for leaks. Successfully replacing the cartridge can restore your faucet’s functionality and eliminate issues like dripping or uneven water flow.
Cleaning The Aerator
Cleaning the aerator of your kitchen faucet is a simple yet crucial maintenance task that can improve water flow and prevent clogs. Start by unscrewing the aerator from the spigot using pliers or a wrench. Once removed, carefully disassemble it and soak the parts in a mixture of vinegar and water to dissolve mineral deposits. Use an old toothbrush to scrub away any remaining build-up before thoroughly rinsing and reassembling the aerator.
Identifying The Problem
1. Leaking Faucet
A leaking faucet is one of the most frequent issues in kitchens. This problem not only leads to water wastage but also increases your utility bills. To fix a kitchen faucet leak, start by checking the O-rings and washers for wear and tear, as these are often the culprits. Replacing these small parts can usually solve the problem. If the leak persists, it may be necessary to inspect the spigot cartridge or valve seat, which could be damaged or corroded.
2. Low Water Pressure
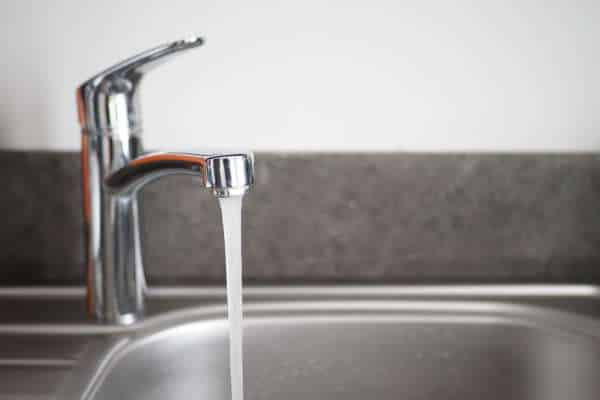
Experiencing low water pressure can be frustrating, especially when trying to wash dishes or fill pots quickly. To fix a kitchen spigot with low water pressure, begin by cleaning the aerator. Mineral deposits and debris can clog the aerator, restricting water flow. If cleaning the aerator doesn’t improve the pressure, check the supply lines for any kinks or blockages. In some cases, replacing a faulty cartridge can restore normal water pressure.
3. Noisy Faucet
A noisy faucet can be annoying and may indicate underlying issues. Common noises include squeaking, clanking, or a vibrating sound. To fix a kitchen spigot that is noisy, you should first identify the source of the noise. Loose parts, worn-out washers, or high water pressure can all cause these sounds. Tightening any loose components and replacing worn washers usually resolves the issue. Additionally, installing a pressure-reducing valve can help if high water pressure is the culprit.
Loose Faucet Handle
One of the common issues you might encounter with a kitchen faucet is a loose handle. Knowing how to fix a kitchen faucet handle can prevent further damage and ensure smooth operation. Begin by turning off the water supply to avoid any spills. Next, locate the screw that holds the handle in place, typically found under a decorative cap or behind the handle itself. Tighten this screw using an appropriate screwdriver. If the screw is stripped or damaged, consider replacing it to ensure a secure fit. Regular maintenance, such as tightening loose components, helps extend the lifespan of your spigot and maintain its functionality.
Checking The Supply Lines
Checking the supply lines of your kitchen faucet is a crucial maintenance task that often gets overlooked. Over time, debris and mineral build-up can accumulate in the lines, causing reduced water flow and potential leaks. To ensure optimal performance, it is recommended to inspect and clean the supply lines regularly.
Flushing The Pipes

Flushing the pipes is an important part of the process when you want to fix a kitchen faucet that has reduced water flow or irregular spray patterns. Mineral deposits and debris can accumulate in the faucet aerator and pipes, obstructing the flow of water. To flush the pipes, first, remove the aerator from the spigot spout. Then, turn on the water supply and let it run for a few minutes to clear out any build-up. Clean the aerator thoroughly before reattaching it. Regularly flushing your pipes helps maintain optimal water flow and ensures your spigot functions properly, providing a steady and reliable water supply.
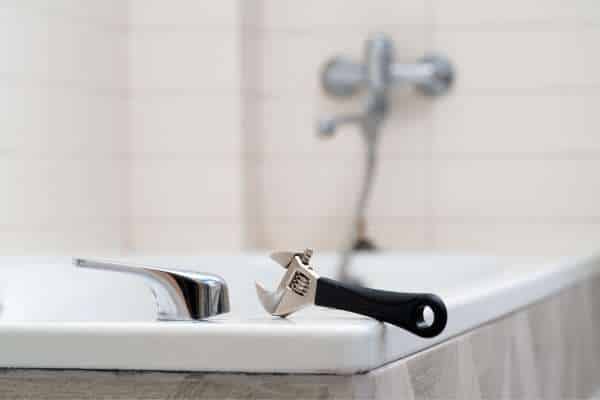
Tightening The Set Screw
A loose handle is a common issue that can affect the performance of your kitchen spigot, and tightening the set screw is often the solution. Locate the set screw, which is typically found under a decorative cap on the handle. Use an appropriate tool, such as an Allen wrench or a screwdriver, to tighten the set screw securely. This simple adjustment can resolve problems like a wobbly handle or difficulty in turning the faucet on and off. By knowing how to fix a kitchen spigot through basic maintenance like tightening the set screw, you can ensure that your spigot remains functional and convenient to use.
The Final Thought
Fixing a kitchen faucet can be a straightforward process that can save you time and money. By identifying the issue, gathering the necessary tools, and following a step-by-step guide, you can successfully repair your kitchen spigot. Remember to exercise caution while working with plumbing fixtures and consider seeking professional help if needed. With patience and attention to detail, you can restore functionality to your kitchen spigot and enjoy the benefits of a properly working fixture. Take action today to address any issues with your kitchen spigot and ensure the smooth operation of your household.