
Mastering the process of how to hang a kitchen cabinet is a fundamental skill for any DIY enthusiast or homeowner looking to enhance both the functionality and aesthetics of their kitchen space. Hanging kitchen cabinets not only maximizes storage potential but also adds a touch of organization and style to the heart of your home. Understanding the importance of proper installation techniques and having the confidence to embark on this project can significantly transform your kitchen’s ambiance. With the right tools, knowledge, and attention to detail, anyone can successfully hang a kitchen cabinet and enjoy the benefits of a well-designed and efficient culinary workspace.
How Long Does It Take To Hang Kitchen Cabinets?
The time it takes to hang kitchen cabinets can vary depending on several factors such as the size of the kitchen, the number of chiffoniers being installed, and the skill level of the person doing the installation. On average, it can take anywhere from a few hours to a full day to hang kitchen cabinets.
Can I Reuse Old Cabinets When Renovating My Kitchen?
Yes, you can definitely reuse old cabinets when renovating your kitchen. Reusing old cabinets can be a cost-effective and environmentally friendly option. If the chiffoniers are still in good condition structurally, you can simply repaint or refinish them to give them a fresh new look. You can also consider replacing the hardware or adding new handles to update the chiffoniers without having to completely replace them.
Attaching Cabinets To Studs
Consider using cabinet hangers or brackets to provide additional support and stability. These accessories can help distribute the weight of the cabinet more evenly across multiple studs, reducing the risk of sagging or failure over time. By taking these precautions and following proper installation methods, you can ensure that your kitchen chiffoniers are securely attached to the studs for years to come.
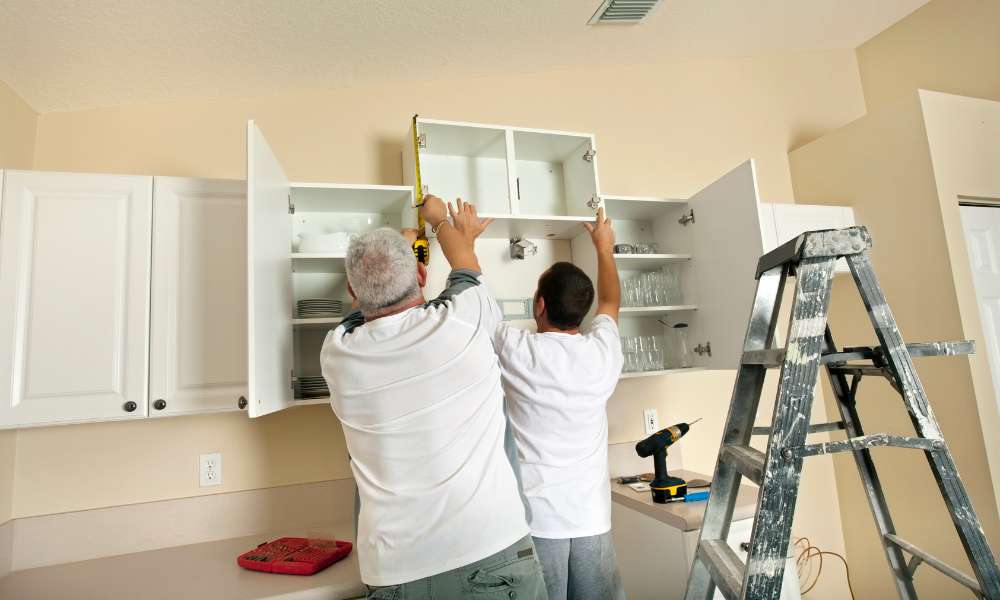
Mounting Upper Cabinets

Mounting upper cabinets requires careful planning and precise execution to achieve optimal results. Start by measuring and marking the desired height for the chiffoniers on the wall, ensuring alignment with adjacent cabinets and countertops. Use a level to ensure that the cabinets are perfectly horizontal before securing them to the wall. Depending on the design of your chiffoniers, you may need to drill holes through the back panel for attaching screws to the studs. Alternatively, some chiffoniers come with built-in mounting brackets that simplify the installation process. Once the chiffoniers are securely attached to the wall, double-check their alignment and make any necessary adjustments to ensure a seamless and professional-looking installation.
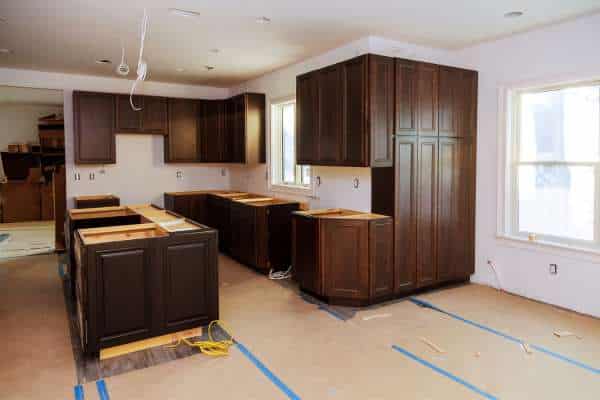
Hanging Base Cabinets
Hanging base cabinets requires attention to detail and careful consideration of factors such as height, depth, and alignment with other kitchen elements. Begin by measuring and marking the location of the base cabinets on the floor, taking into account the dimensions of the cabinets as well as any surrounding obstacles such as appliances or fixtures. Use shims to level the cabinets and adjust their height as needed to ensure a perfect fit and alignment with the upper chiffoniers. Once the base chiffoniers are in position, secure them to the wall studs using screws, making sure to drive the screws through the back panel and into the studs for maximum stability. Finally, double-check the alignment of the chiffoniers and make any necessary adjustments before proceeding to the next step of the installation process.
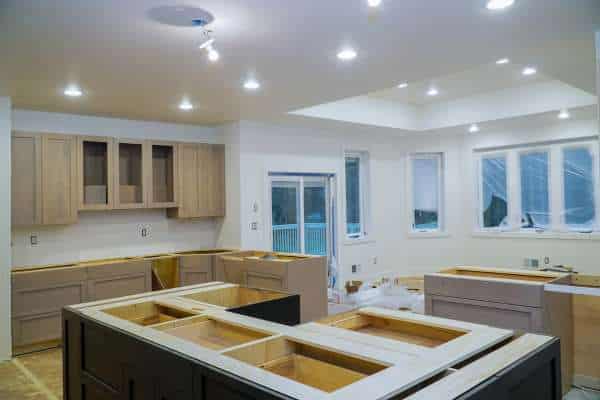
Using Shims
Embracing the use of shims as part of your cabinet hanging process is a practical way to ensure precision and durability in your kitchen renovation projects. By understanding how to properly position and secure shims, you can avoid common pitfalls such as uneven cabinets or structural issues down the line. So next time you embark on a chiffoniers installation project, remember that shimming is not just a simple step – it’s a crucial technique that can make all the difference in creating a seamless and functional kitchen space.
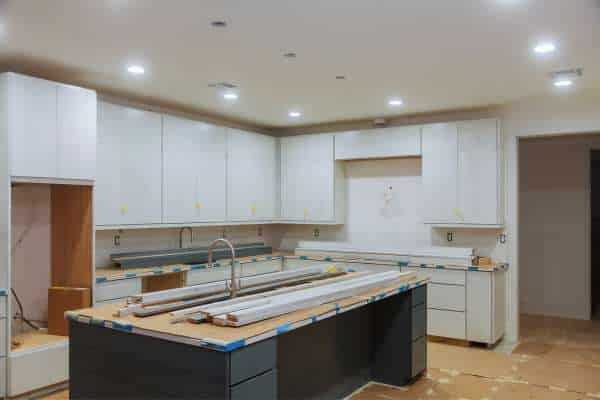
Adjusting For Levelness
Achieving levelness is another crucial aspect to hang the kitchen cabinet. A level cabinet installation not only enhances the visual appeal of your kitchen but also ensures that doors and drawers operate smoothly. Before attaching the cabinets to the wall, use a carpenter’s level to confirm that they are perfectly level both horizontally and vertically. If adjustments are needed, shim the bottom or back of the chiffoniers as necessary to achieve the desired levelness. Taking the time to fine-tune the alignment of each chiffonier ensures a professional-looking finish and prevents issues such as doors swinging open or drawers sticking over time. Properly leveled chiffoniers also contribute to the overall functionality and ease of use in your kitchen space.
Securing Cabinets To The Wall
Securing cabinets to the wall is a crucial step in ensuring the safety and stability of your kitchen space. One often overlooked aspect of this process is selecting the appropriate hardware to secure the cabinets effectively. When installing kitchen cabinet knobs, it’s important to choose durable screws that are long enough to reach through both the cabinet frame and into the wall studs for maximum support.
Tools And Materials Required
1. Essential Tools
Hanging a kitchen cabinet requires a specific set of tools to ensure precision and stability throughout the installation process. Essential tools include a cordless drill with screwdriver bits for fastening screws securely into place. Additionally, a level is indispensable for ensuring that the cabinets are perfectly aligned and straight. A stud finder is crucial for locating wall studs, which provide the necessary support for the weight of the cabinets. Moreover, a tape measure and pencil are essential for accurately marking the placement of the cabinets on the wall.
2. Optional Tools
One such tool is a cabinet jack, which provides additional support during installation, particularly for larger or heavier cabinets. A countersink drill bit can be used to create recessed holes for screws, resulting in a flush finish. Additionally, a power screwdriver or impact driver can expedite the screwing process, saving time and effort. Finally, a clamp may prove useful for holding cabinets in place while securing them to the wall.
3. Materials Needed
Choosing high-quality materials will not only make the installation process smoother but also enhance the longevity and stability of your kitchen cabinet. Opting for durable screws and anchors will provide secure support for your chiffoniers over time, reducing the risk of them coming loose or falling off. Adding an extra layer of protection by using anti-tip furniture straps can further increase safety measures in case of accidental bumps or shakes that may cause cabinets to shift.
The Final Thought
To hang a kitchen cabinet is a manageable task that can greatly enhance the functionality and aesthetics of your kitchen space. By following the step-by-step guide outlined in this article, you can ensure a successful installation process. Remember to measure carefully, use the proper tools, and seek assistance if needed to ensure a safe and secure installation. With attention to detail and patience, you can transform your kitchen with new cabinets that reflect your personal style and organizational needs. Take the time to plan and execute each step methodically for a professional finish that will last for years to come. Happy hanging!