
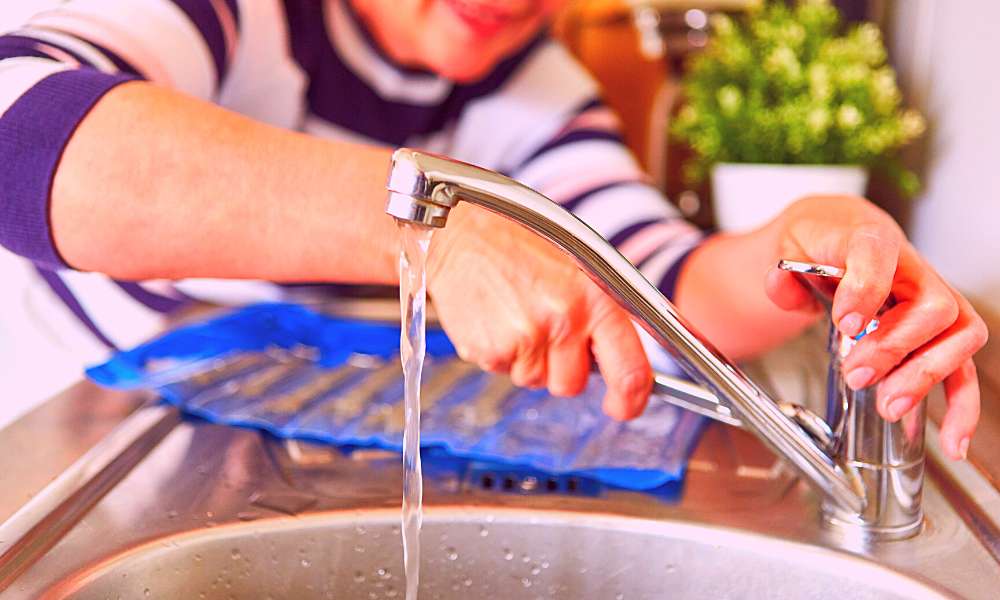
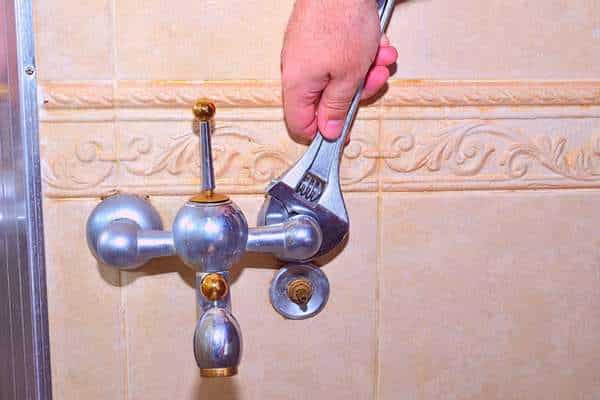
The easiest way to remove a kitchen faucet thumb is to use a wrench. If the handle does not turn easily with a wrench, you may need to pry it off with a screwdriver. Be careful not to damage the stem or the plastic fittings.
Here are five steps to removing a cookhouse faucet handle:
1. If your cookhouse faucet thumb is broken or stuck, follow these simple steps to take out it.
2. Be sure to use a pot holder to avoid getting your hands wet.
3. Use a pipe wrench to turn the thumb counterclockwise until it comes free.
4. Be careful not to damage the pipe in the process!
5. Replace the thumb once it’s free, and enjoy your newly functional faucet!
Materials needed:
If you’re looking to take out your cookhouse faucet thumb, there are a few materials you’ll need. You will need the following:
- a can of compressed air
- a rag or piece of cloth
- a Phillips head screwdriver
- pliers
- needle nose pliers
- wire brush (optional)
First, use a putty knife to pry off the old thumb.
Then, use a Phillips head screwdriver to unscrew the handle’s stem.
Finally, use pliers to take out the screw. Once the thumb is removed, you can replace it with a new one.
Steps:
Step 1: Remove the cartridge from the faucet by unscrewing it.
Do you need to remove the cartridge from your kitchen tap? If so, follow these simple steps:
1. Remove the thumb by unscrewing it.
2. Turn the cartridge counterclockwise until it comes free from the stem.
3. Gently pull on the cartridge to take out it from the tap.
4. Rinse off the cartridge and stem with warm water and soap before reinserting them into their respective holes in the tap.
5. Replace the thumb and enjoy your new, easy-to-use kitchen faucet!
Step 2: Clear any debris from the housing of the cartridge by using a can of compressed air or a vacuum cleaner.

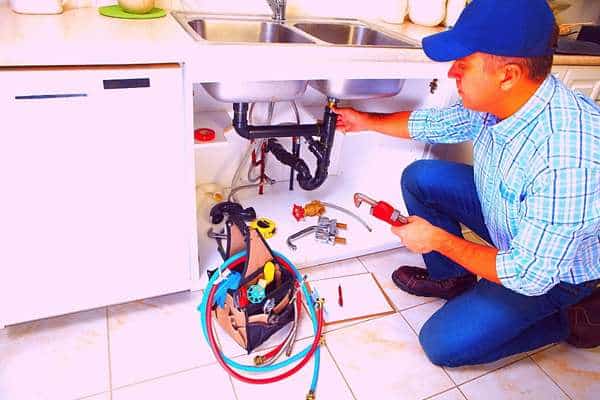
If your kitchen tap handle is broken or missing, you’ll need to take some steps to fix the situation. The first step is to clear any debris from the housing of the cartridge by using a can of compressed air or a vacuum cleaner. If there’s still debris in the housing, you’ll need to take out it using a small screwdriver or pliers. Once the housing is free from debris, you can replace the cartridge and reattach the thumb.
Step 3: If necessary, use a small screwdriver to remove the retaining clip that is located on the side of the housing.

If you have to take out a cookhouse faucet handle, there are a few steps you should take.
First, use a small screwdriver to take out the retaining clip that is located on the side of the housing. If the clip is difficult to remove, using a flathead screwdriver can help pry it off.
Next, turn the tap handle until it comes loose from the stem.
Finally, detach the thumb from the stem by gently pulling it outwards until it snaps off.
Step 4: Carefully remove the housing from the cartridge by pushing and pulling it in opposite directions.

If you’re looking to replace your old kitchen tap with a new one, there are four main steps you need to take. First, unscrew the old faucet thumb. Second, take out the old faucet housing. Third, install the new tap handle. Fourth, screw in the new housing. Finally, test the faucet by turning it on and off. Here’s a step-by-step guide to these four steps:
1) Unscrew the old faucet thumb by twisting it counterclockwise until it comes free from the stem of the tap body. Be sure not to lose any parts!
2) take out the old tap housing by pushing and pulling it in opposite directions until it comes free from the stem of the faucet body.
What is a kitchen faucet handle?
A kitchen tap thumb is a spout from your faucet that you use to pour water out. It’s usually a plastic or metal piece that attaches to the sink, and it generally has a lever or button on it. Most thumbs are removable, but some are not. If yours is not removable, you’ll need to take the sink apart to replace it.
Types of kitchen faucet handle:
There are many types of cookhouse faucet thumbs, but all of them have one thing in common- they’re easy to take out.
Here’s how to remove a standard cookhouse faucet thumb:
1) Turn the water off at the main supply line. This is usually located near the sink or dishwasher.
2) Unscrew the stem nut (the nut that holds the thumb attached to the tap body).
3) Pull the thumb off of the stem. It should come off easily if it’s been installed properly.
4) If there’s a washer on the stem, put that back on before screwing in the new nut. (It’s usually not necessary, but it can help prevent leaks.)
5) Replace the nut and tighten it with a wrench or pliers.
How to remove a kitchen faucet handle:

If you need to take out your kitchen tap thumb, there are a few ways to do so.
One method is to use a wrench.
Another is to use pliers.
A third method is to use a screwdriver.
Whichever method you choose, be sure to use caution and take proper safety precautions when removing the handle.
Tips for removing a kitchen faucet handle:

If your cookhouse faucet thumb is stuck, there are several simple steps you can take to take out it.
1. Locate the stem of the tap handle. On most handles, this will be a thin metal rod that extends from the top of the spout.
2. Close off the water supply to the sink by turning off the main water valve in your home or office. This will prevent water from flooding and damaging your sink if you accidentally pull too hard on the faucet thumb.
3. Remove any screws that may be holding down the thumb cover. If necessary, use a screwdriver to take out them gradually in order to avoid breaking anything else.
4. Lift up on the thumb cover and free the protruding metal rod from its mountings.
Conclusion
In conclusion, if your kitchen faucet handle is broken, bent, or stuck, follow these simple steps to remove it. Be sure to wear gloves and safety goggles to protect your hands and eyes from water and chemicals.