
Removing a kitchen faucet without a basin wrench might seem like a daunting task, but with the right approach and tools, it can be done efficiently and without professional help. Learning how to remove a kitchen faucet without a basin wrench can save you time, money, and the hassle of hiring a plumber. This guide will walk you through the process, highlighting the essential steps and tools needed for a smooth removal. By following these instructions, you can confidently tackle the job yourself, ensuring that your kitchen faucet is removed safely and effectively, even without a specialized wrench. Whether you’re updating your kitchen or fixing a leak, understanding this method will prove invaluable.
Is It Difficult To Remove A Kitchen Faucet Without A Basin Wrench?

Removing a kitchen faucet without a basin wrench can be challenging, but it is not impossible. You may need to use alternative tools such as adjustable pliers or a pipe wrench to loosen the nuts holding the faucet in place. It may take more time and effort compared to using a basin wrench, but with patience and careful maneuvering, you should be able to successfully remove the faucet.
Can I Remove A Kitchen Faucet Without Using A Basin Wrench?

Yes, you can remove a kitchen faucet without using a basin wrench, but it may be more challenging. To do so, you can use adjustable pliers or a pipe wrench to loosen and remove the nuts holding the faucet in place. It’s important to be careful when using these tools to avoid damaging the faucet or surrounding plumbing.
Lifting The Old Faucet
1. Ensuring Minimal Damage To The Sink
Removing a kitchen faucet without a basin wrench requires careful handling to ensure the process goes smoothly. The first step in lifting the old faucet is to ensure minimal damage to the sink. Protecting the sink surface with a soft cloth or a layer of tape can prevent scratches and dents. This precaution is particularly important if you have a delicate or expensive sink, as it helps maintain its pristine condition while you work.
2. Using Proper Lifting Techniques
Using proper lifting techniques is crucial for safely removing the kitchen faucet without a basin wrench. Begin by loosening the nuts and bolts securing the faucet to the sink. If these are hard to reach, use adjustable pliers or a small wrench to carefully maneuver around tight spaces. Once loosened, gently wiggle the faucet to break the seal created by years of use. Lifting with both hands ensures an even distribution of weight and prevents accidental drops that could damage the sink or the faucet itself.
3. Checking For Any Remaining Fasteners
Checking for any remaining fasteners is essential before fully removing the kitchen faucet. Hidden screws or clips might still be holding the faucet in place. Inspect the area thoroughly, using a flashlight if necessary, to ensure all attachments are removed. This step is vital to avoid any unexpected resistance that could lead to abrupt movements and potential damage. By following these steps, you can successfully remove a kitchen faucet without a basin wrench, achieving a smooth and damage-free process.
Releasing Pressure By Opening Faucet
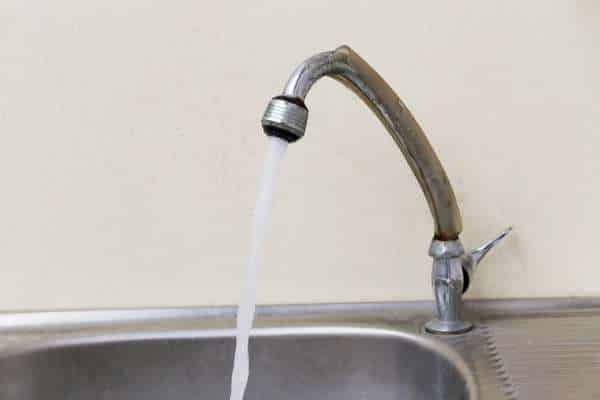
Before you start the process to remove a kitchen faucet without a basin wrench, it’s crucial to release any residual water pressure. Begin by turning off the water supply valves under the sink. Once the valves are closed, open the faucet to drain any remaining water from the lines. This step is essential to avoid any unexpected water spills, ensuring a cleaner and safer working environment. By properly releasing the pressure, you simplify the process and make it easier to remove the kitchen faucet without a basin wrench.
Cleaning Surfaces For New Installation
Cleaning surfaces for new installation is an important part of how to remove a kitchen faucet without a basin wrench. After you’ve successfully removed the old faucet, take the time to clean the area around the sink. Remove any old plumber’s putty, grime, or mineral deposits to ensure a pristine surface for the new faucet. This thorough cleaning not only improves the appearance but also helps create a better seal for the new installation. Proper preparation of the sink area guarantees that your new faucet will fit correctly and function optimally.
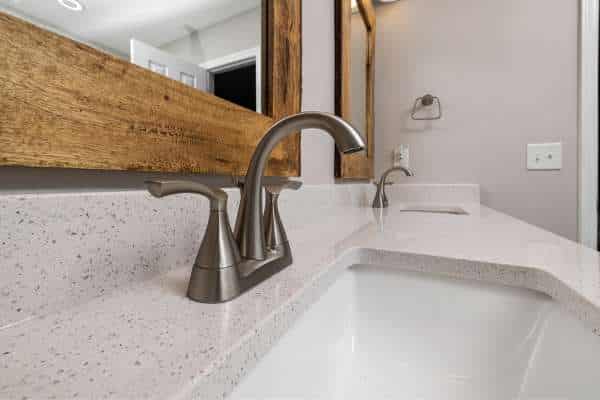
Choosing The Right Replacement
Selecting the appropriate replacement faucet is key to a successful installation. Consider the design, functionality, and compatibility with your existing sink. Modern faucets come with a variety of features such as pull-out sprays, touchless controls, and water-saving mechanisms. Ensure the new faucet matches your kitchen decor and meets your practical needs. Opting for a high-quality replacement can make the removal and installation process worthwhile, offering long-term benefits in terms of performance and durability. By choosing the right replacement, you make the most out of your effort to remove the kitchen faucet without a basin wrench.
Using Penetrating Oil
Penetrating oil can be a game-changer when it comes to fixing stubborn parts on a Delta kitchen faucet with a pull-out feature. Before calling a plumber, consider using penetrating oil to loosen up any stuck components. Apply the oil directly to the problematic area, allowing it to seep in and work its magic. This method can save you time and money by avoiding costly repairs or replacements.
Applying Heat Carefully
One effective technique is applying heat carefully. This can help loosen stubborn bolts or nuts that may have corroded over time. Using a hairdryer or a heat gun, gently warm the area around the mounting nuts. Be cautious not to apply too much heat to avoid damaging the faucet or surrounding surfaces. This method can make the process of removing a kitchen faucet without a basin wrench significantly easier and less time-consuming.
Disconnecting Water Supply Lines
Disconnecting the water supply lines is crucial before you proceed further. Start by turning off the water valves under the sink to prevent any spills or leaks. Once the water is shut off, use an adjustable wrench to loosen the nuts connecting the supply lines to the faucet. Carefully remove the supply lines and set them aside. This step is essential in ensuring a smooth and clean process when you remove the kitchen faucet without a basin wrench, as it prevents any potential water damage.
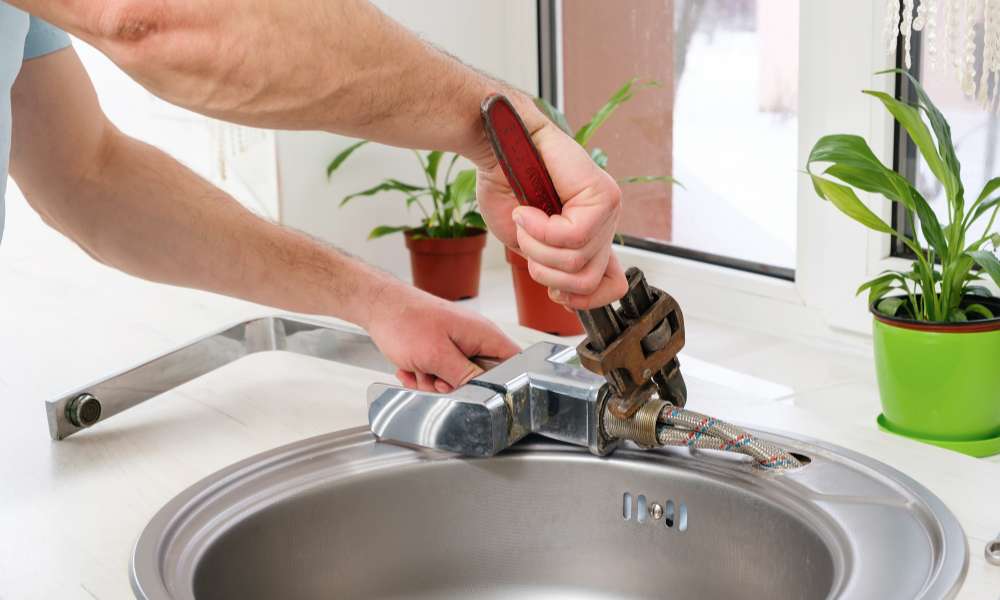
Loosening The Mounting Nuts
Loosening the mounting nuts is a key part of removing a kitchen faucet without a basin wrench. Once the water supply lines are disconnected and heat has been applied, use pliers or an adjustable wrench to loosen the mounting nuts. These nuts are typically located underneath the sink, securing the faucet to the countertop or sink surface. Turning them counterclockwise should gradually loosen their grip, allowing you to remove the faucet. This step is critical in learning how to remove a kitchen faucet without a basin wrench, ensuring the faucet can be safely and effectively detached without the need for specialized tools.
The Final Thought
Removing a kitchen faucet without a basin wrench is completely achievable with the right tools and methods. By following the step-by-step guide outlined in this article, you can successfully uninstall your faucet and replace it with ease. Remember to exercise caution and patience throughout the process to avoid damaging any components. With a little perseverance and attention to detail, you’ll have your old faucet removed in no time.