
Replacing a kitchen faucet is a straightforward home improvement project that can significantly enhance both functionality and aesthetics. Knowing how to replace a faucet kitchen not only updates the look of your sink area but also improves water efficiency and reduces the risk of leaks. Understanding the process is important to ensure a successful installation without the need for professional help, saving both time and money. By following a few simple steps and using basic tools, you can easily tackle this task yourself, transforming your kitchen with a new spigot that meets your style and functional preferences.
Do I Need Special Tools To Replace A Kitchen Faucet?
Before starting the replacement process, make sure to turn off the water supply to the faucet and carefully follow the manufacturer’s instructions for installation. If you encounter any difficulties or are unsure about certain steps, it may be helpful to consult online tutorials or seek advice from a professional plumber. Overall, with the right tools and guidance, replacing a kitchen spigot can be a manageable DIY project for many homeowners.
How Often Should I Replace My Kitchen Faucet?
It is recommended to replace your kitchen faucet every 10-15 years, depending on the quality of the spigot and how well it has been maintained. Over time, spigots can develop leaks, corrosion, or other issues that may affect their functionality. If you start noticing frequent leaks or decreased water pressure, it may be a sign that it’s time to replace your kitchen spigot.
Preparing For Replacement
Before beginning the process of how to replace a faucet kitchen, it’s essential to gather the necessary tools and materials. Start by turning off the water supply to the kitchen spigot. This is typically done by shutting off the water valves located under the sink. Have towels or a bucket handy to catch any residual water in the lines. Additionally, inspect the area around the sink to ensure there is enough space to work comfortably. Clearing out any clutter from under the sink will make it easier to maneuver during the installation process. By preparing thoroughly, you can streamline the replacement process and minimize disruptions to your kitchen routine.
Removing The Old Faucet
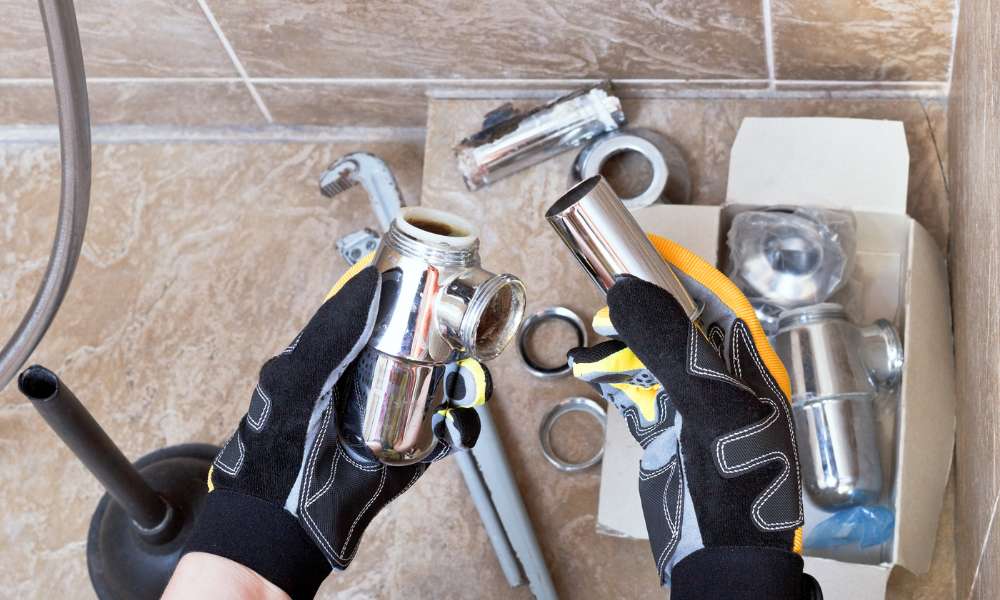
The next step in how to replace a faucet kitchen involves removing the old faucet. Begin by disconnecting the supply lines from both the hot and cold water valves using an adjustable wrench. Have a bucket ready to catch any water remaining in the lines. Once the supply lines are disconnected, loosen the nuts that secure the spigot to the sink using a basin wrench or adjustable wrench. Carefully lift the old spigot out of the sink, taking care not to damage the surrounding area. Clean the sink surface thoroughly to remove any old caulk or debris before proceeding to install the new spigot.
Choosing A New Faucet
Choosing the right faucet for your kitchen is crucial to achieving both functionality and aesthetics. Consider factors such as the sink configuration, style preferences, and ease of use when selecting a new spigot. There are various types of kitchen spigot available, including single-handle, double-handle, pull-down, and pull-out options. Pay attention to features such as water flow rate and handle design to ensure compatibility with your sink and personal preferences. Additionally, select a spigot that complements your kitchen decor to enhance the overall look of the space. By carefully choosing a new spigot, you can ensure years of reliable performance and satisfaction in your kitchen
Installing The New Faucet
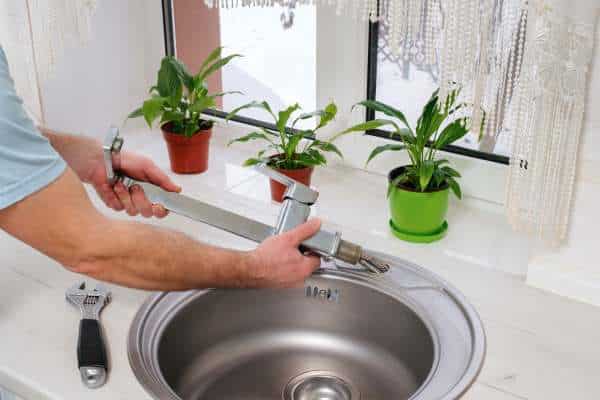
Follow the manufacturer’s instructions to install the new spigot. Typically, this involves positioning the spigot in the mounting holes of the sink and securing it with nuts from underneath. Ensure the spigot is stable and level before proceeding.
Connecting Water Supply Lines
Connecting water supply lines is a crucial step in any plumbing project, particularly when replacing an aerator on a kitchen faucet. One common mistake that people make is not properly tightening the connection, leading to leaks and potential water damage. To prevent this issue, using thread seal tape can help create a more secure seal between the supply line and spigot.
Checking Functionality
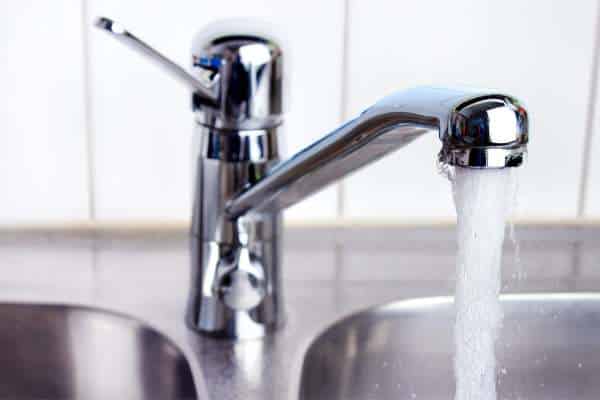
Before starting the installation process, ensure that the new faucet aligns with your sink’s configuration and meets your water flow needs. This initial step helps prevent compatibility issues and ensures a smooth installation experience. Additionally, inspecting for leaks or any existing plumbing issues in the sink area allows you to address these concerns before proceeding, saving time and potential complications later on.
Maintenance Tips For Longevity
To ensure longevity and optimal performance of your newly installed kitchen faucet, regular maintenance is essential. Simple maintenance tips include cleaning the aerator periodically to remove mineral buildup, checking and tightening connections if any leaks occur, and using mild cleaners to preserve the finish. These practices not only extend the lifespan of your spigot but also help maintain water efficiency and prevent costly repairs down the line.
Safety Tips During Faucet Replacement
Safety should always be a priority when replacing a kitchen faucet. Before starting, turn off the water supply to the sink area to prevent accidental flooding. It’s also advisable to wear protective eyewear and gloves when handling tools or working under the sink to avoid injury. Following manufacturer instructions and using the correct tools for each step of the replacement process further ensures a safe and successful installation.
Common Mistakes To Avoid
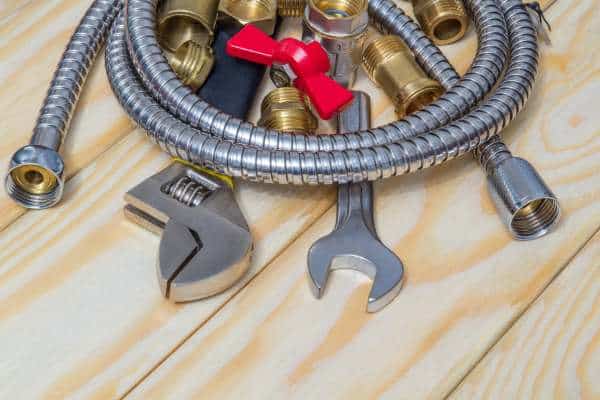
Common mistakes to avoid during the faucet replacement process include inadequate preparation and improper tool usage. It’s essential to gather all necessary tools and materials beforehand, such as an adjustable wrench, plumber’s tape, and a bucket for catching water. Rushing through the installation without following the manufacturer’s instructions can lead to leaks or damage to the faucet components. Taking the time to read and understand the installation guide thoroughly can help you avoid these pitfalls and ensure a successful replacement.
Environmental Considerations
Environmental considerations play a crucial role when replacing a kitchen faucet. Opting for WaterSense-labeled models can significantly reduce water usage without compromising performance. These spigots are designed to meet EPA criteria for water efficiency, helping conserve water and lower utility bills over time. Additionally, properly disposing of the old spigot by recycling metal parts and minimizing plastic waste contributes to environmental sustainability. By choosing eco-friendly options and responsible disposal methods, you can make a positive impact on both your household and the environment.
The Final Thought
Replacing a kitchen faucet can seem like a daunting task, but with the right tools and knowledge it can be a rewarding DIY project. By following the step-by-step instructions provided in this article, you can successfully upgrade your kitchen’s appearance and functionality. Remember to turn off the water supply and carefully follow all safety precautions to avoid any mishaps during the installation process. Once you have completed the installation, take a moment to admire your handiwork and enjoy the improved aesthetics and functionality of your new spigot. Don’t hesitate to reach out to a professional if you encounter any difficulties or need further assistance in replacing your kitchen spigot.