
Replacing a kitchen faucet with two handles is a practical home improvement project that can enhance both the functionality and aesthetics of your kitchen space. Whether you’re upgrading to a more modern design or simply replacing a worn-out fixture, knowing how to replace a kitchen faucet with two handles empowers you to maintain your home with ease. This guide will walk you through the step-by-step process, ensuring you can complete the installation efficiently and confidently. By understanding the benefits of this upgrade and the importance of proper installation, you’ll learn why tackling this project yourself can be rewarding and cost-effective.
Can I Replace A Kitchen Faucet With Two Handles By Myself?

Yes, you can replace a kitchen faucet with two handles by yourself as long as you have the necessary tools and some basic plumbing knowledge. Start by turning off the water supply to the faucet and disconnecting the existing one. Make sure to carefully follow the manufacturer’s instructions for installing the new faucet, including any specific steps for a two-handle design.
Do I Need To Turn Off The Water Supply Before Replacing The Faucet?
Yes, it is recommended to turn off the water supply before replacing a faucet. This step is important to prevent any accidental leaks or water damage during the replacement process. By turning off the water supply valves, you can ensure that no water will flow while you are working on removing the old faucet and installing the new one.
Assessing Your Faucet
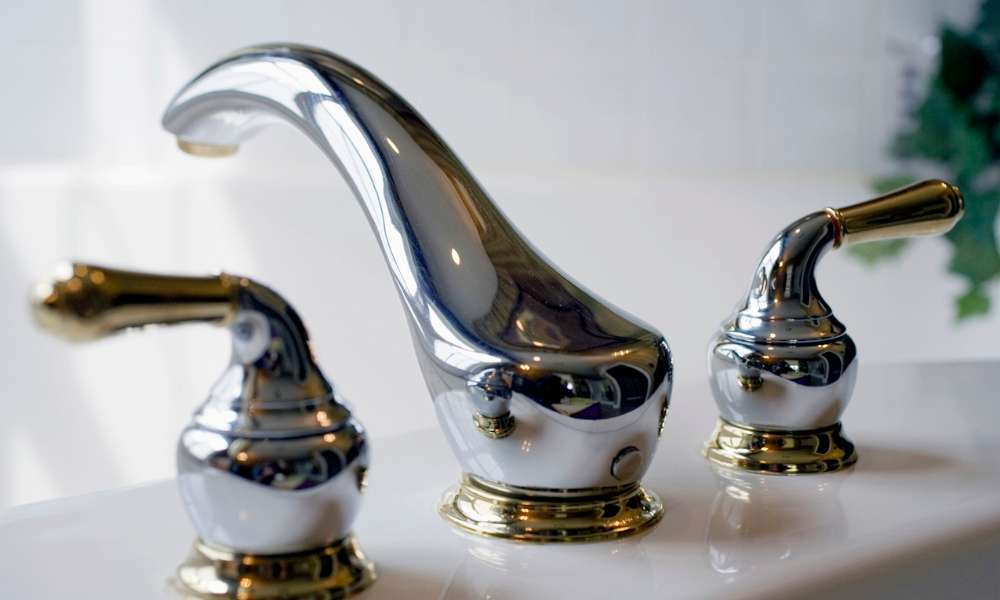
Before beginning the replacement process, it’s crucial to identify the type of faucet you currently have. Two-handle faucets are distinct in design, typically featuring separate handles for hot and cold water control. Understanding your current setup will guide you in selecting the appropriate replacement faucet and prepare you for what lies ahead in terms of installation.
Tools And Materials You Will Need
Gather your tools and materials before starting the replacement:
- Adjustable wrench
- Basin wrench
- Phillips and flat-head screwdrivers
- Plumber’s tape
- Replacement faucet kit (including handles, spout, and necessary hardware)
Having these items on hand will streamline the process and minimize interruptions once you begin.
Preparing For Replacement
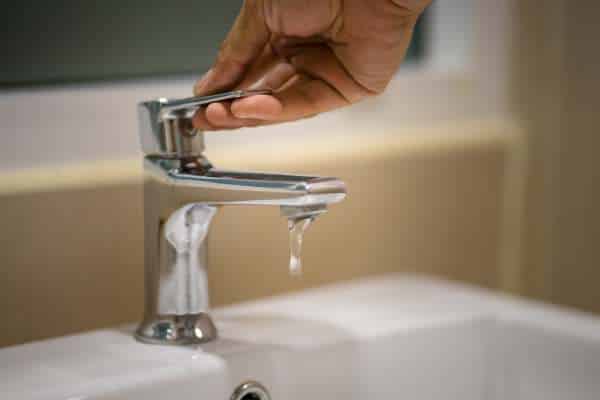
Begin by turning off the water supply to your kitchen sink. Most homes have shut-off valves located beneath the sink. Once the water is off, open the faucet handles to drain any remaining water in the lines. Clear the sink area of any objects or clutter to create a safe and accessible workspace.
Removing The Old Faucet
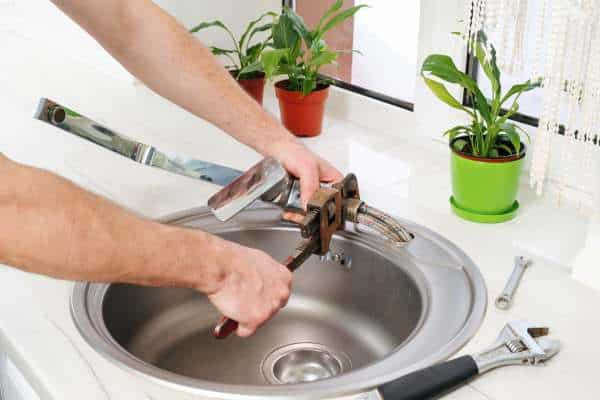
To remove the old faucet, start by disconnecting the water supply lines from the faucet handles. Use an adjustable wrench to loosen the nuts connecting the lines, and be prepared for some residual water drainage. Next, locate and remove the mounting nuts securing the faucet to the sink or countertop. With these nuts removed, the old faucet can be lifted out and set aside for disposal.
Installing The New Faucet
Position the new faucet into place, ensuring it aligns correctly with the mounting holes in the sink or countertop. Secure the faucet from underneath using the provided mounting hardware and tighten the nuts securely. Connect the water supply lines to the corresponding handles, applying plumber’s tape to ensure a tight seal. Double-check all connections before proceeding.
Testing And Troubleshooting
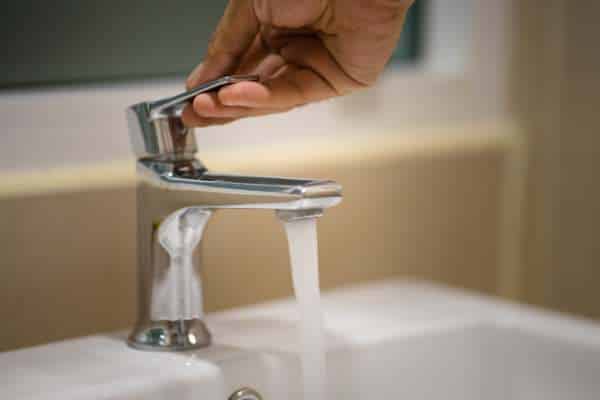
Testing and troubleshooting are crucial steps in ensuring the proper functioning of any system or device. When it comes to replacing a kitchen faucet with two handles, thorough testing is essential to identify any potential leaks, drips, or malfunctions. Testing the water flow and temperature control of the new faucet can help determine if it is installed correctly and functioning as intended.
Cleaning Up
Replacing a kitchen sink faucet is not just about functionality; it can also bring a sense of renewal to your space. The act of installing something new can rejuvenate the entire room, giving it a fresh look and feel. It’s a simple yet effective way to upgrade your kitchen without breaking the bank. So next time you’re feeling overwhelmed by mess and chaos, remember that cleaning up isn’t just about tidying your physical surroundings—it’s about revitalizing your space and mindset for a brighter future.
Maintenance Tips
To extend the lifespan of your new kitchen faucet, periodically check for leaks and tighten any loose connections. Clean the faucet regularly to prevent mineral buildup and maintain its appearance and functionality.
Benefits Of Diy Replacement
Replacing a kitchen faucet yourself can save money on professional installation fees and give you a sense of accomplishment. It’s a practical way to enhance your kitchen without major renovations, making it ideal for DIY enthusiasts and homeowners looking to personalize their space.
Common Mistakes To Avoid
Avoid over-tightening connections, which can damage seals and cause leaks. Additionally, skipping preparation steps such as turning off the water supply can lead to messy and stressful situations mid-project. Taking your time and following each step carefully will yield better results.
The Final Thought
replacing a kitchen faucet with two handles may seem like a daunting task, but with the right tools and guidance, it can be a straightforward process. By following the step-by-step instructions provided in this article, you can successfully install a new faucet and give your kitchen a fresh look. Remember to turn off the water supply before starting the installation to avoid any mishaps. Take your time and double-check your work to ensure everything is properly connected and functioning correctly. With patience and attention to detail, you will have a new kitchen faucet with two handles installed in no time – transforming your kitchen into a more stylish and functional space