

Replacing a kitchen faucet head is a straightforward yet impactful task that can enhance both the functionality and aesthetics of your kitchen space. Understanding how to replace kitchen faucet head not only allows you to maintain efficient water flow and address any existing issues but also gives you the opportunity to upgrade to a newer, more efficient model. Whether you’re experiencing leaks, reduced water pressure, or simply seeking a more modern look, learning this skill empowers you to make necessary improvements without relying on professional help. By following a few simple steps, you can effortlessly replace your kitchen faucet head, ensuring your kitchen remains a functional and inviting space for cooking and cleaning tasks.
How Often Should I Replace My Kitchen Faucet Head?
It is generally recommended to replace your kitchen faucet head every 1-2 years, depending on the usage and water quality in your area. Over time, mineral deposits can build up in the faucet head, leading to reduced water flow and potential leaks. Regularly cleaning and maintaining the faucet head can help extend its lifespan, but eventually, it may be necessary to replace it for optimal performance.
Do I Need To Hire A Plumber To Replace My Faucet Head?

Hiring a plumber can provide peace of mind knowing that they have the expertise and tools necessary to complete the job efficiently and effectively. They can also inspect other components of your plumbing system while replacing the faucet head, potentially identifying any underlying issues that may need attention. Ultimately, weighing the cost of hiring a plumber against the potential risks of doing it yourself can help you make an informed decision on whether to proceed with professional assistance.
Shutting Off Water Supply To The Faucet
Shutting off the water supply to your faucet may seem like a mundane task, but it plays a crucial role in maintaining your plumbing system. By turning off the water before replacing a kitchen faucet, you can prevent any unwanted leaks or flooding. Moreover, shutting off the water supply allows you to work on the faucet without any interruptions, ensuring a smooth and efficient installation process.
Preparing The Workspace To Avoid Damage
Preparing the workspace before starting the replacement is equally important. Clearing out items from under the sink and placing a towel or tray to catch any residual water ensures a clean and organized environment. This preparation not only facilitates easier access to the faucet but also prevents damage to cabinets and flooring from water spills or dropped tools. By taking these precautions, you create a safe and efficient workspace conducive to completing the task effectively.
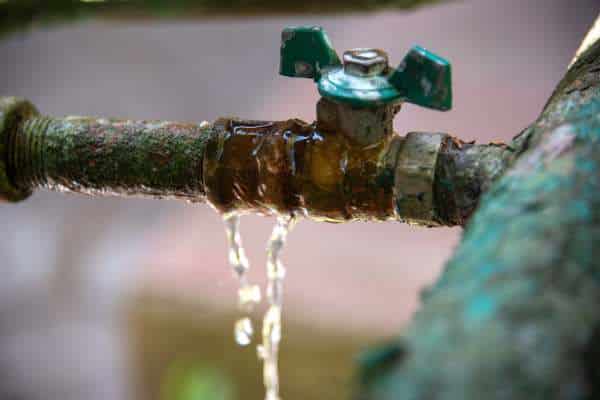
Dealing With Rusted Parts
Dealing with rusted parts is a common challenge when replacing a kitchen faucet head, especially in older fixtures. Applying a penetrating lubricant to stubborn connections can help loosen rusted nuts and bolts. Using adjustable wrenches or locking pliers with a firm grip, carefully loosen and remove these parts without damaging the surrounding plumbing or the faucet itself. This step requires patience and attention to detail to avoid further complications and ensure a smooth replacement process.
Attaching The New Head Securely
Attaching the new head securely is essential for optimal performance. Begin by carefully removing the old faucet head using adjustable pliers or a wrench, if necessary, to loosen any stubborn connections. Clean the threads of the faucet arm to ensure a proper seal with the new head. Apply plumber’s tape to the threads to prevent leaks and then carefully screw the new head onto the faucet arm. Tighten it securely by hand, ensuring a snug fit without over-tightening, which could damage the threads or cause leaks. This step guarantees a reliable connection that enhances water flow and efficiency in your kitchen.
Enhancing The Aesthetics Of Your Kitchen

Beyond functionality, replacing the kitchen faucet head offers an opportunity to enhance the aesthetics of your kitchen. Choose a new head that complements your kitchen’s decor and reflects your personal style. Modern designs often feature sleek finishes like chrome or brushed nickel, adding a touch of elegance to your sink area. Additionally, selecting a head with advanced features such as a pull-down sprayer or adjustable flow settings can further improve convenience and usability. By upgrading the faucet head, you not only improve the visual appeal of your kitchen but also elevate its overall functionality, making everyday tasks more enjoyable and efficient.
Detaching The Existing Head
Detach the existing head of the kitchen faucet. Start by unscrewing the aerator or spray head from the faucet spout using pliers or an adjustable wrench. Be gentle to avoid damaging the threads or other parts of the faucet. If the head is stuck due to mineral deposits or corrosion, soaking it in vinegar can help loosen it before attempting to unscrew it again. Removing the old head clears the way for installing the new one and addressing any issues such as poor water flow or pressure.
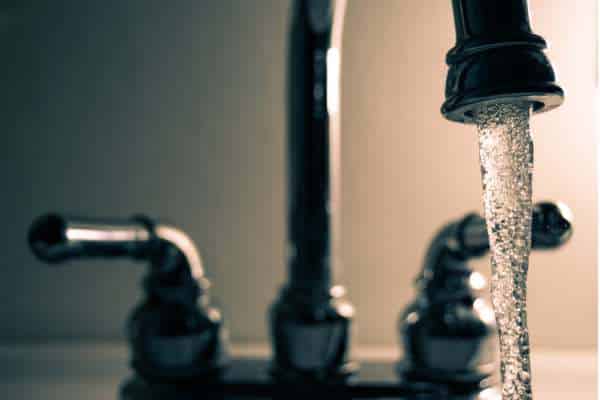
Poor Water Flow Or Pressure
Poor water flow or pressure is a common issue that replacing the kitchen faucet head can resolve. Over time, mineral deposits and debris can build up inside the head, leading to reduced water flow or uneven pressure. By installing a new head, you can restore optimal water flow and pressure, ensuring efficient performance for everyday kitchen tasks like washing dishes and filling pots. Choosing a high-quality faucet head suited to your needs can further enhance water efficiency and overall functionality, making your kitchen more convenient and enjoyable to use.
Handling Minor Repairs
Handling minor repairs before replacing the kitchen faucet head can save time and ensure a smoother installation process. Inspect the existing faucet for any leaks, corrosion, or loose parts that may need attention. Tighten loose connections or replace worn-out washers as needed. Addressing these issues beforehand ensures the new faucet head will operate efficiently without any underlying problems.
Avoiding Common Installation Hazards
Avoiding common installation hazards is essential to a successful replacement of the kitchen faucet head. Read the manufacturer’s instructions thoroughly before beginning the installation to understand the specific requirements and tools needed. Improper installation can lead to leaks, improper function, or damage to the new faucet head. Take your time to follow each step carefully, ensuring all connections are secure and the faucet head is properly aligned.
The Final Thought
Replacing the kitchen faucet head is a simple and cost-effective way to improve the functionality and aesthetics of your kitchen. By following the step-by-step guide provided, you can easily tackle this task on your own without the need for professional assistance. Remember to turn off the water supply before starting and take your time to ensure a proper installation. With the right tools and technique, you can successfully upgrade your kitchen faucet head in no time. Don’t hesitate to give it a try and enjoy the benefits of a new and improved kitchen faucet head today!