
Replacing the kitchen faucet is a straightforward home improvement task that can enhance both the functionality and aesthetics of your kitchen. Knowing how to replace the kitchen faucet allows you to update your sink area with ease, without the need for professional help. By replacing the kitchen faucet, you can enjoy benefits such as improved water flow, reduced leaks, and a modernized look that complements your kitchen decor. Understanding the importance of proper installation ensures longevity and prevents potential water damage. With the right tools and guidance, anyone can replace the kitchen faucet, making it a cost-effective and satisfying DIY project.
Can I Replace A Kitchen Faucet Myself?

Yes, you can definitely replace a kitchen faucet yourself if you have some basic tools and DIY skills. Start by turning off the water supply to the faucet and then disconnecting the old faucet from the plumbing. Make sure to follow the manufacturer’s instructions for installing the new faucet, as each model may have specific requirements.
Do I Need Special Tools To Replace A Kitchen Faucet?
Replacing a kitchen faucet typically requires basic tools that are commonly found in most households. You will likely need an adjustable wrench, pliers, and a screwdriver to remove the old faucet and install the new one. Additionally, having some plumber’s tape on hand can help ensure a secure and leak-free connection.
Types Of Kitchen Faucets
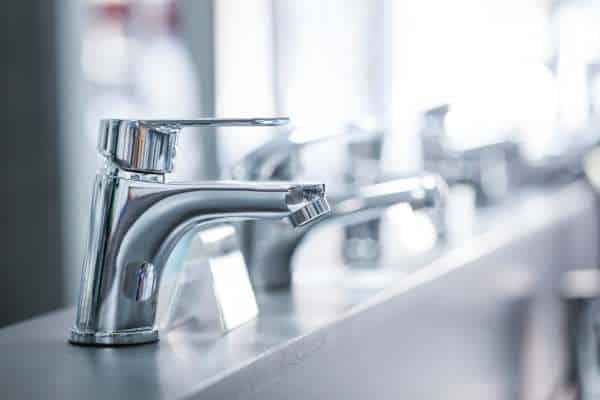
1. Single-Handle Faucets
One of the most common types is the single-handle faucet, which offers convenience and ease of use with its simple control mechanism. These faucets are popular for their ergonomic design, allowing users to adjust both water temperature and flow rate with a single handle, making them a practical choice for everyday kitchen tasks.
2. Double-Handle Faucets
Double-handle faucets provide a more traditional look and separate controls for hot and cold water. This type of faucet offers precise control over water temperature but may require more space around the sink area due to its dual-handle setup. Double-handle faucets are favored for their durability and timeless appeal, complementing various kitchen styles from classic to contemporary.
3. Pull-Out/Pull-Down Faucets
For those seeking versatility and functionality, pull-out or pull-down faucets are an excellent option. These faucets feature a spray head that can be pulled down or outwards from the spout, offering extended reach and flexibility for rinsing dishes or filling pots that don’t fit in the sink. Pull-out/pull-down faucets are particularly convenient in busy kitchens where multitasking is common, enhancing efficiency without compromising on style.
Preparing For Installation
Before you begin to replace the kitchen faucet, it’s essential to gather all the necessary tools and materials. Start by turning off the water supply to the kitchen sink to prevent any leaks or spills during the process. Ensure you have an adjustable wrench, plumber’s tape, and a bucket or towels handy to catch any remaining water in the lines. Additionally, familiarize yourself with the new faucet’s installation instructions to understand the specific steps required for your model. Proper preparation ensures a smoother installation process and reduces the likelihood of complications.
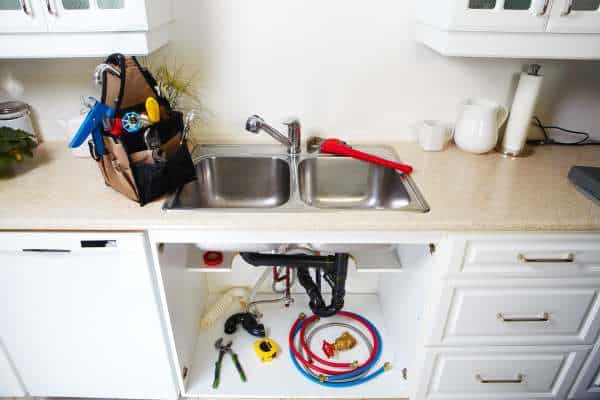
Disconnecting Water Supply Lines
To replace the kitchen faucet, start by disconnecting the water supply lines connected to the existing fixture. Using your adjustable wrench, carefully loosen the nuts securing the hot and cold water lines to the faucet stems. Place a bucket or towels under the connections to catch any residual water remaining in the lines. Once the water lines are disconnected, inspect them for any signs of wear or corrosion that may indicate the need for replacement. Properly disconnecting the water supply lines is crucial to preparing the old faucet for removal and ensuring a clean installation of the new one.
Removing Mounting Hardware
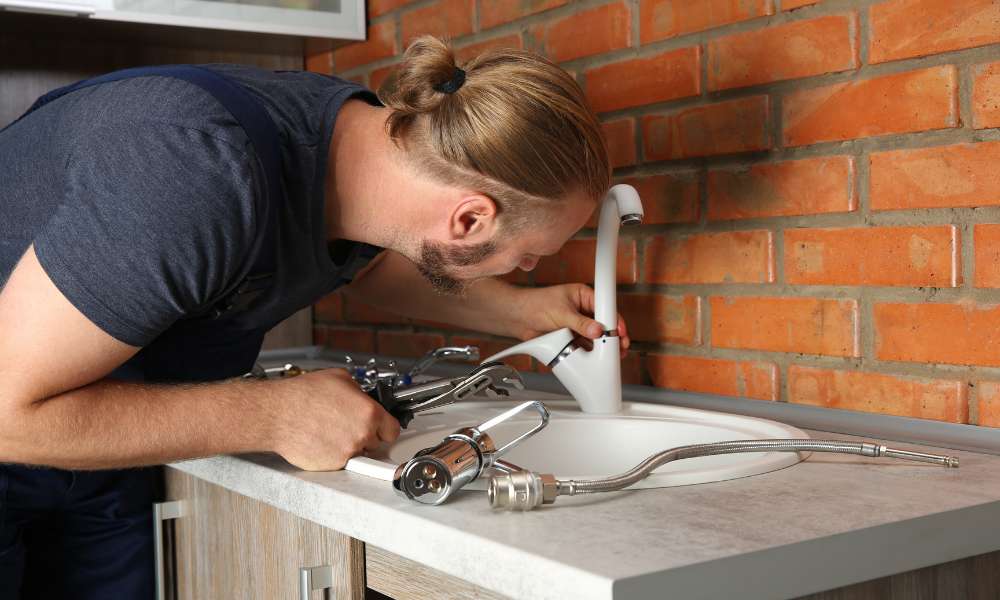
Removing mounting hardware, such as bolts and screws, is a crucial step in replacing a kitchen fauce with two handles. To begin, gather the necessary tools including a wrench or screwdriver depending on the hardware type. Next, carefully loosen and remove each piece of hardware while being mindful of any seals or gaskets that may need to be preserved. Take note of how each piece is positioned before removal to aid in reassembly later.
Securing The Faucet In Place
Securing the faucet in place is crucial to prevent leaks and ensure stability. Start by positioning the new faucet in the mounting holes on the sink, aligning it properly with the handles facing forward. Use a wrench to tighten the mounting nuts underneath the sink until the faucet is securely held in place. This step is essential as a loose faucet can lead to water leaks and potential damage to the sink and surrounding areas.
Using Teflon Tape
Using Teflon tape is another important aspect of replacing a kitchen faucet, particularly when connecting water supply lines. Apply Teflon tape to the threads of the water supply line connections before attaching them to the corresponding valves or pipes. This helps create a tight seal that prevents leaks, ensuring a reliable water flow without any drips. Proper application of Teflon tape is simple yet effective in enhancing the longevity and performance of the new faucet installation.
Difficulty Removing Old Faucet

One of the challenges often encountered when replacing a kitchen faucet is the difficulty in removing the old faucet. Over time, mineral deposits and corrosion can cause the faucet and its components to seize up, making removal a daunting task. To tackle this issue, use penetrating oil to loosen the connections and a basin wrench to access hard-to-reach areas underneath the sink. Taking time to carefully disconnect the old faucet ensures that the installation process of the new faucet proceeds smoothly, minimizing potential damage to the sink and plumbing fixtures.
The Final Thought
Replacing a kitchen faucet is a manageable DIY project that can greatly improve the functionality and aesthetics of your kitchen. By following the step-by-step guide provided in this article, you can successfully complete the task with minimal hassle. Remember to gather all necessary tools and materials beforehand, and take your time to ensure proper installation. Once the new faucet is in place, enjoy the refreshed look and enhanced performance it brings to your kitchen space.