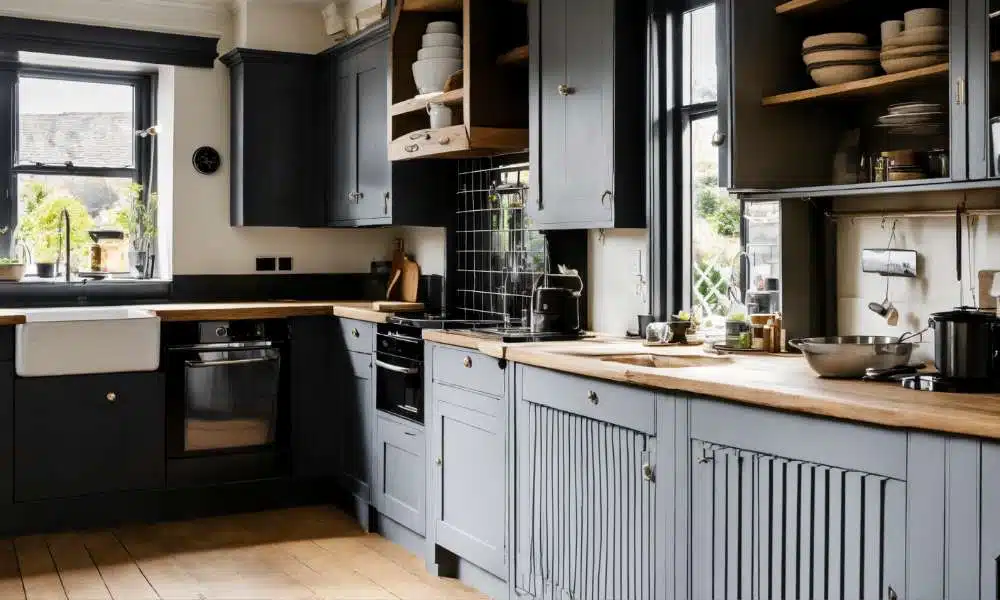
Unlock the potential of your kitchen space with our comprehensive guide on how to restore the kitchen cabinet. Whether your cabinets are showing signs of wear and tear or you’re simply aiming to revitalize your kitchen’s aesthetic, restoring your kitchen cabinets can breathe new life into your culinary haven. Discover the transformative benefits of restoring kitchen cabinets, from enhancing the overall look of your kitchen to increasing the value of your home. With proper restoration techniques, you can preserve the integrity of your cabinets while significantly improving their appearance. Learn why restoring kitchen cabinets is an essential aspect of kitchen maintenance, and empower yourself to undertake this rewarding DIY project with confidence.
How Can I Remove Water Stains From My Kitchen Cabinet?
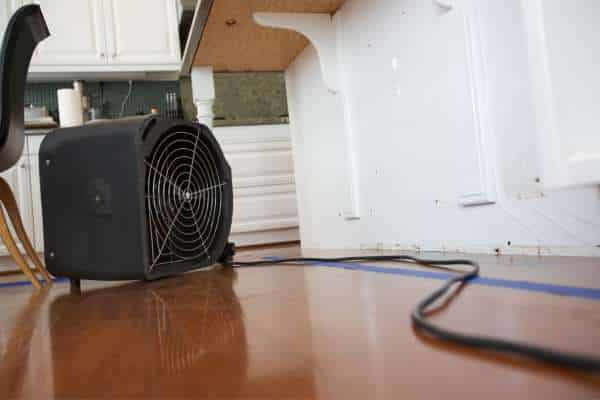
To remove water stains from your kitchen cabinet, you can try a few different methods. One common approach is to mix equal parts of baking soda and toothpaste to create a paste, then gently rub it onto the stained area with a soft cloth. Let it sit for a few minutes before wiping it off with a clean, damp cloth. Another method is to use a mixture of vinegar and water in equal parts, applying it to the stain and letting it sit for a few minutes before wiping it clean.
Can I Repaint My Kitchen Cabinets Without Sanding Them First?

Yes, you can repaint your kitchen cabinets without sanding them first, but it is important to note that the success of the project will depend on the condition of the existing finish and the type of paint you plan to use. If your cabinets are in good condition with no peeling or chipping paint, you may be able to skip the sanding step and proceed directly to priming and painting. However, if there are imperfections in the current finish or if you are using a different type of paint than what is currently on the cabinets, sanding may be necessary to ensure proper adhesion.
Assessment Of Cabinet Damage
Before diving into the restoration process, it’s crucial to conduct a thorough assessment of the damage inflicted upon your kitchen cabinets. Begin by inspecting each cabinet individually, paying close attention to signs of wear and tear such as scratches, dents, water damage, and peeling veneer. Take note of any areas where the finish has dulled or chipped away, as well as any structural issues such as loose hinges or warped panels. This initial assessment will help you develop a comprehensive restoration plan tailored to the specific needs of your cabinets, ensuring that no detail goes overlooked in the rejuvenation process.
Preparation Steps Before Restoration
Once you’ve identified the extent of the damage, it’s time to prepare your cabinets for restoration. Start by removing all hardware such as knobs, handles, and hinges, as well as any drawers or shelves. This will provide you with unobstructed access to the cabinet surfaces and make it easier to clean and repair them effectively. Next, thoroughly clean the cabinets inside and out to remove any dirt, grease, or residue that may have accumulated over time. Use a mild detergent and warm water solution, along with a soft sponge or cloth, to gently scrub away grime and ensure a clean surface for the restoration process.
Cleaning And Stripping The Cabinets
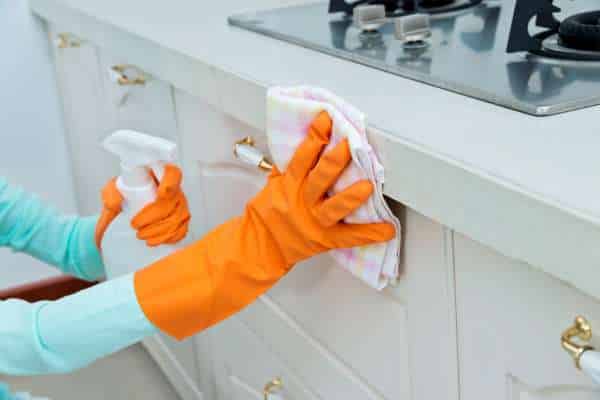
With your cabinets emptied and cleaned, the next step is to strip away the old finish to prepare them for restoration. Depending on the type of finish currently on your cabinets, you may need to use a chemical stripping agent or sandpaper to remove it effectively. Apply the stripping agent according to the manufacturer’s instructions, making sure to work in a well-ventilated area and wear protective gloves and eyewear. Once the old finish has been softened or removed, use a scraper or sandpaper to gently scrape away any remaining residue until the surface is smooth and bare. This step is essential for achieving optimal adhesion and a flawless finish during the restoration process.
Repairing Damaged Areas
Repairing damaged areas in wooden kitchen cabinets requires careful attention to detail and the right tools for the job. One common issue is water damage, which can lead to discoloration and warping of the wood. To address this, start by removing any excess moisture with a dry cloth before using a wood cleaner specifically designed for kitchen cabinets. Gently scrub the affected area in circular motions to lift any dirt or grime without damaging the wood surface.
Sanding For Smooth Surfaces
Achieving a flawless finish on your restored kitchen cabinets requires proper surface preparation, and sanding plays a pivotal role in this process. Using fine-grit sandpaper, gently sand the entire surface of the cabinets to remove any existing finish, dirt, or imperfections. Pay special attention to areas with rough patches or uneven textures, ensuring a smooth and uniform surface for the next steps of the restoration process. Be sure to sand along the grain of the wood to avoid damaging the natural fibers and create a professional-quality result. By investing time and effort in thorough sanding, you’ll lay the foundation for a stunning transformation that showcases the beauty of your kitchen cabinets.
Choosing The Right Stain
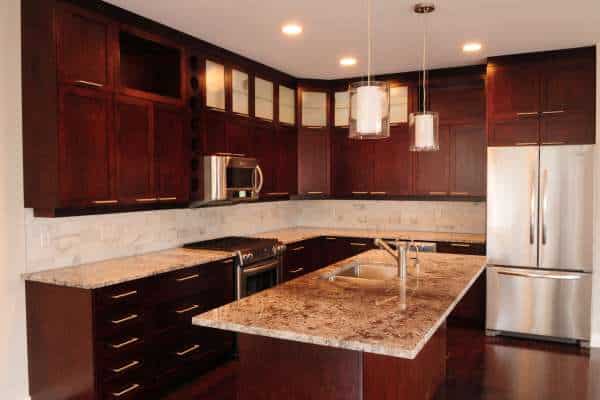
Selecting the right stain is a crucial step in the cabinet restoration process, as it determines the final color and finish of your cabinets. Begin by considering the existing color scheme and décor of your kitchen to ensure cohesion and harmony. Opt for a stain that complements the natural grain and texture of your cabinet wood, enhancing its visual appeal while adding depth and richness to the overall aesthetic. Additionally, choose a stain that offers durability and protection against daily wear and tear, such as a polyurethane-based formula. By carefully selecting the right stain, you can achieve professional-looking results that stand the test of time, elevating the beauty of your kitchen space for years to come.
Applying Primer And Paint

Taking the time to properly apply primer and paint to your kitchen cabinets can transform their appearance and give your kitchen a fresh new look. By following these steps carefully and using high-quality products, you can achieve professional results that will stand the test of time in your home. So roll up your sleeves, unleash your creativity, and enjoy the process of bringing new life to your kitchen space through this rewarding restoration project.
Installing Unique Hardware
Elevate the aesthetic appeal of your kitchen cabinets by installing unique hardware that reflects your personal style. From sleek modern handles to vintage-inspired knobs, the options are endless when it comes to selecting hardware. Consider the overall design theme of your kitchen and choose hardware that complements existing fixtures and decor. Before installation, carefully measure the dimensions of your cabinets to ensure a perfect fit for the new hardware. Installing unique hardware not only enhances the visual impact of your cabinets but also adds a touch of personality to your kitchen space, making it truly one-of-a-kind.
Filling Scratches And Holes
Address minor imperfections in your kitchen cabinets by filling scratches and holes with a high-quality wood filler. Start by sanding the damaged areas to create a smooth surface for the filler to adhere to. Then, apply the wood filler generously, ensuring it fills the entire depth of the scratch or hole. Once the filler has dried, sand the area again to blend it seamlessly with the surrounding surface. For deeper scratches or larger holes, consider using a two-part epoxy filler for added strength and durability. After filling and sanding, finish the repaired areas with a coat of primer and paint to achieve a flawless finish. By meticulously filling scratches and holes, you can restore the beauty of your kitchen cabinets and prolong their lifespan for years to come.
The Final Thought
Restoring kitchen cabinets can be a rewarding project that not only enhances the aesthetics of your kitchen but also adds value to your home. By following the steps outlined in this article, you can achieve professional results without breaking the bank. Remember to take your time with each step, from cleaning and sanding to painting or refinishing, in order to ensure a high-quality outcome. With proper care and maintenance, your restored kitchen cabinets will continue to brighten up your space for years to come. Take the first step towards transforming your kitchen by starting this restoration process today.

