Installing kitchen cabinet handles is a seemingly minor upgrade that can significantly enhance the functionality and aesthetic appeal of your kitchen. This straightforward DIY task not only adds a personal touch to your space but also improves ease of access to your storages. Understanding the importance of precision and the right tools can make this process smooth and efficient, ensuring a flawless finish. With our comprehensive guide on how to install kitchen cabinet handles, you’ll learn the step-by-step process, tips for perfect alignment, and the benefits of undertaking this project yourself. Embrace this simple change to refresh your kitchen’s look with minimal effort, proving that small details can make a big impact.
How Do I Determine The Correct Placement For My Cabinet Handles?

Aesthetics play an important role in handling placement. Aligning the handles with other elements in your kitchen, such as the size of your cabinets or the style of your hardware, can create a cohesive and visually appealing look. It’s also important to ensure that the knobs are evenly spaced and aligned across all cabinets for a polished finish. Taking these factors into consideration will help you determine the correct placement for your cabinet knobs that balances both functionality and aesthetics effectively.
Should I Use A Specific Type Of Screw For Installing Cabinet Handles?

Using the right type of screw for installing cabinet handles is crucial for ensuring a secure and stable attachment. By selecting the appropriate size and material of screw, you can avoid potential issues such as loose knobs or damage to your cabinets. It is always best to follow manufacturer recommendations and guidelines when choosing hardware for your cabinets.
Steps To Install Kitchen Cabinet Handles

1. Measuring
The first step in installing new handles is to measure accurately. You’ll need to decide on the placement of the knobs on the cabinet doors and drawers. A common approach is to place knobs for cabinet doors at the bottom corner opposite the hinges for easy access, and for drawers, center them horizontally. Use a tape measure to determine the distance between the screw holes for your knobs, which is crucial for the next steps. This measurement ensures that you drill your holes correctly, aligning with the handle’s specifications.
2. Marking
Once you’ve measured the distance between the screw holes on the handles, the next step is to mark these measurements on your cabinet doors and drawers. Use a pencil and a ruler or a template to mark the spots where you will drill. It’s important to be precise in this step to ensure that the handles are evenly placed across all cabinets and drawers. Some people prefer using a template made from cardboard or purchased from a hardware store, which can simplify marking consistent hole placements across multiple cabinets and drawers.
3. Installing The Handles
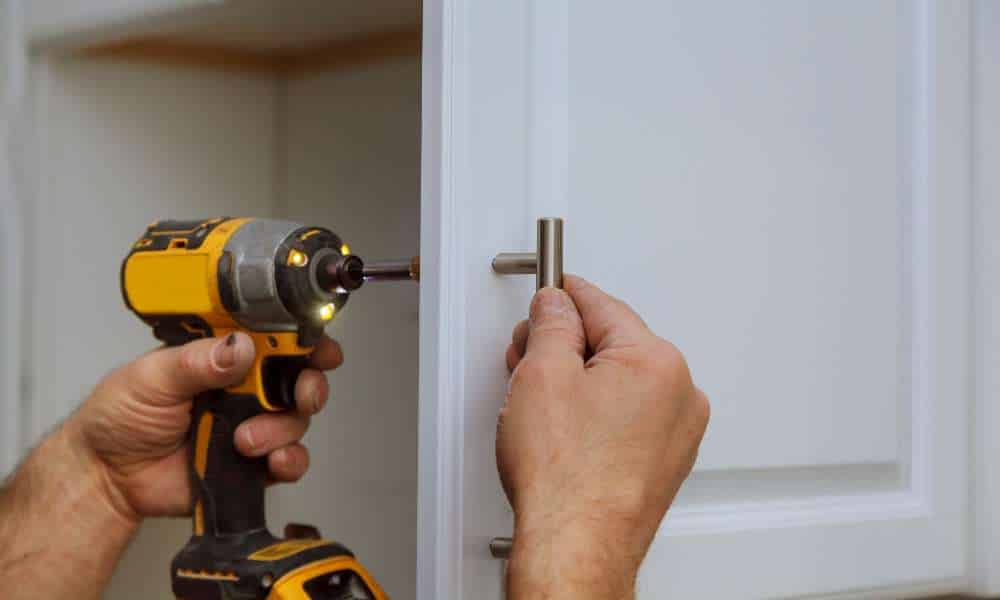
After measuring and marking comes the actual installation. You’ll need a drill to create holes at your marked spots. Start with a smaller drill bit to create pilot holes, which helps prevent the wood from splitting. Then, use the drill bit size that matches your handle screws. Once the holes are drilled, align the handles with the holes and secure them using the screws provided. It’s best to hand-tighten these screws initially to ensure proper alignment before fully securing them with a screwdriver or drill.
Unscrewing Old Handles
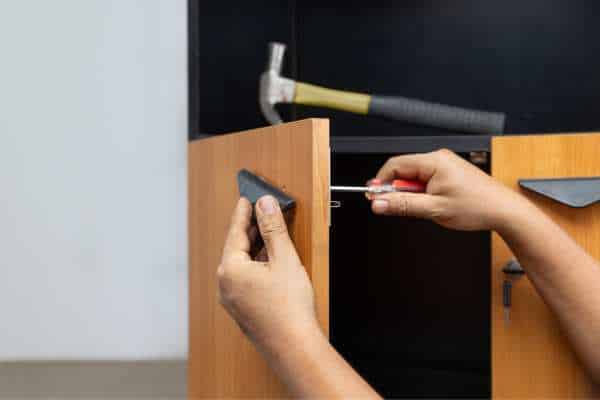
Before you can install new handles, you’ll need to remove the old ones. This process is relatively straightforward but requires care to avoid damaging the cabinets. Using a screwdriver appropriate for the screws, carefully unscrew and remove each handle. Keep track of the screws and old knobs for potential reuse or recycling. Once all the old knobs are removed, clean the surface of the cabinets to ensure a smooth installation for the new knobs.
Marking Drill Spots Accurately
To ensure proper placement of the new handles, accurate marking of drill spots is essential. Using a tape measure and a pencil, mark the spots where you’ll drill for the new knobs. Consider the aesthetic and functional aspects when determining the placement of the handles. For cabinet doors, positioning the knobs vertically at the bottom corner opposite the hinges is a common approach, while centering knobs horizontally on drawers provides a balanced look. Double-check your measurements to ensure accuracy before proceeding to drill.
Drilling Pilot Holes For Screws
Drilling pilot holes for screws is the next step in the installation process. Pilot holes help prevent the wood from splitting when you drive in the screws later on, ensuring a secure and long-lasting installation. Select a drill bit that matches the diameter of the screws you’ll be using for the new handles. It’s essential to choose a drill bit that is slightly smaller than the screws to create pilot holes of the appropriate size. Position the drill perpendicular to the surface and drill straight into the marked spots to create the pilot holes. Take care to drill to the appropriate depth, as this will ensure a snug fit for the screws.
Ensuring Handles Are Evenly Spaced
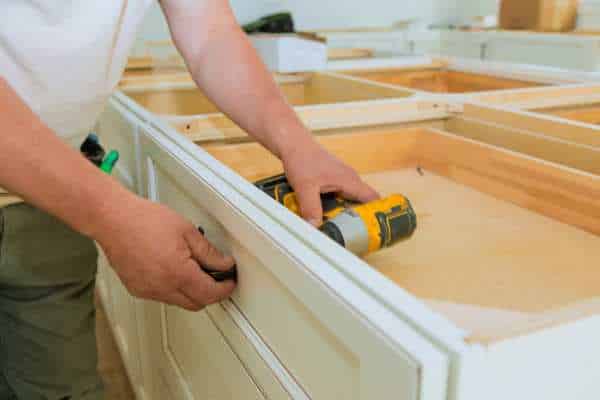
Ensuring handles are evenly spaced is essential for achieving a polished and professional look in your kitchen. Consistent spacing not only enhances the aesthetic appeal of your cabinets but also ensures that the knobs are comfortable to grip and easy to use. Use a measuring tape or a template to verify the distance between each handle, making any necessary adjustments to achieve the desired spacing. Taking the time to ensure that the knobs are evenly spaced will result in a cohesive and harmonious look across all your cabinets and drawers.
Using Adhesive Tape For Temporary Installation

Using adhesive tape for temporary installation projects such as building a kitchen cabinet offers convenience and flexibility that traditional fastening methods may not provide. By incorporating this simple tool into your workflow, you can streamline the construction process and make adjustments seamlessly. So next time you embark on a DIY project involving temporary setups, consider reaching for adhesive tape as your go-to solution for hassle-free assembly.
Adding Decorative Elements
Installing kitchen cabinet handles presents an opportunity to add decorative elements that complement your kitchen’s aesthetic. Consider incorporating unique handle designs, such as vintage-inspired knobs or sleek modern pulls, to enhance the overall style of your cabinets. Additionally, coordinating the finish of the knobs with other fixtures in the kitchen, such as faucets and appliances, can create a cohesive look. Don’t be afraid to get creative and inject your personality into the design with custom or DIY handle options.
Increased Property Value
Beyond the immediate aesthetic benefits, installing new kitchen cabinet knobs can also contribute to the overall value of your property. Potential buyers often pay attention to the condition and appearance of kitchen cabinets, as they are a focal point of the space. Upgrading to stylish and functional knobs can make a positive impression, enhancing the perceived value of your home. Whether you’re preparing to sell or simply investing in your property’s long-term appeal, updating cabinet knobs is a worthwhile investment.
Video Tutorials For Visual Learners

For visual learners or those who prefer a hands-on approach, video tutorials can be invaluable resources for learning how to install kitchen cabinet handles. Many DIY enthusiasts and home improvement experts share detailed video guides covering every step of the installation process. These tutorials provide a visual walkthrough, demonstrating techniques, tools, and tips for achieving professional results. Whether you’re a beginner or an experienced DIYer, watching video tutorials can enhance your understanding and confidence in tackling this project.
The Final Thought
To install kitchen cabinet handles is a simple yet effective way to update the look of your kitchen. By following the step-by-step guide provided in this article, you can easily achieve a professional and polished finish. Remember to measure carefully and use the right tools for a seamless installation process. Enhancing your kitchen cabinets with new knobs not only adds style and functionality but also increases the overall value of your home. Take the time to carefully select knobs that complement your existing decor and enjoy the transformation they bring to your space.

