
Dealing with a leaking kitchen faucet can be a frustrating experience for any homeowner. However, understanding how to fix leaking kitchen faucet issues not only resolves the annoying drip but also helps conserve water and prevents potential damage to your kitchen and home. Learning to fix leaking kitchen faucet problems is an essential skill that empowers you to take proactive control of your household maintenance, saving on costly plumbing bills and promoting sustainability. This guide will provide you with clear, actionable steps to confidently repair your leaking kitchen faucet, ensuring a smoothly functioning kitchen and peace of mind.
Why Is My Kitchen Faucet Leaking From The Base?

A leak from the base of a kitchen faucet can be caused by several factors. One common reason is a worn-out or damaged O-ring or gasket that is meant to seal the connection between the faucet and the sink. Over time, these components can degrade due to regular use and exposure to water, leading to leaks.
Can I Use Any Replacement Parts For My Faucet?
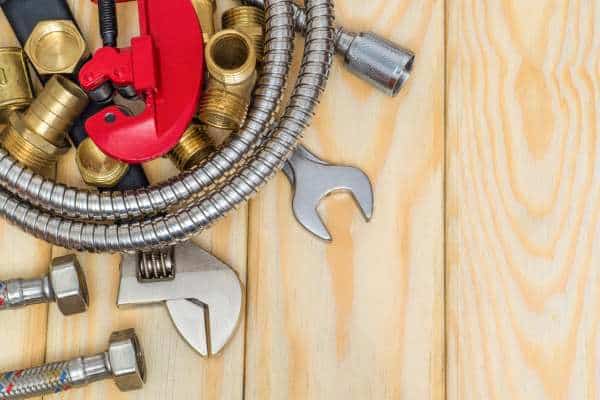
Using genuine replacement parts from the original manufacturer can help maintain the quality and longevity of your faucet. These parts are designed to fit perfectly and function properly, ensuring that your faucet continues to work efficiently. Investing in high-quality replacement parts may cost more initially but can save you money in the long run by preventing further issues down the line.
Shutting Off The Water Supply
To tighten a kitchen faucet handle, remember that prevention is key. Regularly checking for any loose or wobbly handles can save you from dealing with more significant issues down the line. Taking the time to tighten the handle properly not only ensures smooth operation but also prolongs the lifespan of your faucet. So next time you notice your kitchen faucet handle feeling a bit loose, don’t wait for it to become a bigger problem – take action and tighten it up!
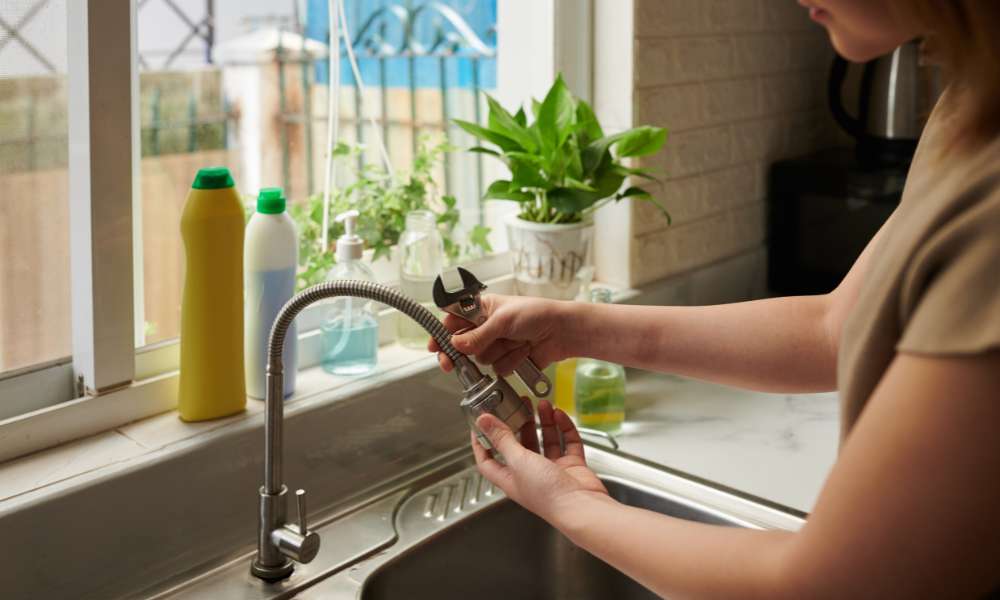
Disassembling The Faucet
Disassembling the faucet involves carefully removing each component to access the root of the leak. Begin with the handle and then unscrew the bonnet or collar that holds the faucet assembly together. As you disassemble, keep track of the order and orientation of parts to facilitate reassembly later. Inspect each part thoroughly for signs of wear, corrosion, or damage that could be causing the leak. Common culprits include worn-out O-rings, seals, or damaged valve seats.
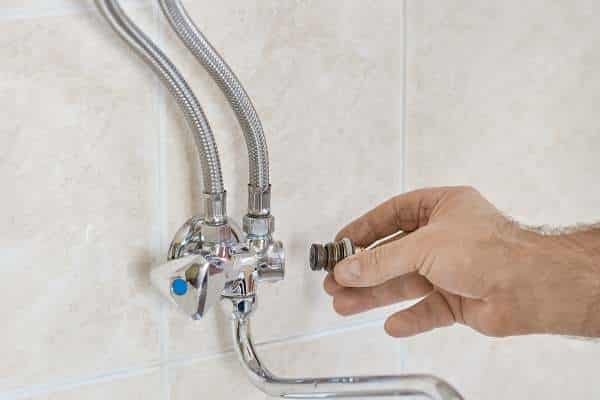
Inspecting Damaged Parts
Inspecting damaged parts is crucial to identifying the exact source of the leak and determining which components need replacement or repair. Look for mineral deposits, cracks, or visible signs of deterioration on the internal parts of the faucet. Pay close attention to the condition of washers, seals, and cartridges, as these are often responsible for leaks. Once identified, replace damaged parts with new ones compatible with your faucet model. Clean any mineral deposits or debris that may have accumulated inside the faucet assembly to ensure smooth operation once reassembled.
Addressing Minor Issues Promptly
Addressing minor issues promptly is key to preventing larger problems down the line. Once the water supply is off, inspect the faucet for common culprits such as worn-out washers, loose O-rings, or corroded valve seats. These issues are often straightforward to fix with basic tools and replacement parts, minimizing the need for costly repairs or replacements in the future. By tackling leaks early on, you can save money on water bills and maintain the integrity of your kitchen fixtures.
Reassembling The Faucet
Reassembling the faucet correctly is essential to ensure proper functionality. Follow the manufacturer’s instructions or refer to online guides for guidance on reassembly. Tighten all connections securely but avoid over-tightening, which can cause damage. Once reassembled, turn on the water supply gradually and check for leaks. Adjust any fittings as needed until the faucet operates smoothly and no water escapes. Taking these steps will not only fix the leaking kitchen faucet but also enhance its longevity and performance, ensuring a hassle-free kitchen experience.
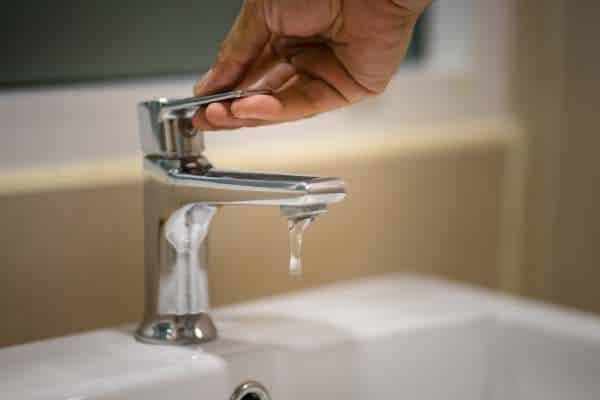
Addressing Persistent Leaks
One of the most common issues homeowners face is dealing with persistent leaks in their kitchen faucets. These leaks not only waste water but can also lead to increased water bills and potential damage to surrounding fixtures and cabinets. To effectively address persistent leaks, it’s crucial to identify the source of the leak first. This typically involves examining the faucet’s components such as the O-rings, washers, or cartridges that may have worn out over time. Once identified, replacing these worn-out parts with new ones can often resolve the issue and stop the leak.
Ensuring Proper Tightness
Properly tightening the various components of a kitchen faucet is essential to prevent leaks from occurring. Over time, the nuts and bolts that hold the faucet together can become loose due to regular use. Checking and tightening these components periodically can help maintain a secure connection and prevent water from leaking around the base of the faucet. Using the appropriate tools such as a wrench or pliers, gently tighten any loose nuts or bolts until they are snug, being careful not to over-tighten which could cause damage to the faucet’s fittings.
Removing Escutcheon Plates
Removing escutcheon plates is another essential part of fixing a leaking kitchen faucet. These plates cover the base of the faucet and can conceal screws or bolts that secure the faucet in place. By carefully removing the escutcheon plates, you gain access to the internal mechanisms of the faucet, facilitating easier inspection and repair of any leaking parts. This step-by-step approach ensures a thorough repair process, addressing the root cause of the leak and restoring the faucet’s functionality effectively.
The Final Thought
Fixing a leaking kitchen faucet is a manageable task that can save you money in the long run. By following the steps outlined in this article, you can easily identify and repair the source of the leak. Remember to turn off the water supply before beginning any repairs to avoid any accidents or further damage. With a bit of patience and some basic tools, you can successfully restore your faucet to its proper working condition. Take action today and tackle that pesky leak before it becomes a bigger issue!