
Discovering a dripping kitchen faucet can be more than just an annoyance; it can also lead to unnecessary water wastage and increased utility bills. In our comprehensive guide on how to fix dripping the kitchen faucet, we delve into the importance of addressing this issue promptly and provide you with step-by-step instructions to resolve it. By learning how to fix dripping kitchen faucets, you not only regain control over your home’s water usage but also save money and contribute to environmental conservation. Empower yourself with the skills to tackle this common household problem and enjoy the benefits of a smoothly functioning kitchen fixture.
How Do I Know If My Kitchen Faucet Needs Fixing?

There are a few signs that can indicate your kitchen faucet needs fixing. The most common sign is leaking or dripping water, which could be due to worn-out seals or loose connections. If you notice a decrease in water pressure or irregular water flow from the faucet, it may indicate a blockage or buildup of mineral deposits. Another indicator is if you hear strange noises coming from the faucet when it’s turned on, which could suggest internal issues with the components.
Can I Use Any Replacement Parts For My Faucet?

It is generally recommended to use replacement parts that are specifically designed for your faucet model. Using generic or universal replacement parts may not fit properly or function as intended, potentially causing leaks or other issues. Faucet manufacturers produce specific replacement parts to ensure compatibility and optimal performance.
Is Fixing A Dripping Faucet A Diy Job?
Fixing a dripping faucet can definitely be a DIY job for those who are comfortable with basic plumbing tasks. In many cases, a dripping faucet is caused by a worn-out washer or O-ring, which can be easily replaced with the right tools and materials. By following online tutorials or guides, homeowners can save money by fixing the issue themselves rather than hiring a professional plumber.
Importance Of Timely Repair
Addressing a dripping kitchen faucet promptly is crucial for several reasons. First and foremost, it helps prevent unnecessary water wastage, which can lead to inflated utility bills over time. Additionally, ignoring a dripping faucet can exacerbate the issue, potentially causing further damage to the fixture and surrounding areas. Timely repair not only saves you money in the long run but also promotes environmental sustainability by conserving water resources. By taking action at the first sign of a leak, you can mitigate these risks and ensure the continued efficiency of your kitchen faucet.
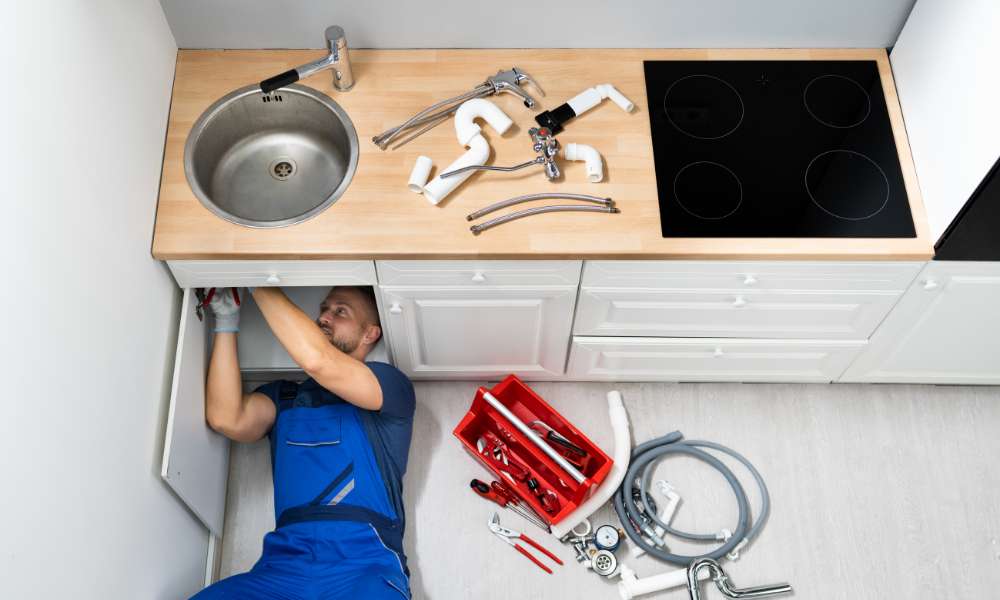
Shutting Off Water Supply
Before beginning any repair work on a dripping kitchen faucet, it’s essential to shut off the water supply to prevent accidental flooding or water damage. Locate the shut-off valves underneath the sink and turn them clockwise until they are fully closed. This step is crucial for ensuring your safety and the effectiveness of the repair process. Once the water supply is shut off, you can proceed with disassembling the faucet to identify and address the source of the leak.
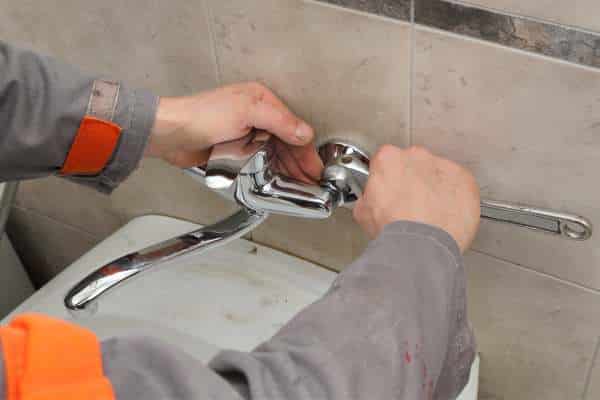
Disassembling The Faucet

Start by removing any decorative caps or handles covering the faucet’s screws. Then, use a screwdriver to loosen and remove these screws, allowing you to detach the handle from the faucet body. Next, use an adjustable wrench to loosen and remove the bonnet nut, which secures the faucet cartridge in place. Once the bonnet nut is removed, carefully extract the cartridge from the faucet body using pliers or a cartridge puller. With the cartridge removed, inspect it for any signs of damage or wear, such as cracks or worn-out seals. Replace any faulty components as needed, then reassemble the faucet in the reverse order of disassembly. Finally, turn the water supply back on and test the faucet for leaks. By following these steps, you can effectively fix a dripping kitchen faucet and restore it to optimal working condition.
Reassembling The Faucet

Once you have successfully reassembled the faucet, turn on the water supply and check for any leaks or drips. It’s important to have patience and double-check your work to ensure that everything is functioning correctly. By following these steps and taking your time, you can easily change out a kitchen faucet with confidence and skill.
Testing For Leaks
Testing for leaks is the first crucial step in addressing a dripping kitchen faucet. Begin by turning off the water supply to the faucet and placing a towel or basin beneath the sink to catch any drips. Then, systematically inspect each component of the faucet, including the handles, spout, and base, for signs of leakage. Use a flashlight if necessary to thoroughly examine each area for water droplets or dampness. By methodically testing for leaks, you can pinpoint the source of the issue and proceed with targeted repairs.
Cleaning And Lubricating Components
Cleaning and lubricating the components of your kitchen faucet is essential for ensuring smooth operation and preventing future leaks. Start by disassembling the faucet and removing any accumulated debris, mineral deposits, or corrosion using a mild cleaning solution and a soft brush or cloth. Pay close attention to areas around the cartridge, O-rings, and valve seats, as these are common culprits for leaks. Once cleaned, apply a thin layer of silicone-based lubricant to the moving parts to reduce friction and promote proper sealing. By regularly maintaining and lubricating your faucet components, you can extend their lifespan and minimize the risk of leaks.
Enjoying A Leak-Free Kitchen
Enjoying a leak-free kitchen is the ultimate reward for mastering the art of fixing dripping kitchen faucets. With your faucet repaired and properly maintained, you can confidently tackle household tasks without the constant distraction of dripping water. Not only will you experience improved functionality and efficiency in your kitchen, but you’ll also enjoy the peace of mind knowing that you’ve taken proactive steps to conserve water and reduce utility costs. By incorporating regular testing, cleaning, and lubrication into your maintenance routine, you can ensure a leak-free kitchen for years to come.
The Final Thought
To fix a dripping kitchen faucet is a manageable task that can save you money on your water bill and prevent further damage to your home. By following the steps outlined in this article, you can easily identify the cause of the drip and make the necessary repairs. Remember to gather the right tools, turn off the water supply, and take your time to ensure a proper fix. With a little effort and know-how, you can have your kitchen faucet running smoothly again in no time. Don’t let that drip persist any longer – take action today to fix it once and for all!