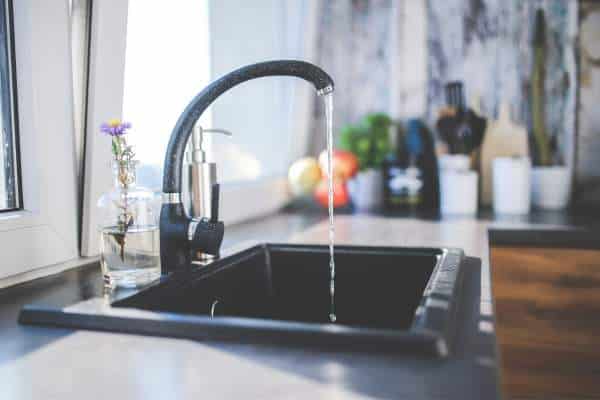
Changing out a kitchen faucet is a simple yet impactful home improvement task that can enhance both the functionality and aesthetic of your kitchen. Knowing how to change out a kitchen faucet yourself not only saves you money on professional installation fees but also gives you the satisfaction of a DIY accomplishment. This guide will walk you through the essential steps and tools needed for the job, ensuring a smooth and efficient process. By mastering this skill, you can upgrade your kitchen’s look, improve water efficiency, and address leaks or other faucet issues promptly. Dive into this tutorial to discover how easy it is to change out a kitchen faucet and enjoy the benefits of a refreshed kitchen space.
How Long Does It Take To Change Out A Kitchen Faucet?
Factors that may affect the duration of the task include the type of faucet being installed, any additional features or components that need to be connected, and potential complications such as corroded or hard-to-reach parts. It is always recommended to carefully follow the manufacturer’s instructions and ensure you have all necessary tools and materials before starting the project to help streamline the process and minimize any unexpected delays.
What Are The Signs That I Need A New Kitchen Faucet?

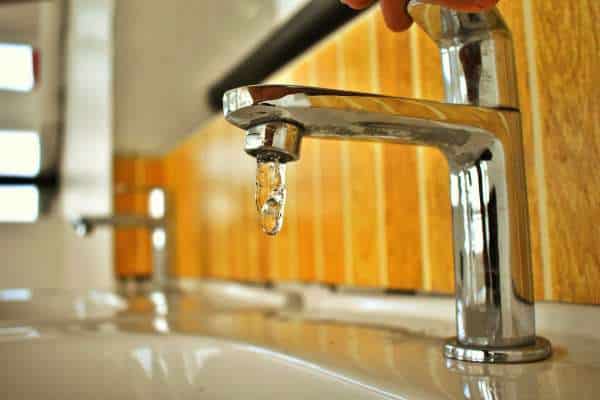
There are several signs that indicate it may be time to replace your kitchen faucet. One common sign is if you notice leaks or drips coming from the faucet, which can lead to water wastage and potential damage to your sink area. Another sign is if the faucet is constantly clogging or experiencing reduced water pressure, as this could indicate a buildup of sediment or mineral deposits that cannot be easily removed.
Can I Change A Kitchen Faucet Without A Plumber?

Yes, you can change a kitchen faucet without hiring a plumber, as long as you have some basic tools and DIY skills. The process typically involves turning off the water supply, disconnecting the old faucet, installing the new one, and reconnecting the water lines. It’s important to follow the manufacturer’s instructions carefully and ensure that all connections are secure to prevent leaks.
Scraping Off Old Sealant
Scraping off old sealant can be a tedious but necessary task when replacing a kitchen faucet. To ensure a smooth and leak-free installation, it’s crucial to remove any remnants of the old sealant from the sink surface. Start by using a scraping tool or putty knife to carefully peel away the hardened sealant. Be sure to work slowly and methodically to avoid damaging the sink or surrounding areas.
Ensuring A Watertight Seal
Ensuring a watertight seal is a vital part of the process when you change out a kitchen faucet. After removing the old sealant and cleaning the area, apply a bead of plumber’s putty or silicone caulk around the base of the new faucet. This helps to create a tight seal that prevents water from leaking underneath the sink. Carefully position the new faucet, and press it firmly into place. Tighten the mounting nuts underneath the sink to secure the faucet. This step is critical for maintaining a watertight seal and ensuring the longevity of your new faucet installation.
Checking For Leaks
Once you have installed your new kitchen faucet, checking for leaks is an important final step in the process of how to change out a kitchen faucet. Turn on the water supply and run both hot and cold water through the faucet. Inspect the base of the faucet, the connections underneath the sink, and the surrounding area for any signs of leaks. If you notice any water seeping out, it may be necessary to tighten the connections or reapply sealant. Ensuring there are no leaks will protect your kitchen from potential water damage and ensure your faucet operates efficiently. Regularly checking for leaks can help maintain the integrity of your kitchen faucet over time.
Low Water Pressure
Addressing low water pressure is another essential aspect when you change out a kitchen faucet. Over time, mineral buildup and debris can accumulate in your old faucet, leading to reduced water flow. By installing a new faucet, you have the opportunity to inspect and clean the water supply lines, ensuring optimal water pressure. Before connecting the new faucet, check for any blockages and flush out the lines. This proactive approach not only resolves existing low water pressure issues but also improves the overall performance of your kitchen faucet.
Using Teflon Tape
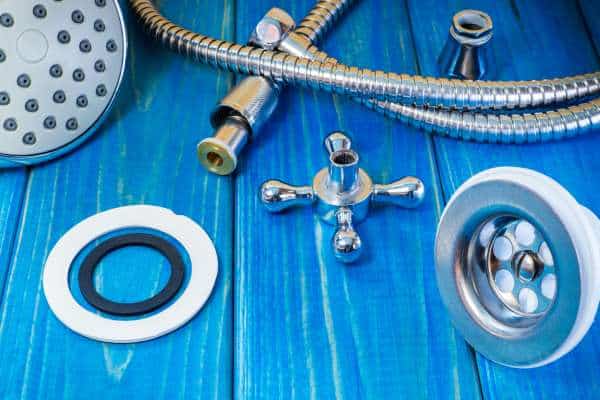
Using Teflon tape is a critical step in ensuring leak-free connections when you change out a kitchen faucet. This tape, also known as plumber’s tape, is used to seal the threads of the water supply lines. Begin by wrapping the Teflon tape clockwise around the threaded ends of the pipes, making sure to cover the threads evenly. This helps create a watertight seal, preventing leaks and ensuring a secure fit. Proper application of Teflon tape is essential for a professional-quality installation, giving you peace of mind that your new kitchen faucet will function flawlessly.
Removing The Old Faucet

1. Disconnecting Water Lines
To begin the process of changing out a kitchen faucet, the first step is removing the old faucet. This involves several key actions to ensure a smooth transition. Firstly, disconnecting the water lines is essential. Turn off the water supply valves under the sink and use an adjustable wrench to loosen and disconnect the water lines connected to the faucet. Ensuring the water supply is completely shut off prevents any leaks or spills during the removal process.
2. Removing Mounting Nuts
A common challenge when removing mounting nuts is dealing with rusted or stubborn hardware that refuses to loosen. In such cases, applying some penetrating oil can help break down corrosion and make it easier to turn the nuts. Additionally, using a little bit of elbow grease along with patience will ensure you can successfully remove these nuts without causing any damage to your sink or faucet.
3. Lifting Out The Old Faucet
Lifting out the old faucet can be a daunting task for many homeowners, but with the right tools and techniques, it can be tackled with ease. Start by turning off the water supply to prevent any leaks or flooding during the removal process. Next, use a wrench to loosen and disconnect the connections between the old faucet and the plumbing lines.
Handling Minor Repairs
During the process of changing out a kitchen faucet, you may encounter minor repairs that need attention. Common issues such as loose nuts, worn-out washers, or dripping faucets can often be easily addressed during the installation process. Take the opportunity to inspect the various components of your faucet and make any necessary adjustments or replacements. By handling these minor repairs proactively, you can extend the lifespan of your new faucet and prevent future problems from arising.
Recognizing Complex Issues
Complex issues such as corroded pipes, major leaks, or structural damage may require professional intervention. Attempting to tackle these complex issues without the necessary expertise could lead to further damage and costly repairs. If you encounter a problem that seems beyond your skill level, don’t hesitate to seek help from a qualified plumber. Recognizing complex issues and knowing when to call in a professional ensures the safety and integrity of your kitchen plumbing system.
The Final Thought
Replacing a kitchen faucet can be a straightforward task with the right tools and guidance. By following the step-by-step instructions outlined in this article, you can successfully upgrade your kitchen’s functionality and aesthetic appeal. Remember to turn off the water supply before beginning the installation process to avoid any mishaps. Take your time to carefully connect all components and ensure everything is securely in place. With patience and attention to detail, you can transform your kitchen with a new faucet that suits your needs and style perfectly. Start your faucet replacement project today and enjoy an improved kitchen experience.

