
Replacing a kitchen faucet with a sprayer can significantly enhance your kitchen’s functionality and aesthetic appeal. Understanding how to replace a kitchen faucet with a sprayer not only saves you the cost of hiring a professional but also provides you with the satisfaction of completing a DIY home improvement project. This process involves a few important steps—selecting the right faucet to fit your sink’s configuration, preparing the necessary tools, and installing the new fixture. By tackling this task yourself, you gain practical plumbing skills and ensure that the installation meets your specific needs. With the right guidance, replacing your kitchen faucet with a sprayer is a manageable task that can bring about a notable improvement in your daily kitchen activities.
What Tools Will I Need To Replace A Kitchen Faucet With A Sprayer?
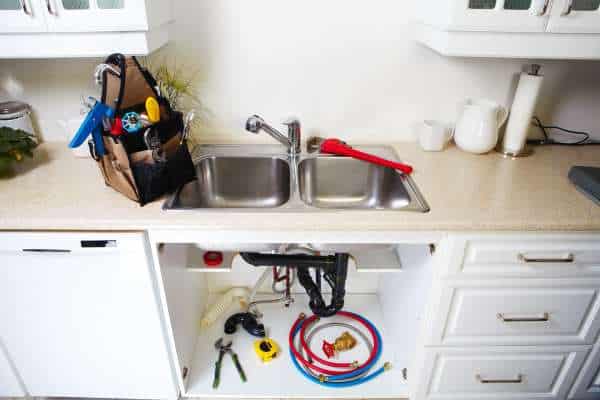
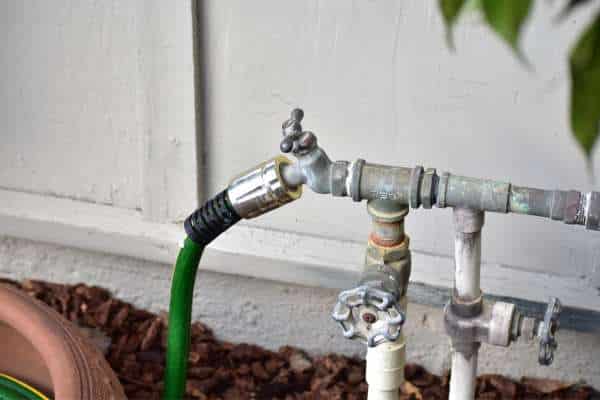
Having plumber’s tape on hand is important to ensure a secure and leak-free connection between the new faucet and the water supply lines. It’s also a good idea to have a bucket or container ready to catch any water that may drip during the installation process. By having these tools readily available, you can successfully replace your kitchen faucet with a sprayer without any hassle.
Can I Replace A Kitchen Faucet With A Sprayer On My Own?
Yes, you can replace a kitchen faucet with a sprayer on your own, as long as you have some basic plumbing skills and tools. The process involves turning off the water supply, removing the old faucet, installing the new one, and connecting the sprayer hose. It is important to follow the manufacturer’s instructions carefully to ensure proper installation.
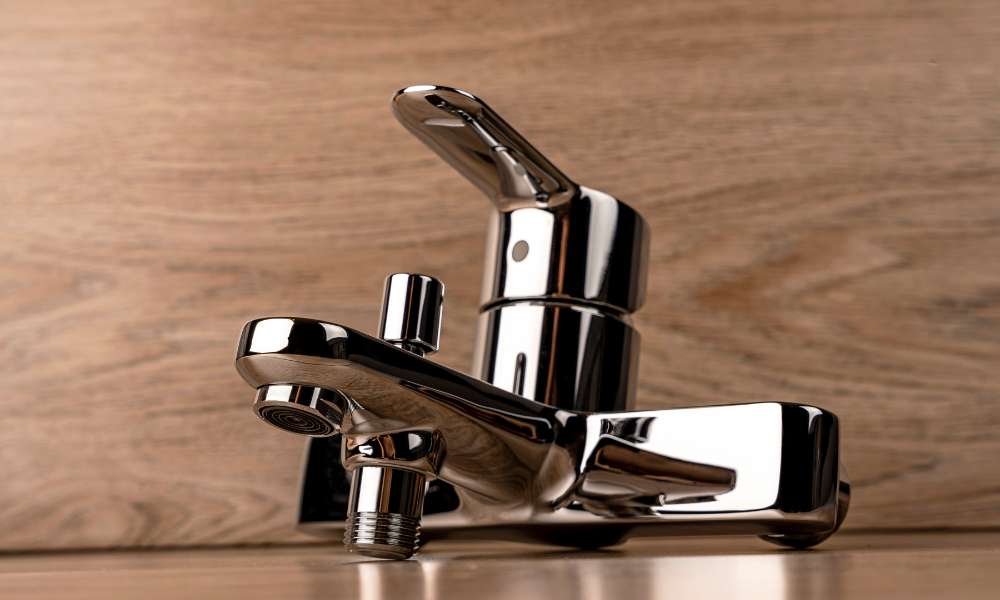
Remove The Mounting Nuts
To remove the mounting nuts securing a kitchen faucet with a sprayer, begin by using an adjustable wrench to loosen each nut. Be sure to provide adequate support for the faucet as you work to prevent any accidental damage. Once the nuts are loose, carefully lift the faucet and sprayer assembly out of place, taking care not to disturb any surrounding pipes or fixtures.
Secure Faucet Using Mounting Hardware
After removing the old faucet, it’s time to install the new kitchen faucet with a sprayer. Begin by placing the new faucet into the mounting holes on the sink deck. Make sure the faucet is aligned properly and sits flush against the sink surface. Once the faucet is in position, secure it by attaching the mounting hardware provided with the new faucet. This typically includes washers and mounting nuts. From underneath the sink, hand-tighten the mounting nuts onto the faucet tailpieces. Be sure not to over-tighten as this could damage the faucet or sink.
Tighten Connections With Wrenches
With the faucet securely in place, use a wrench to tighten the mounting nuts further. A basin wrench or adjustable wrench will allow you to reach and tighten the nuts effectively. Alternate between the nuts to ensure even pressure is applied. As you tighten the nuts, check to ensure that the faucet remains properly aligned and level. Avoid over-tightening as this could cause damage to the faucet or sink. Once the mounting nuts are securely tightened, wipe away any excess plumber’s putty or silicone from around the base of the faucet.
Connect Sprayer Hose To Faucet
Attaching the sprayer hose is a critical step in replacing a kitchen faucet with a sprayer. Locate the sprayer hose and guide it through the designated hole in your sink. Connect the hose to the base of the faucet, usually at a separate outlet below the faucet handles. This connection often requires a firm push and a twist to lock it into place. Ensure that it’s secure to prevent the hose from detaching when the sprayer is used. Some models come with a weight that needs to be attached to the hose under the sink to help retract the sprayer after use.
Addressing Leaky Connections
Once the installation is complete, it’s essential to check all connections for leaks. Turn on the water supply and observe any leakage around the faucet base, supply lines, and where the sprayer hose connects. If you notice any drips, turn off the water supply and slightly tighten the connections where the leak originates. For persistent leaks, it may be necessary to disassemble the connection, check for any damaged washers or gaskets, and replace them as needed. Ensuring all connections are tight and leak-free will help maintain the integrity and functionality of your new kitchen faucet with sprayer.
Ensuring Compatibility With Existing Plumbing
Check the spacing and configuration of the mounting holes in your sink or countertop to make sure they fit the new faucet. If necessary, consult with a professional plumber to help you navigate any potential challenges in making your new faucet compatible with the existing plumbing. By taking these proactive steps and thoroughly assessing your plumbing setup before installation, you can avoid unnecessary complications and ensure a smooth transition to your upgraded kitchen faucet with sprayer.
Testing And Adjustments
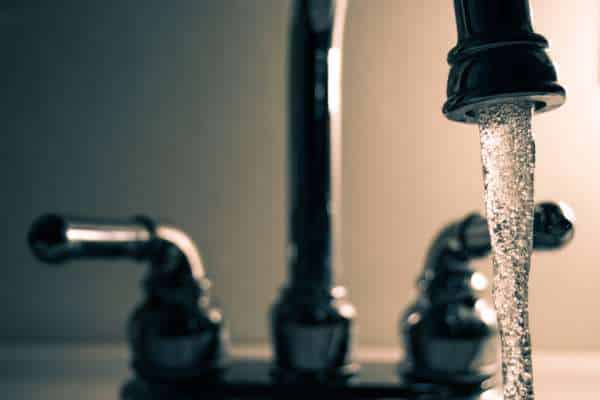
1. Turn On Water Supply
Turn on the water supply to initiate the testing phase. This is done by locating the shut-off valves under the sink, which you would have turned off during installation. Slowly turn these valves back to the open position. It’s essential to open them slowly to avoid any sudden pressure in the pipes, which could dislodge or damage your new installation.
2. Check For Leaks
Once the water is running, closely inspect all connections for leaks. Start from the base of the faucet and work your way down to the connections under the sink. Look for any drips or moisture. If you find any leaks, turn off the water supply again and tighten the connections. It’s crucial to address these leaks immediately to prevent water damage under your sink cabinet. Sometimes, you might need to add extra plumber’s tape or replace a washer to ensure a water-tight seal.
3. Test Sprayer Functionality
Test the functionality of the sprayer. Turn on the faucet and switch to the sprayer to see how it performs. Check for a steady flow and consistent pressure. The sprayer should switch easily from stream to spray without any hiccups. If you notice any irregularities in water flow or if the sprayer is leaking, double-check the connections to the sprayer head and hose. Also, inspect the aerator for any clogs that might be affecting water pressure.
The Final Thought
Replacing a kitchen faucet with a sprayer is a manageable task that can be completed with the right tools and instructions. By following the step-by-step guide outlined in this article, homeowners can successfully upgrade their kitchen fixtures and enhance the functionality of their sink area. It is important to take time to carefully disconnect and reconnect the necessary components to ensure proper function and avoid leaks. With attention to detail and patience, anyone can tackle this DIY project and enjoy the benefits of a new kitchen faucet with a sprayer. Take the first step towards a more efficient kitchen by implementing these instructions today.