
A loose faucet handle can be not just annoying but also lead to potential leaks over time. Knowing how to tighten the kitchen faucet handle can save you from unnecessary plumbing expenses and ensure smooth operation in your kitchen. Whether you’re dealing with a single-handle or double-handle faucet, the process is straightforward and requires minimal tools. In this guide, we’ll walk you through the steps to securely tighten your kitchen faucet handle, ensuring it stays firmly in place for hassle-free use.
Why Is My Kitchen Faucet Handle Loose?
A loose kitchen faucet handle is a common issue that can be caused by a few different factors. One possible reason is that the set screw holding the handle in place has become loose over time. To fix this, you can use an Allen wrench to tighten the set screw located on the underside of the handle.
Can I Tighten The Kitchen Faucet Myself?
Yes, you can tighten the kitchen faucet yourself if it is loose. First, make sure to turn off the water supply to the faucet. Then, use an adjustable wrench or pliers to tighten the nuts located underneath the sink that hold the faucet in place. Be careful not to overtighten as this could damage the faucet or pipes.
Accessing The Fastening Mechanism
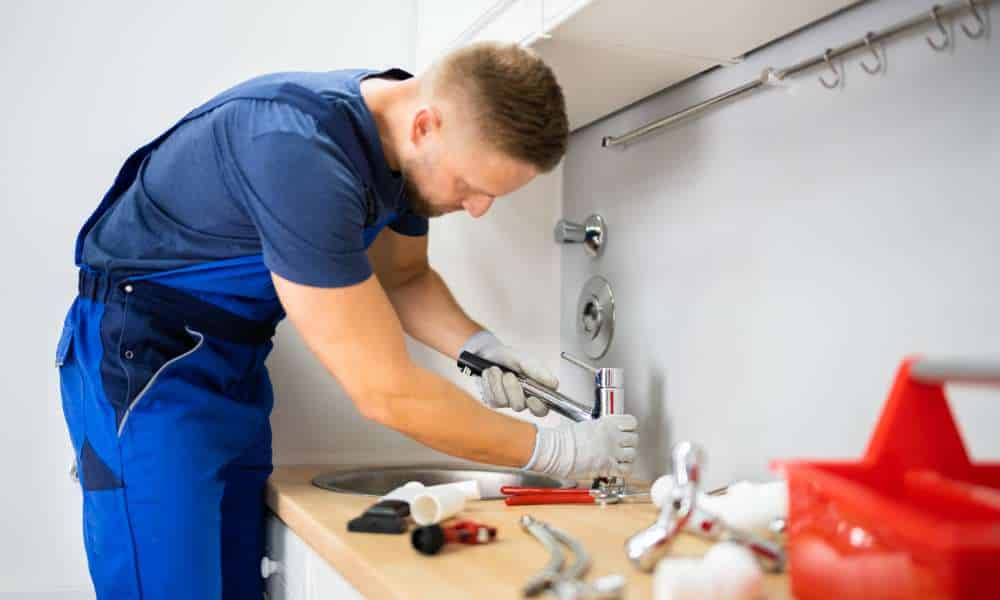
To tighten a kitchen faucet handle effectively, you first need to access the fastening mechanism beneath the handle. Begin by locating the point where the handle connects to the faucet body. This may involve peeling back any decorative covers or caps that conceal the fasteners. These covers are typically attached with adhesive or simply snap into place. Use a flathead screwdriver or a utility knife to carefully pry them off without damaging the surrounding fixture.
Exposing Screws Or Bolts
To replace a kitchen faucet, costs can vary depending on factors such as the type of faucet, installation complexity, and plumber fees. On average, homeowners can expect to pay between $150 to $350 for a professional installation. However, if you’re handy with tools and have some DIY experience, you may be able to save money by tackling the faucet replacement yourself. Just make sure to follow manufacturer instructions carefully and take your time to ensure proper installation for optimal functionality.
Removing Decorative Covers
Removing decorative covers is crucial as it allows direct access to the screws or bolts that secure the faucet handle. This step is pivotal in the tightening process as it eliminates any obstructions and enables you to make precise adjustments to the fastening hardware. By adhering to these steps, you can confidently tighten your kitchen faucet handle, promoting smooth operation and reducing the risk of handle movement or potential water leaks.
Using Adjustable Wrenches Or Pliers
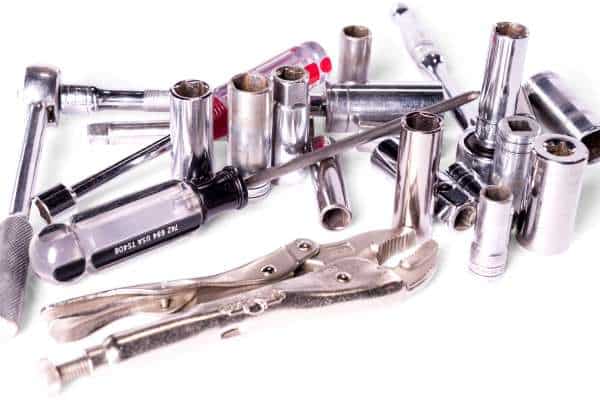
Using adjustable wrenches or pliers is crucial in this process as they provide the necessary grip and torque to tighten the screws effectively. Be mindful not to over-tighten, as this could damage the faucet handle or cause it to crack. A firm but gentle hand is key to achieving the right level of tightness. By following these steps and utilizing the right tools, you can maintain your kitchen faucet handle’s stability and functionality with ease, ensuring a smooth and leak-free operation for years to come.
Applying Thread Seal Tape
After tightening the screws or bolts, apply thread seal tape (also known as plumber’s tape) around the base of the handle. This helps create a tighter seal and reduces the likelihood of future loosening due to regular use and vibrations. Thread seal tape is easy to apply—simply wrap it around the threads before reattaching the handle. This extra step not only reinforces the handle’s stability but also enhances its longevity, preventing water leaks and potential damage to your kitchen sink area.
Addressing Persistent Issues
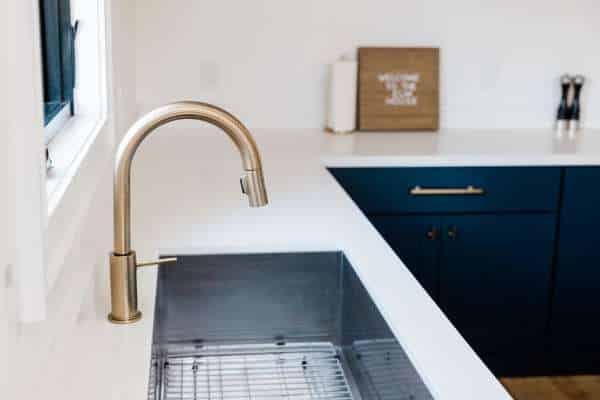
Addressing this issue promptly can prevent further complications. A loose handle not only diminishes the aesthetics of your kitchen but can also lead to water wastage or even leaks if left unchecked. To tighten a kitchen faucet handle effectively, start by identifying the type of faucet you have—whether it’s a single-handle or double-handle design. This initial step helps in determining the specific method needed to secure the handle and restore stability to your faucet setup.
Checking For Stability
Checking for stability is crucial to ensuring a lasting solution. Begin by examining the base of the faucet handle to identify any underlying issues such as worn-out screws or loose fittings. Tightening these components with the appropriate tools can significantly enhance the stability of your faucet handle. For single-handle faucets, locating the set screw beneath the handle and tightening it clockwise can eliminate any wobbling or movement. Similarly, for double-handle faucets, securing the screws on both handles can restore balance and prevent unnecessary strain on the faucet mechanism.
Cleaning And Lubricating The Handle
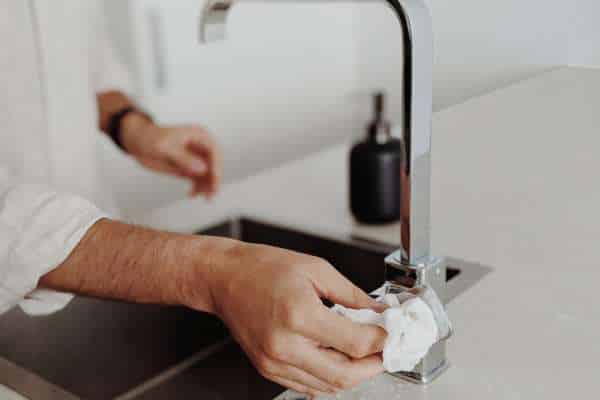
Cleaning and lubricating the handle are additional steps that contribute to maintaining a tight and functional kitchen faucet. Over time, debris and mineral deposits can accumulate around the handle, affecting its performance. Using a mild cleanser and a soft brush, gently scrub around the handle to remove any buildup. Once cleaned, apply a small amount of silicone-based lubricant to the moving parts of the handle. This lubrication not only facilitates smoother operation but also prevents future corrosion or sticking of the faucet handle, prolonging its lifespan and effectiveness.
The Final Thought
Tightening a loose kitchen faucet handle is a simple task that can be easily accomplished with the right tools and techniques. Regular maintenance of your kitchen faucet handle can prevent further damage and prolong its lifespan. By following the steps outlined in this article, you can ensure a secure and sturdy handle for years to come. Remember to check for any leaks or unusual movements after tightening to ensure that the handle is properly secured. Take action now and tighten your kitchen faucet handle to maintain a functional and efficient kitchen space.