
Cleaning your kitchen faucet head is essential for maintaining a hygienic and efficient kitchen. Over time, mineral deposits, grime, and bacteria can accumulate, affecting water flow and quality. Learning how to clean a kitchen faucet head ensures that your water remains pure and your faucet functions optimally. Regular cleaning not only prolongs the life of your faucet but also enhances your kitchen’s overall cleanliness. With simple tools and techniques, you can easily perform this task yourself, saving money on professional services and contributing to a healthier home environment. In this guide, we’ll walk you through the steps to clean your kitchen faucet head effectively.
Why It’s Important To Clean Your Kitchen Faucet Head?

The kitchen faucet is one of the most frequently used fixtures in the home, making it a prime spot for the buildup of mineral deposits, bacteria, and mold. Regular cleaning ensures:
- Improved Water Flow: Mineral deposits can clog the aerator, reducing water pressure.
- Better Water Quality: Removing grime and bacteria prevents contamination.
- Extended Faucet Life: Regular maintenance can prevent damage and extend the lifespan of your faucet.
Materials You Will Need
Before starting the cleaning process, gather the following materials:
- White vinegar
- Baking soda
- Small plastic bag
- Rubber band or twist tie
- Old toothbrush
- Soft cloth or sponge
- Needle or pin
- Wrench or pliers (optional)
- Dish soap
Step-by-Step Guide to Cleaning Your Kitchen Faucet Head

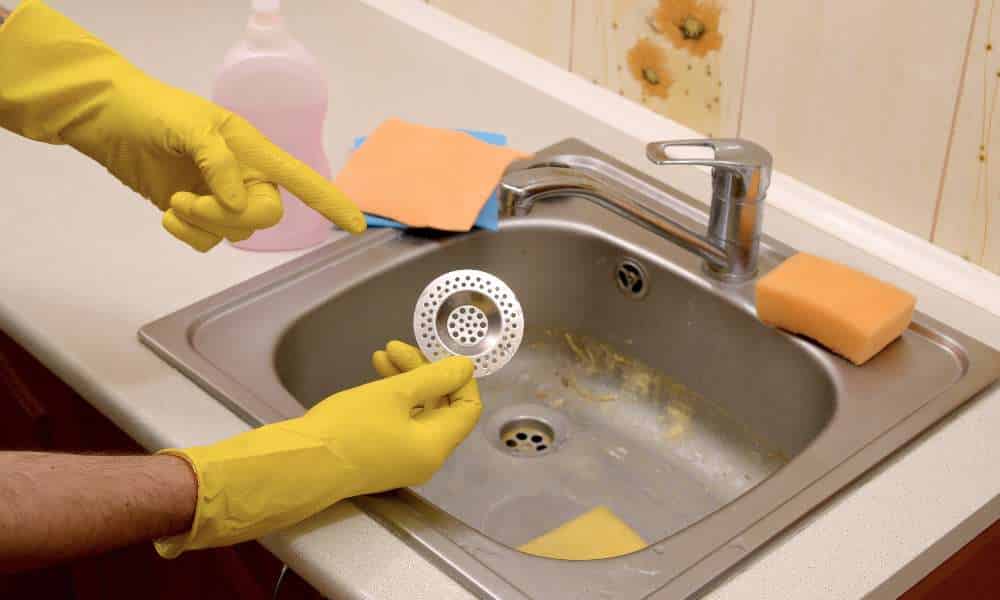
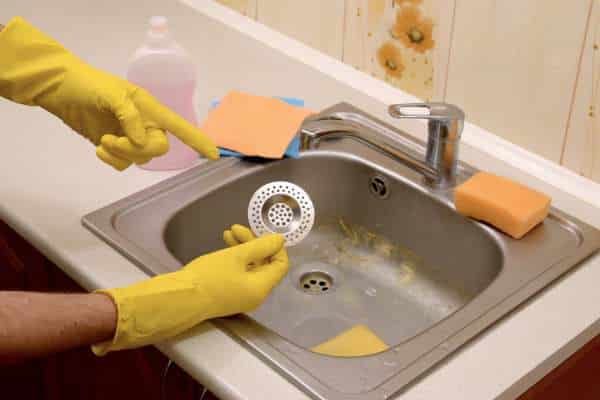
1. Remove The Aerator
The aerator is the small screen located at the tip of the faucet spout. Follow these steps to remove it:
- Turn off the water supply: This step is crucial to prevent water from spraying everywhere.
- Unscrew the aerator: Use your hand or a wrench if it’s too tight. Be careful not to damage the aerator.
- Disassemble the aerator: Note the order of parts to make reassembly easier.
2. Soak The Aerator In Vinegar
One effective method to remove a stubborn kitchen faucet is by soaking the aerator in vinegar. The vinegar acts as a natural cleaning agent that helps to break down mineral deposits and dirt that may be causing the faucet to become clogged or difficult to remove. By allowing the aerator to soak in vinegar for a period of time, you can easily dislodge any buildup and make it easier to remove the faucet.
3. Clean The Faucet Head
The aerator is soaking, clean the faucet head itself:
- Create a vinegar solution: Mix equal parts white vinegar and water in a small plastic bag.
- Attach the bag to the faucet head: Secure it with a rubber band or twist tie, ensuring the faucet head is fully submerged in the solution.
- Let it soak for 30 minutes to an hour: This will help loosen any buildup.
- Scrub the faucet head: Use an old toothbrush or a soft cloth to remove any loosened deposits.
4. Use Baking Soda For Stubborn Buildup
There are still stubborn deposits after soaking, use baking soda:
- Make a paste: Mix baking soda with a little water to form a paste.
- Apply the paste: Spread it on the affected areas of the faucet head.
- Scrub gently: Use an old toothbrush to scrub the paste into the deposits.
- Rinse thoroughly: Ensure all baking soda is rinsed off to avoid leaving residue.
5. Clean The Faucet Body
Don’t forget the rest of the faucet:
- Wipe with dish soap: Use a soft cloth or sponge with dish soap to clean the faucet body.
- Rinse and dry: Rinse off the soap and dry with a clean cloth to prevent water spots.
6. Reassemble And Reattach The Aerator
- Rinse the aerator parts: Ensure all vinegar and debris are rinsed off.
- Reassemble the aerator: Put the parts back together in the correct order.
- Screw the aerator back onto the faucet: Hand-tighten it and use a wrench if necessary, being careful not to overtighten.
7. Flush The Faucet
After reassembling the aerator, it’s important to flush the faucet:
- Turn on the water supply: Let the water run for a few minutes to remove any remaining debris.
- Check for leaks: Ensure everything is tightened properly and there are no leaks.
Maintaining A Clean Kitchen Faucet Head
To keep your kitchen faucet head clean and functioning properly, follow these maintenance tips:
- Regular Cleaning: Clean the aerator and faucet head every few months to prevent buildup.
- Use a Water Softener: If you have hard water, a water softener can reduce mineral deposits.
- Wipe After Use: Regularly wiping the faucet with a soft cloth can prevent grime and water spots.
Troubleshooting Common Issues

1. Low Water Pressure
Low water pressure in your kitchen faucet can be frustrating to deal with, but one common culprit could be a dirty or clogged faucet head. Over time, mineral deposits and debris can build up inside the faucet head, restricting water flow and causing low pressure. To address this issue, you can easily remove the aerator from the faucet head and clean it thoroughly. Using a mixture of vinegar and water or a commercial descaler can help break down and remove any buildup effectively.
2. Leaking Faucet
Regular maintenance of your kitchen faucet can help prevent leaks and prolong its lifespan. Make it a habit to clean your faucet head every few months to ensure proper water flow and prevent buildup. Additionally, consider investing in a water filter system to improve water quality and reduce mineral deposits that could potentially clog your faucet over time. By taking these simple steps, you can keep your kitchen faucet running smoothly and efficiently for years to come.
When To Call A Professional?
Knowing when to call a professional is crucial in maintaining the safety and functionality of your home. If you encounter electrical issues such as frequent power outages, sparking outlets, or tripped circuit breakers, it is best to contact a licensed electrician immediately. Ignoring these warning signs could lead to serious safety hazards like electrical fires.
The Final Thought
Cleaning your kitchen faucet head is a simple task that can greatly improve the efficiency and aesthetics of your kitchen. By following the steps outlined in this article, you can ensure that your faucet head remains free of debris and mineral buildup, allowing for a steady stream of water every time you use it. Regular maintenance of your faucet head will not only extend its lifespan but also help to prevent any potential issues in the future. Remember to clean your faucet head at least once a month to maintain optimal performance and water quality in your kitchen. Take the time to care for this often overlooked part of your kitchen, and you will enjoy a clean and functional faucet for years to come.