
Tightening your kitchen faucet is a simple yet essential maintenance task that can prevent leaks, improve water flow, and extend the life of your fixture. Learning how to tighten a kitchen faucet can save you money on professional repairs and ensure your kitchen remains functional and efficient. This guide will walk you through the steps needed to securely tighten your kitchen faucet, highlighting the benefits of a properly tightened faucet, such as avoiding water damage and maintaining a steady stream of water. By following these straightforward instructions, you can confidently tackle this common household issue and keep your kitchen in top shape.
How Do I Know If My Kitchen Faucet Needs Tightening?
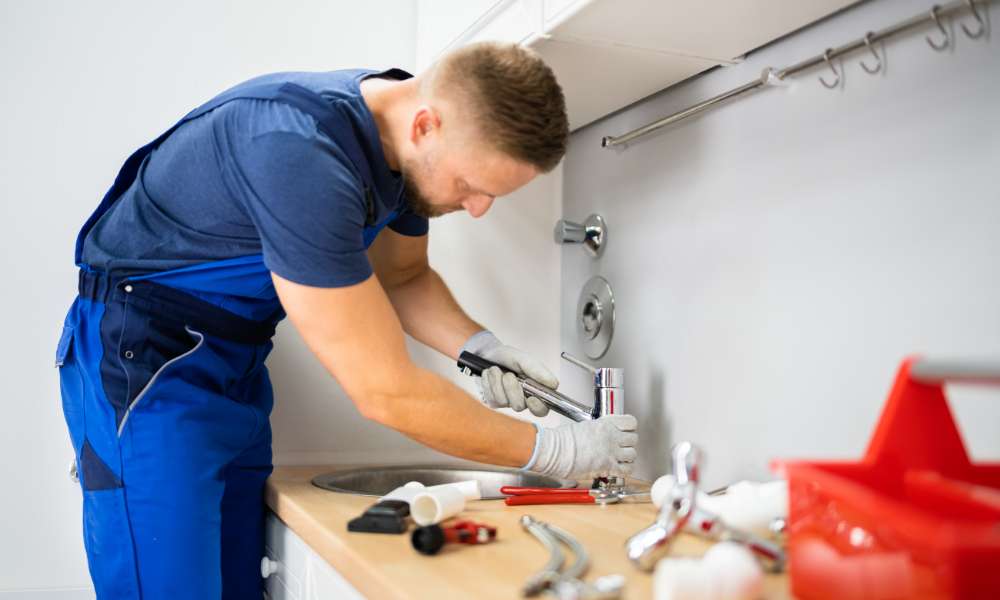
To tighten your kitchen faucet, you will typically need a wrench or pliers to secure the mounting hardware underneath the sink. It’s important to turn off the water supply before attempting to tighten the faucet to avoid any potential leaks or accidents. Once you have tightened all the necessary nuts and bolts, test the faucet to ensure that it is now stable and secure. If you continue to experience issues with a loose faucet even after tightening, it may be best to consult a professional plumber for further assistance.
Can I Tighten A Kitchen Faucet Without Professional Help?

Yes, you can tighten a kitchen faucet without professional help. Start by turning off the water supply to the faucet and then locating the screws or nuts that hold the faucet in place. Use a wrench or pliers to tighten these screws or nuts, being careful not to overtighten them. Check for any leaks after tightening to ensure a secure fit.
Tools And Materials Needed
Before beginning, gather the necessary tools and materials to ensure a smooth and efficient tightening process:
- Adjustable wrench or basin wrench
- Screwdriver (Philips or flat-head depending on the screw type)
- Flashlight or headlamp for better visibility
- Towel or rag to protect the sink’s surface
- Plumber’s tape (optional, for resealing)
Step-by-Step Guide to Tightening Your Kitchen Faucet

1. Clear the Sink Area
Begin by clearing out any items from under the sink. This will give you ample space to work and ensure that no objects interfere with your access to the plumbing.
2. Turn Off the Water Supply
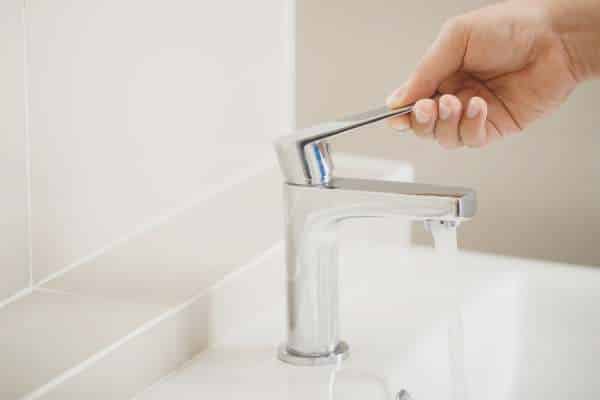
Always start by shutting off the water supply to your faucet. This is typically done by turning the valves located under the sink clockwise. Turning off the water prevents any accidental spillage or flooding while you work.
3. Identify the Loose Component
Identifying and addressing a loose component in your kitchen faucet is a relatively straightforward task that can save you from potential water damage and inconvenience. By taking the time to inspect your faucet regularly and tightening any loose parts promptly, you can maintain a functional and reliable fixture in your kitchen. Stay proactive with maintenance tasks like this one, and enjoy peace of mind knowing your kitchen is equipped with properly functioning plumbing fixtures.
4. Tighten The Base Of The Faucet
Tightening the base of a kitchen faucet is a simple yet essential maintenance task that can prevent leaks and ensure efficient water flow. To tighten the base, start by locating the set screw underneath the faucet handle and using an Allen wrench to tighten it. This will secure the faucet in place and prevent it from wobbling or moving during use.
5. Secure The Faucet Body
To clean the kitchen faucet head effectively, start by removing any aerators or filters attached to it. Soak these parts in vinegar or a gentle cleaning solution to break down any stubborn residue. Use a soft brush or cloth to scrub away any remaining debris before reattaching them securely to the faucet head. Remember that regular maintenance is key to preventing clogs and leaks, so make it a habit to clean your kitchen faucet head at least once every few months.
6. Check For Other Loose Components
Examine the spout of the faucet to ensure it is properly secured to the body. A wobbly or unstable spout can lead to leaks and water wastage over time. Taking the time to thoroughly inspect all components of your kitchen faucet will help prevent any future issues and keep your kitchen functioning smoothly. Remember, a little maintenance now can save you from bigger problems down the line when it comes to tightening your kitchen faucet efficiently.
7. Test Your Faucet
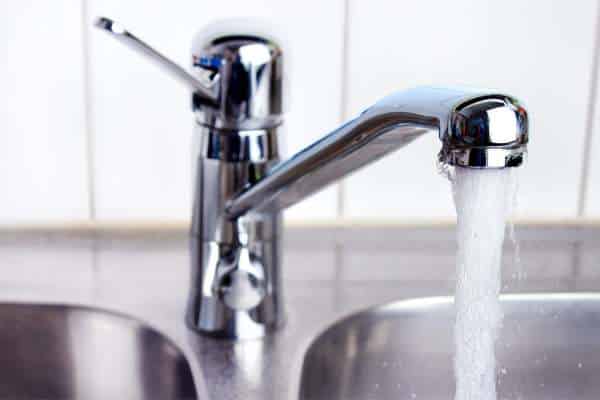
Once everything is tightened, turn the water supply back on and test the faucet for any leaks or movement. Operate the handle in various directions to make sure it moves smoothly without unnecessary force.
Preventive Measures To Avoid Future Loosening
Regular Maintenance: Periodically check the tightness of your faucet’s components, especially if it is heavily used.
Proper Usage: Avoid applying excessive force to the faucet handles which can cause premature wear and loosening.
Quality Fixtures: Invest in high-quality faucets with sturdy installation hardware, which can endure the rigors of daily use better than cheaper alternatives.
The Final Thought
Tightening a kitchen faucet is a simple task that can be done by anyone with basic tools and a little patience. By following the steps outlined in this article, you can ensure that your faucet remains secure and leak-free. Regular maintenance of your kitchen faucet is important to prevent any potential issues in the future. Remember to check for any signs of wear or looseness periodically to avoid more serious problems down the line. Take the time to tighten your kitchen faucet today and enjoy a smoothly functioning sink for years to come!