
Discovering how to remove an old kitchen faucet is a pivotal step in revitalizing your kitchen space. Whether you’re upgrading for aesthetic appeal or addressing functionality issues, this process empowers you to transform your kitchen effortlessly. Removing an old kitchen faucet not only enhances the appearance of your sink area but also ensures smoother daily tasks like dishwashing and meal preparation. Understanding the significance of this procedure and the benefits it brings can inspire confidence in tackling the task yourself. By learning how to remove old kitchen faucet fixtures, you gain control over your kitchen’s aesthetics and functionality, making it a worthwhile endeavor for any homeowner.
How Long Does It Typically Take To Remove An Old Kitchen Faucet?
The time it takes to remove an old kitchen faucet can vary depending on the complexity of the installation and any unforeseen complications that may arise. In general, a straightforward faucet replacement can be completed in about 30 minutes to an hour for someone with basic plumbing skills. However, if the faucet is old or corroded, it may take longer to loosen and remove the connections.
Can I Reuse The Same Connections And Hoses From The Old Kitchen Faucet?

Yes, you can often reuse the same connections and hoses from the old kitchen faucet when installing a new one. However, it’s important to check the condition of the existing connections and hoses to ensure they are still in good shape and not damaged. If there are any signs of wear or deterioration, it’s recommended to replace them with new ones to prevent leaks or other issues in the future.
Attaching Supply Lines
Attaching supply lines may seem like a simple task, but overlooking key details can lead to significant problems in the long run. By taking proper precautions such as cleaning connections, using Teflon tape, ensuring alignment and tightness, and shutting off the water supply beforehand, you can effectively install your kitchen faucet with ease and confidence. Remember that attention to detail during this process can make all the difference in preventing leaks and ensuring your new faucet functions flawlessly for years to come.
Use Teflon Tape On Threads
Utilizing Teflon tape on threads is another essential aspect of this process. Before disconnecting any threaded connections, applying Teflon tape ensures a tight seal when reattaching the new faucet. This simple yet effective technique helps prevent leaks and maintains the integrity of the plumbing system. By wrapping the tape clockwise around the threads, you create a secure seal that withstands the pressure of water flow, promoting long-term durability and reliability in your kitchen sink area.
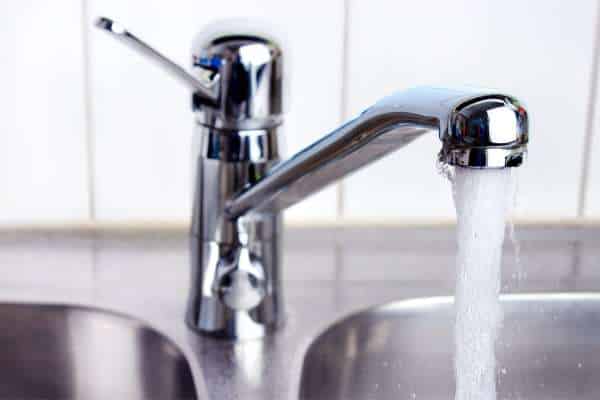
Slowly Turn On Water Supply Valves
Slowly turning on water supply valves is a crucial step after disconnecting the supply lines. Gradually opening the valves allows you to monitor water flow and detect any potential leaks or irregularities. This cautious approach minimizes the risk of water damage and ensures a smooth transition when installing the new faucet. By exercising patience and attentiveness during this phase, you can address any issues promptly and maintain the integrity of your kitchen plumbing system.
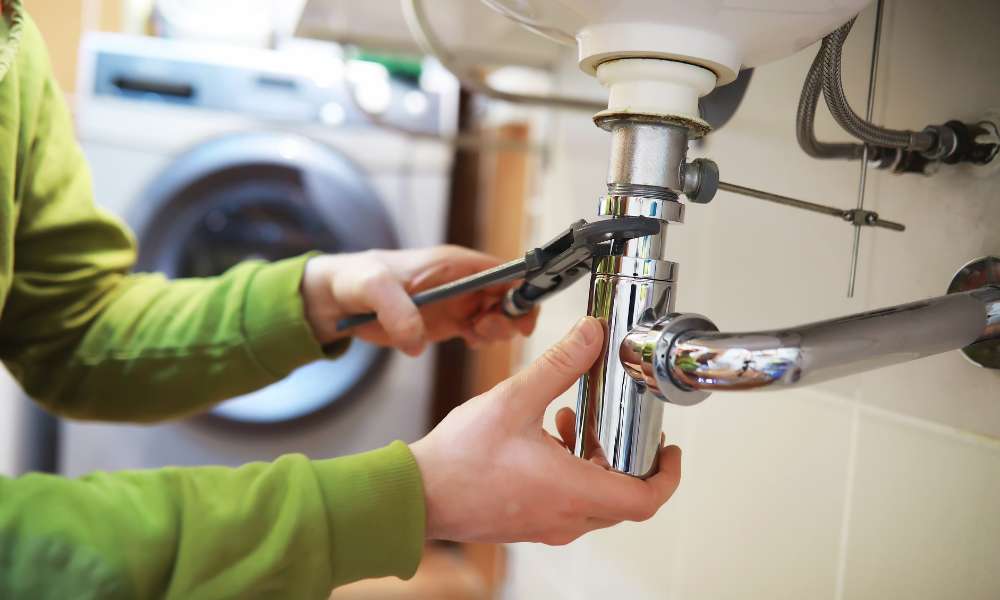
Securing Any Loose Connections
Once the water supply valves are reopened and the new faucet is in place, it’s imperative to double-check for any loose connections. Inspect the area where the faucet meets the sink, as well as the connections between the supply lines and the faucet. Use an adjustable wrench to tighten any loose nuts or bolts, ensuring a snug and secure fit. Additionally, check for any signs of water leakage around the base of the faucet or along the supply lines. By securing all connections thoroughly, you prevent potential water damage and maintain the integrity of your kitchen’s plumbing system.
Clearing The Workspace
Before embarking on the task of removing an old kitchen faucet, it’s essential to clear the workspace to ensure a smooth and efficient process. Start by removing any clutter or items from around the sink area to create ample space to work. This includes dishes, soap dispensers, and any other objects that may obstruct access to the faucet. Clearing the workspace not only makes it easier to maneuver but also reduces the risk of accidentally damaging surrounding items during the removal process. Additionally, having a clear workspace allows for better visibility and accessibility, enabling you to perform the task with precision and ease.
Addressing Minor Issues Promptly
Addressing minor issues with your old kitchen faucet promptly can help prevent more significant problems down the line. Over time, faucets may develop leaks, corrosion, or other issues that can impact their performance and reliability. By addressing these issues promptly, you can avoid potential water damage to your kitchen and ensure that your faucet continues to function properly. This may involve tightening loose connections, replacing worn-out parts, or repairing minor leaks. Taking proactive steps to address these issues can prolong the lifespan of your faucet and save you from costly repairs or replacements in the future.
Wipe Down Sink And Surrounding Area
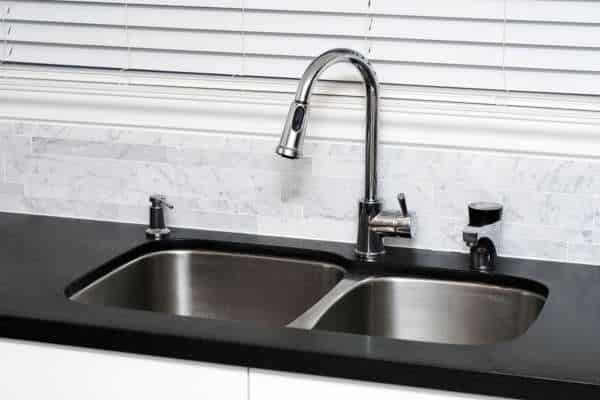
Before removing the old kitchen faucet, it’s a good idea to wipe down the sink and surrounding area to remove any dirt, grime, or debris that may have accumulated over time. This not only ensures a clean and sanitary workspace but also makes it easier to spot any potential issues with the faucet or plumbing fixtures. Use a mild detergent or cleaning solution and a soft cloth to gently scrub the sink basin and surrounding countertops. Pay special attention to areas around the base of the faucet where dirt and grime may be trapped. Once the area is clean, dry it thoroughly with a clean towel to prevent water damage and mold growth.
Discuss Cost-Effective Options
Exploring online resources such as tutorial videos or DIY forums can offer valuable insights and alternative methods for removing a stubborn Moen kitchen faucet. Engaging with these platforms not only provides cost-effective solutions but also empowers individuals to tackle home improvement projects independently. By leveraging available resources and being resourceful in problem-solving, homeowners can successfully remove a Moen kitchen faucet while keeping costs low and gaining practical skills in household maintenance.
Include Regular Cleanings

Incorporating regular cleanings into your faucet maintenance routine is essential for preserving its functionality and appearance. Over time, mineral deposits, soap scum, and other debris can accumulate on the faucet’s surface, affecting its performance and aesthetic appeal. To remove these build-ups, regularly clean the faucet with a mild detergent and water solution, followed by a thorough rinse. For stubborn stains or deposits, vinegar or lemon juice can be used as natural cleaning agents. Additionally, periodically inspecting and cleaning the aerator and spout can help maintain water flow and prevent clogs. By including regular cleanings in your faucet maintenance regimen, you can prolong its lifespan and keep your kitchen looking pristine.
Discuss Alternative Faucet Designs
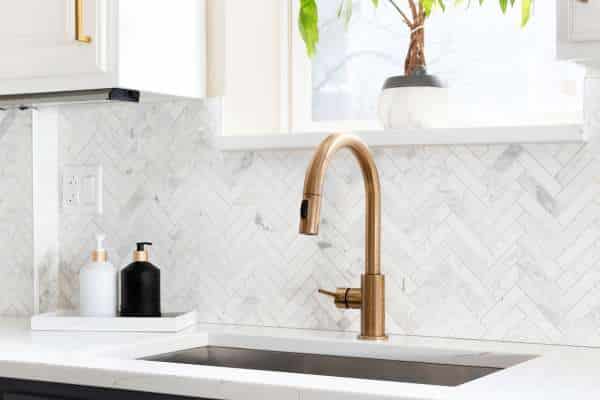
For those looking for a more eco-friendly choice, the low-flow aerator faucet design is worth exploring. These faucets help save water by restricting the flow without compromising performance. Additionally, industrial-inspired faucets with exposed pipes and raw materials are perfect for achieving a modern, minimalist look in your home. This mix of functionality and aesthetic appeal makes alternative faucet designs an exciting area to explore when upgrading your space.
The Final Thought
Removing an old kitchen faucet may seem like a daunting task, but with the right tools and techniques, it can be accomplished successfully. By following the step-by-step guide provided in this article, you can effectively remove your old kitchen faucet and prepare for the installation of a new one. Remember to exercise caution and patience during the process to avoid any damage to your sink or plumbing. Once you have removed the old faucet, take the time to clean and prepare the area for the new fixture. With determination and proper guidance, you will soon have a newly installed kitchen faucet that enhances both functionality and aesthetics in your kitchen space.